Hollow brick is a great material for walls, but a real nightmare for mounting heavy or wind-loaded structures. A regular dowel or expansion metal anchor does not work here: it either falls out or crushes the internal partitions of the brick.
If you are mounting solar panels on a facade or roof made of such material, a reliable option is a chemical anchor with a mesh sleeve.
I’m sharing my own working set and important nuances of the installation.
Materials and Tools
1. Anchor System (Chemistry + Metal)
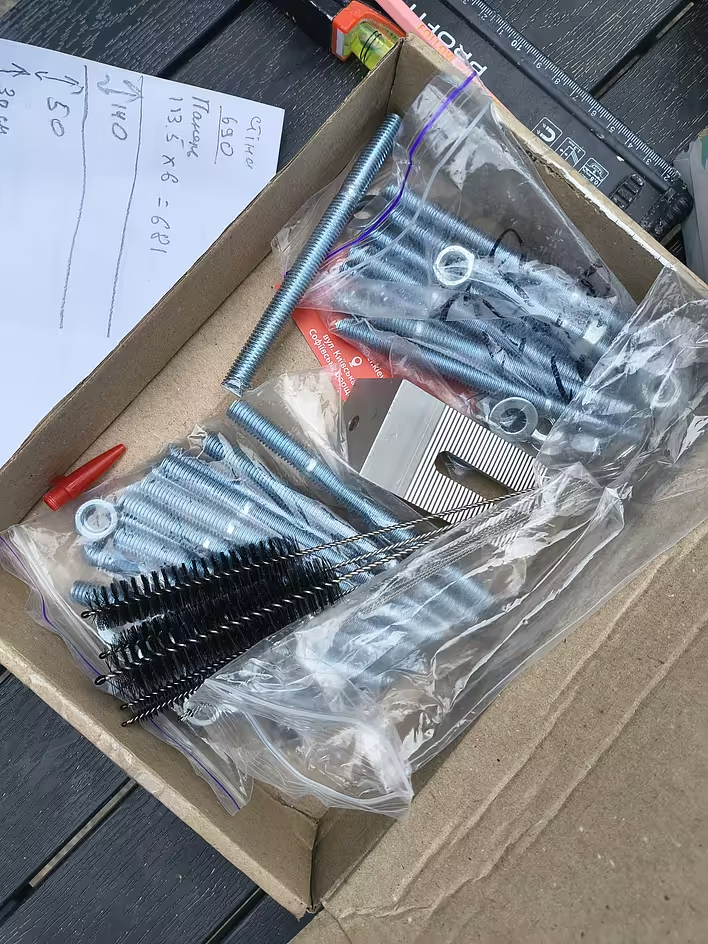
Fischer FTR M10×130 anchor bolt (better to take 160 mm or longer, but it was simply not available)
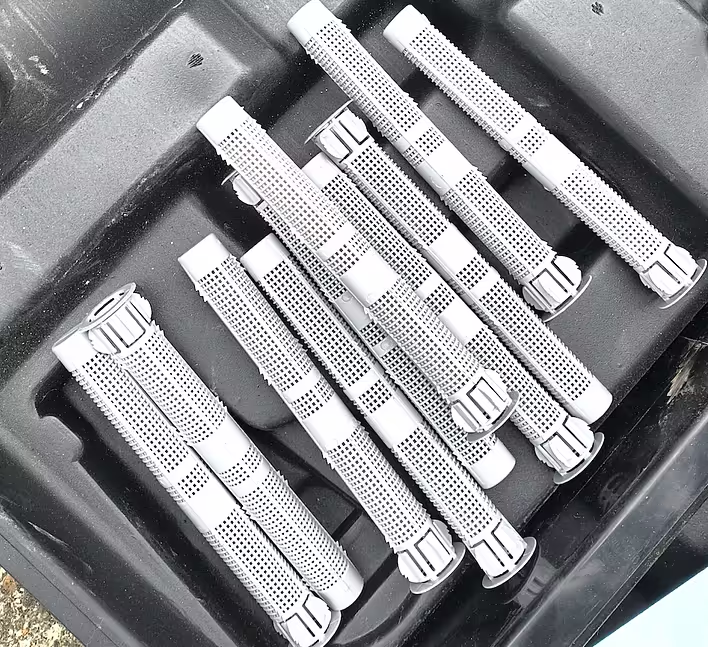
Fischer FIS H 16x130 K mesh sleeve
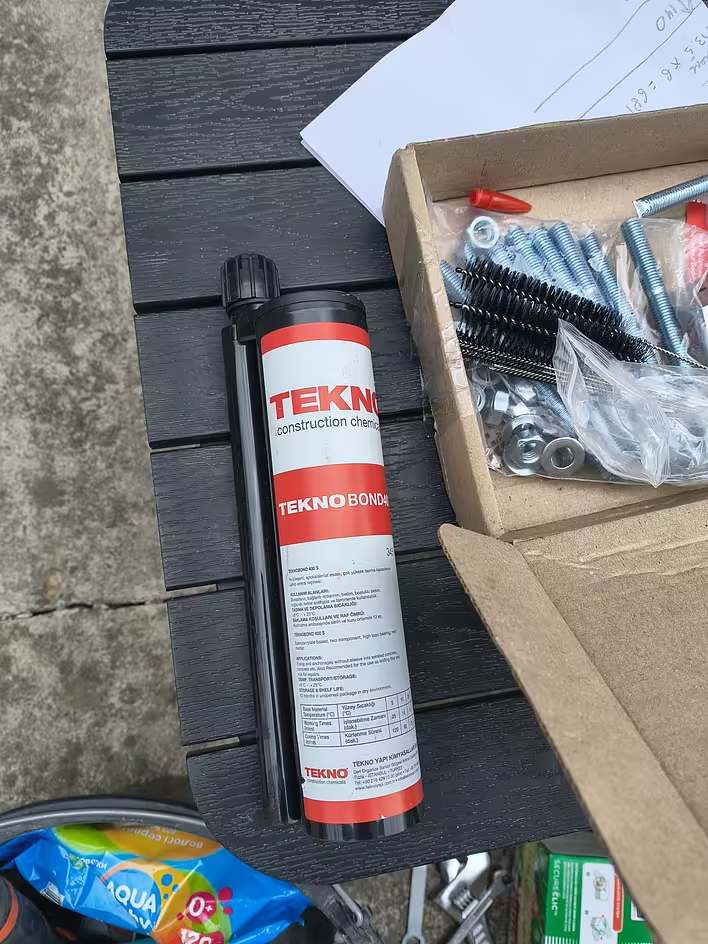
Chemical anchor (epoxy-acrylate) Teknobond 400 S
Why a mesh sleeve? In hollow brick, without a mesh, the chemical will simply fall inside the block. The sleeve holds the adhesive, and when the bolt is screwed in, the solution is pushed through the perforation, forming a strong "clutch" inside the cavities.
When I was just looking for information about the installation, I approached chemical anchors with some skepticism — I simply had no experience with them. And now I regret not discovering them earlier! The thing is really reliable.
To make sure it really works and to understand the technology, I watched videos on YouTube before starting.
I recommend everyone who doubts or is doing such an installation for the first time to check it out — the process is shown very clearly
Tool for Preparing Holes
Rotary hammer + SDS-max Intertool Quadro 16 × 400 mm drill bit (for a sleeve diameter of 16 mm).
Brush for cleaning holes.
Pump (a regular one for a ball will do) for blowing out dust.
Critically important: if you don’t blow out the dust and clean the hole with a brush, the chemical will stick to the brick crumbs, not to the brick itself. It won't hold!
3. Brackets
Soltrix aluminum mounting angle
The Main Nuance and "Rakes" I Had to Step On
The angles Soltrix come with a factory mounting hole of 8 mm.
Finding adequate and reliable M8 bolts for a chemical anchor under such load is quite a quest (most quality systems are designed for at least M10).
So I decided to take proven M10 bolts.
Result: each aluminum angle had to be manually re-drilled. This added extra work, but the structural strength of the M10 bolt is worth it.
Short Installation Algorithm:
Drilling: Using a 16 mm drill bit, make a hole 130 mm deep (without excessive pressure to avoid breaking the brick).
Cleaning: Blow out with a pump ➔ clean with a brush ➔ blow out again (repeat 2-3 times).
Sleeve: Insert the FIS H 16x130 K mesh sleeve into the hole.
Chemical: Fill the sleeve with the chemical anchor Teknobond (approximately 2/3 full, starting from the bottom). The chemical is pushed through the mesh, so it was hard to tell if it was full. I counted 10 presses on the gun. Maybe that's a lot, but it holds well.
Bolt: With twisting motions, insert the M10 bolt. Leave a couple of cm outside for the bracket and nut with a washer. Make sure the bolt sits evenly in the hole (otherwise there will be issues during the profile installation).
Curing: Wait for full drying (the time depends on the air temperature, indicated on the can). It dries very quickly — in a few hours. But it reaches full strength in about one to two weeks. I postponed the panel installation to the following week just in case, to ensure the anchors set properly and the installation gained strength.
Installation: Put on the re-drilled Soltrix angle and tighten the nut.
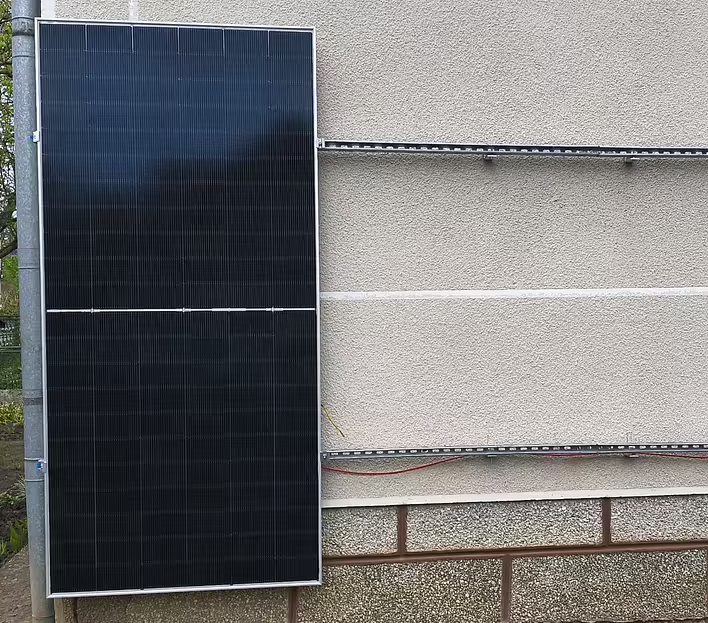
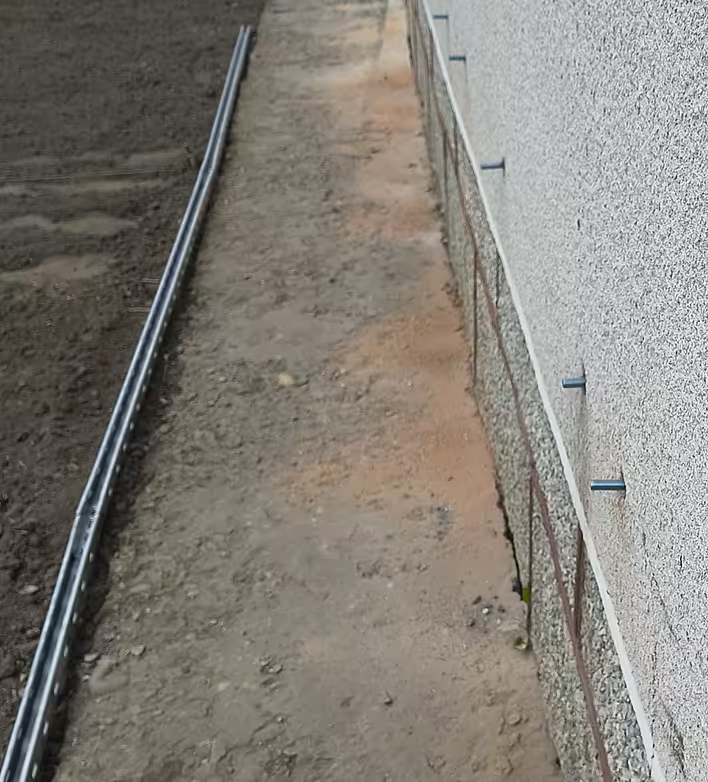
Unfortunately, there are no good photos. I only have this one:
It turns out "solid." The installation has already survived several heavy rains and winds that broke trees, knocked down poles, and tore roofs off in the city.
Mistakes from My Own Experience
When I was drilling with the rotary hammer, sometimes the holes came out a bit higher or lower than the intended position. So the profile line went a bit curved. I had to use washers as spacers between the profile and the bracket. This way, I managed to align the line.
If you hit a brick joint, you need to drill a new hole. Here you need to look at the perforation in the profile so that the new bracket position is where you can secure it with a bolt.
If the bolt is unevenly secured — it will affect the bracket installation and its position.