PrerequisitesBy the summer of 2024, we already had an autonomous solar station: a 5kW inverter, solar panels ~5kW, and three "branded" LiFePO4 batteries 52V 50Ah. Everyone was preparing for blackouts, ready-made solutions were being bought up en masse, and I decided to look into homemade batteries — to assemble two more.
After a few evenings of Googling, it became clear: even if branded batteries were available, assembling them myself could provide approximately twice the capacity for the same money.
The option of 16 cells at 3.2V (i.e., 16S) perfectly fit the "market standard" voltage. I chose the configuration of 3.2V 50Ah, so the plan was simple: buy the components, assemble them neatly, and make the exterior as "branded" as possible.
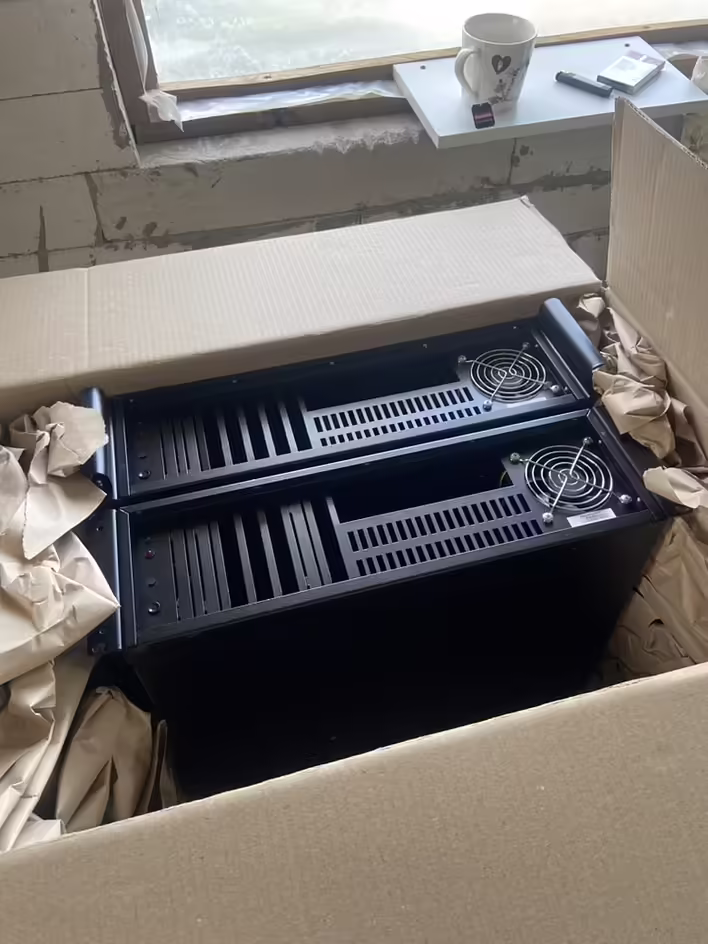
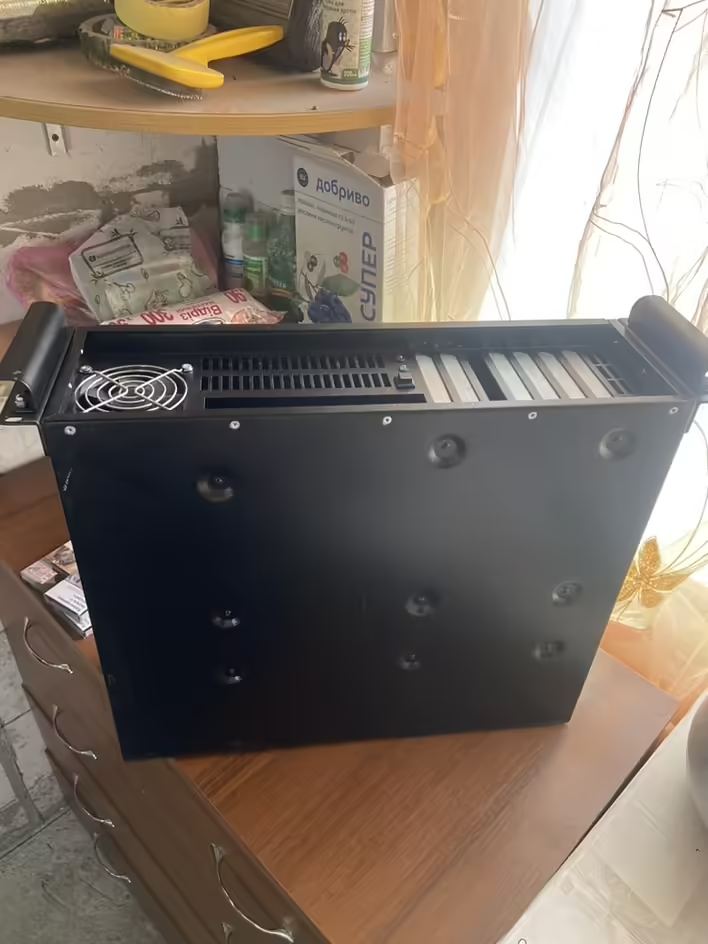
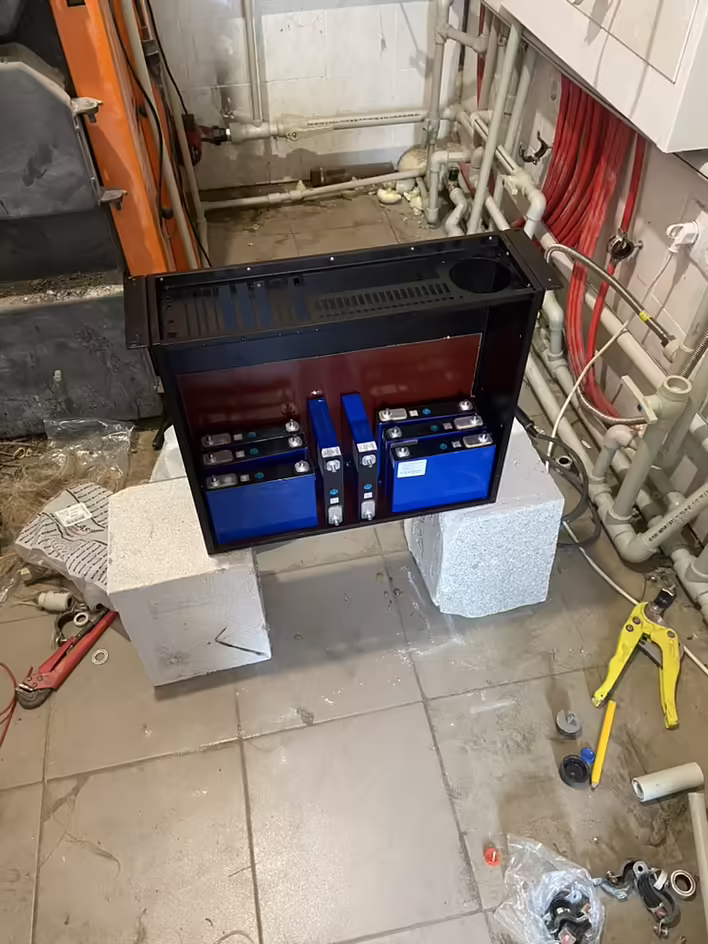
PurchaseThe branded batteries were in a 3U server case, so I decided to keep the same form factor. I found two used server cases of that size on OLX.
Корпуса
Корпус
And then I realized a nuance: it would have been more convenient to take 4U. The cells didn't fit in height, and I had to use a "high-tech angle grinder" to trim the connection bolts.
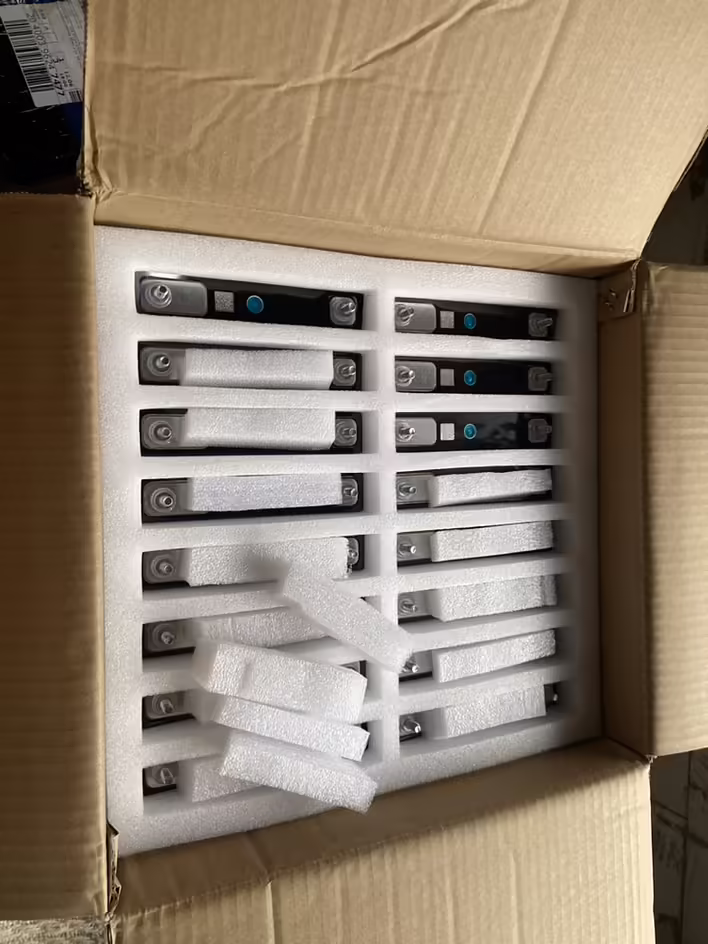
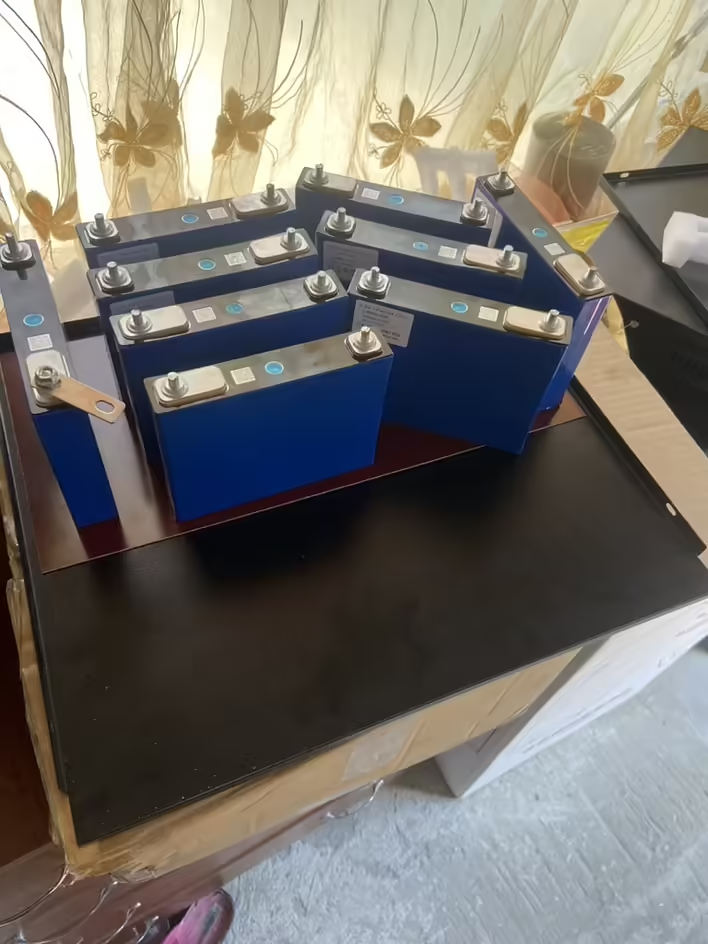
Next — the main purchase: 16×2 LiFePO4 cells 3.2V 50Ah. They arrived in boxes with foam — and this foam later proved very useful as padding.
LiFePo4 банки
Який вигляд мають банки
BMS
A separate story is with the BMS. Initially, because JK (Jikong) was not available, I bought an alternative BMS. It worked poorly at times, and sometimes didn't work at all, so in the end, I switched to Jikong BMS at 100A and forgot about the headache.
I chose 100A with a margin: firstly, "Chinese amps" sometimes do not equal the declared ones, and secondly, a current reserve always heats up less and lives more calmly under load.
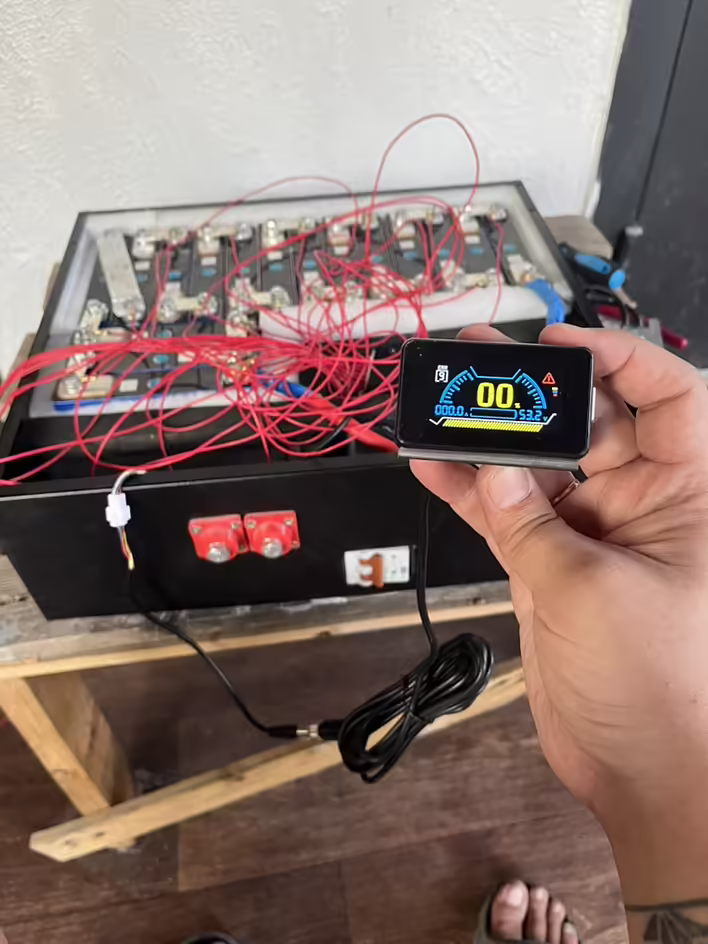
To conveniently monitor the battery's state, I bought screens: they simply connect to the BMS port and work immediately.
Екранчик bms
Insulation and Safety
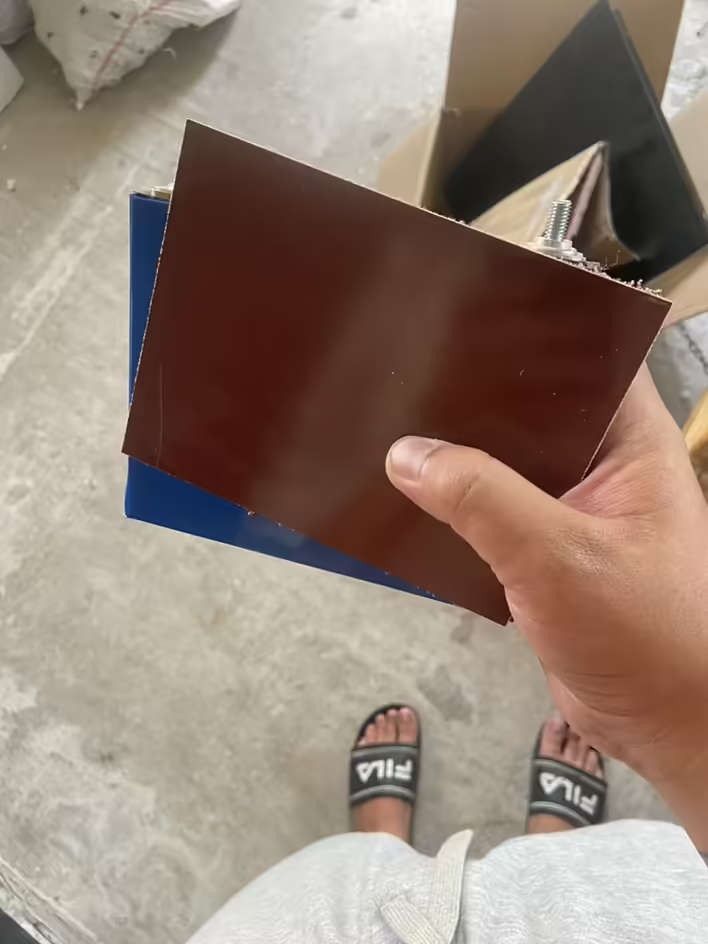
Following advice from the internet, I bought textolite:
to glue it to the metal server case;
and additionally lay it between the cells to prevent anything from "breaking through" or accidentally shorting against the case.
Текстоліт, нарізаний під розмір банки
Where I bought it — I can't remember, but they even cut it to my sizes.
I also purchased two DC circuit breakers to disconnect the batteries from the power supply — to have the option to quickly de-energize and service.
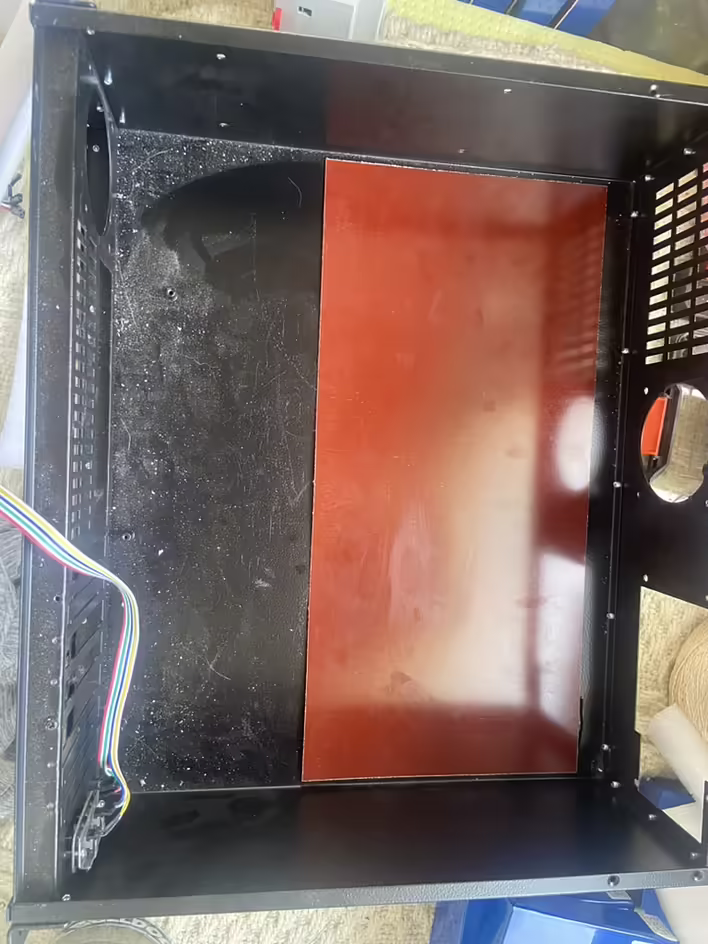
Installation
I started with the base — gluing the textolite with super glue inside the case.
приміряємось
прижимаємо
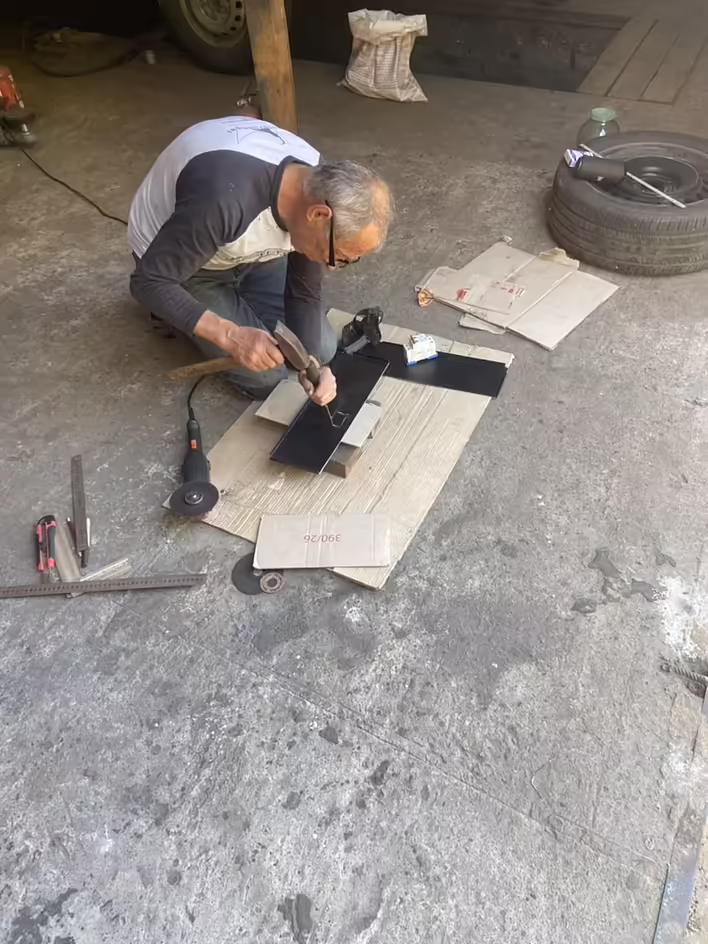
Then I turned to a neighbor who is a mechanic — to help with the angle grinder and fitting. Because, to be honest, I don't have extra fingers, and metal + angle grinder is not the area where you want to learn from mistakes.
Дядя Саша
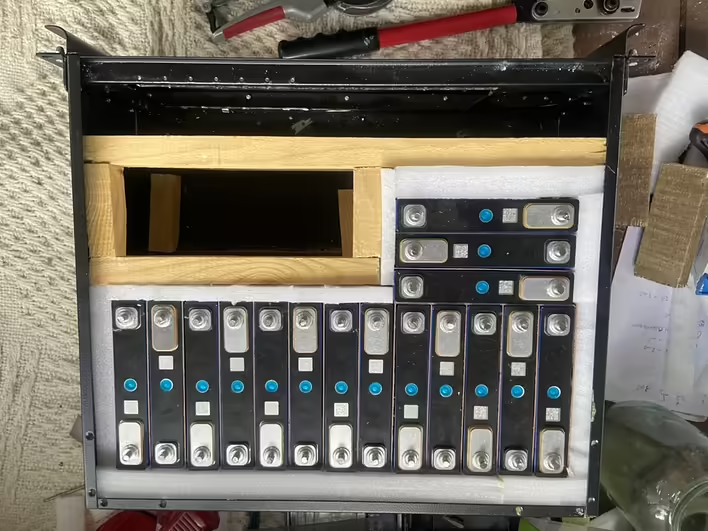
After that, I started "Tetris": figuring out how to best place the cells, BMS, wiring, and circuit breakers.
During the process, I realized that I was missing one useful thing — a holding stick to keep the structure firmly in place inside the case.
пакування
та сама диво палка
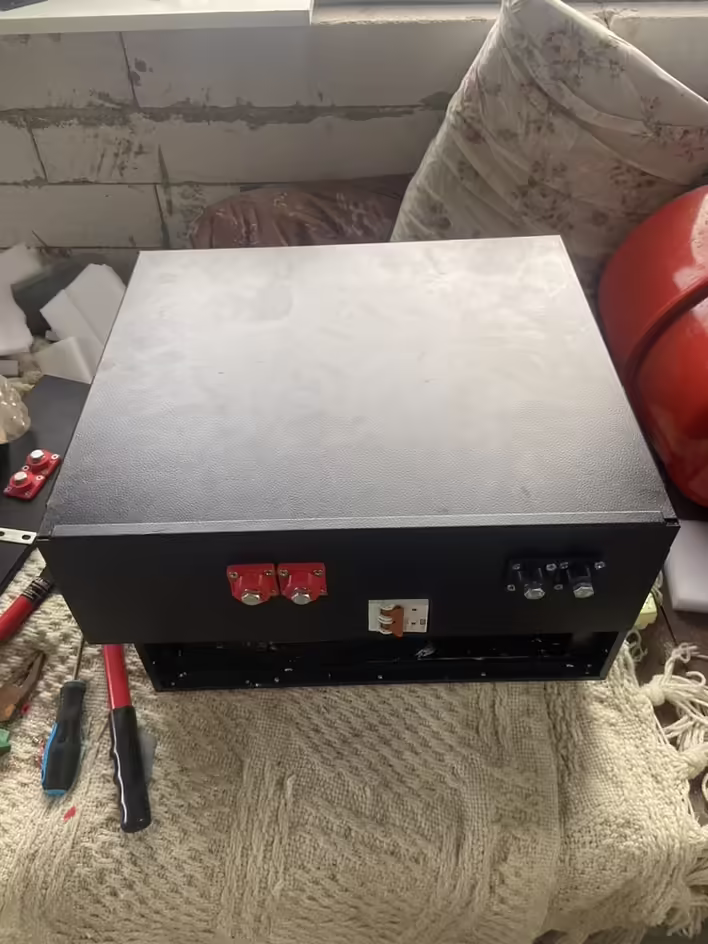
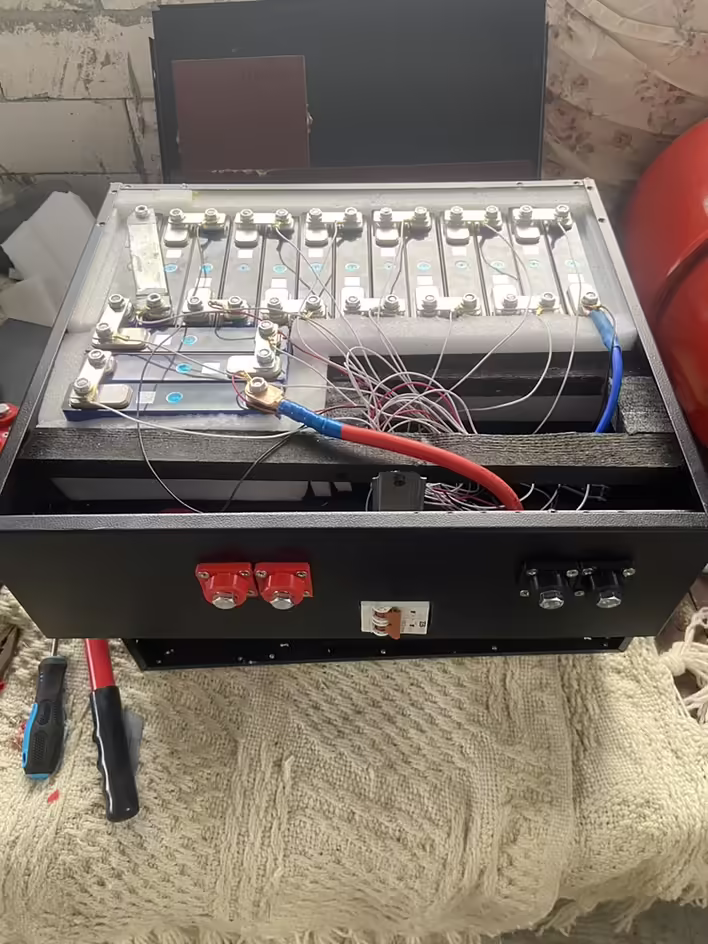
For the first time, I packed everything without the screen, just to check the fit. Then I added the screen, tidied up the cables — and got two ready batteries that looked almost factory-made on the outside.
фінальний вигляд без кришки
Готова батарея
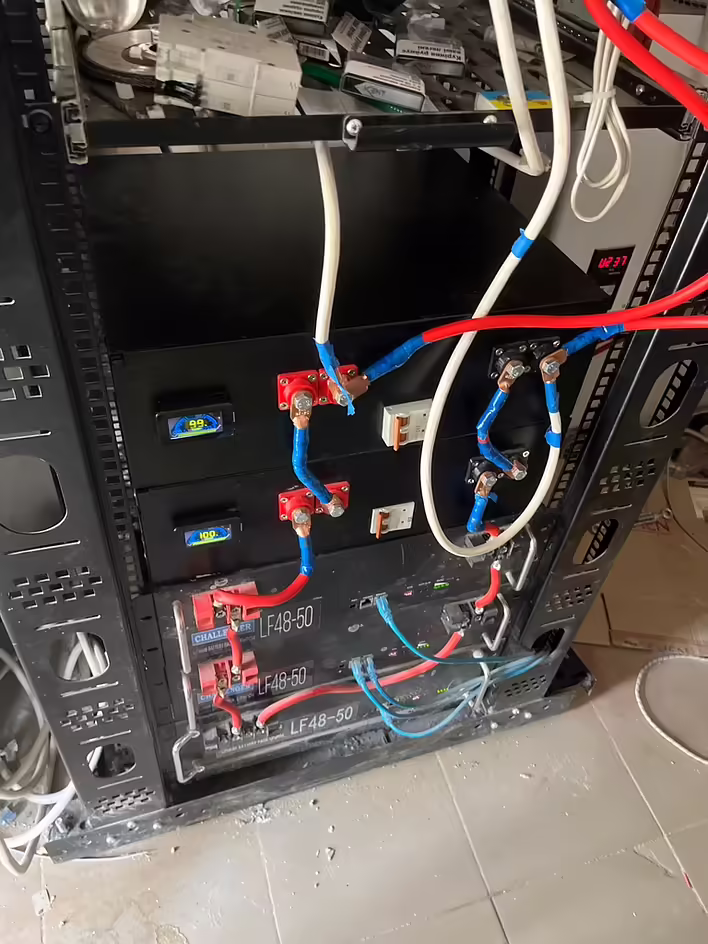
Готові батареї додані до інших, вже з екранчиком
Settings
The settings turned out to be quite simple:
Install the official Jikong app.
Connect to the BMS via BLE.
Select the default preset for 16 cells (16S)
ConclusionAs a result, I got two neat homemade batteries with a "branded" appearance and clear monitoring. The setup boils down to installing the Jikong app and selecting the preset. The assembly took more time and attention to detail, but it provided a significant benefit in capacity for the same money — and complete control over what exactly is in my system.