This content has been automatically translated from Ukrainian.
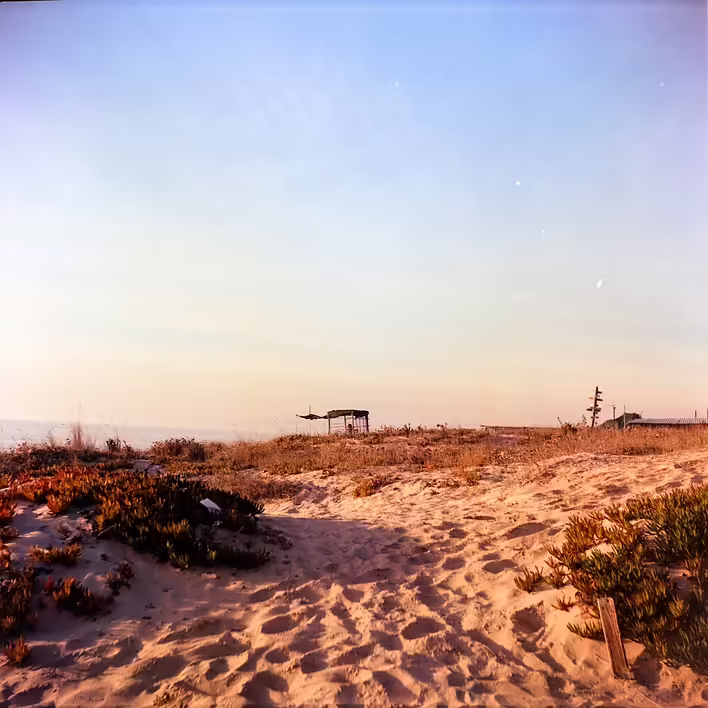
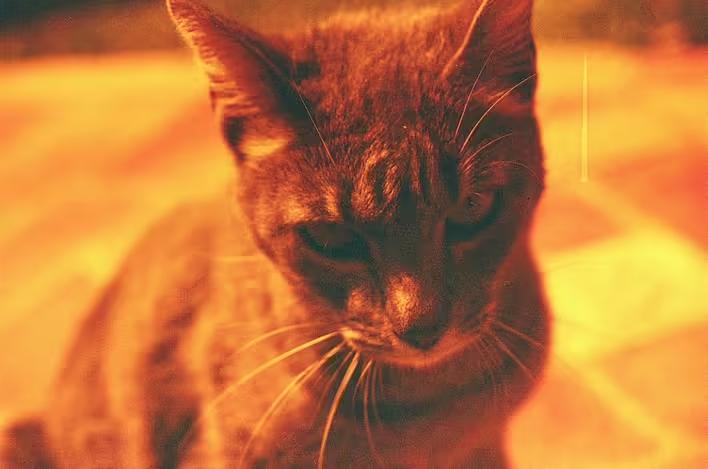
Imagine a world bathed in warm shades of red, gold, and amber – as if the sun never sets, and the evening rays illuminate every frame. This is not magic, but the Redscale technique – a special way of exposing film that opens a new dimension of analog photography.
What is Redscale?
Redscale is a shooting method where the film is exposed from the back, meaning light passes through its base before reaching the light-sensitive layer. In regular film, light immediately contacts the photoemulsion, but in Redscale, it has to penetrate through the red layer, altering colors and giving photographs a characteristic warm hue.
How does Redscale work?
Classic color film has several light-sensitive layers:
- Blue (top)
- Green (middle)
- Red (bottom)
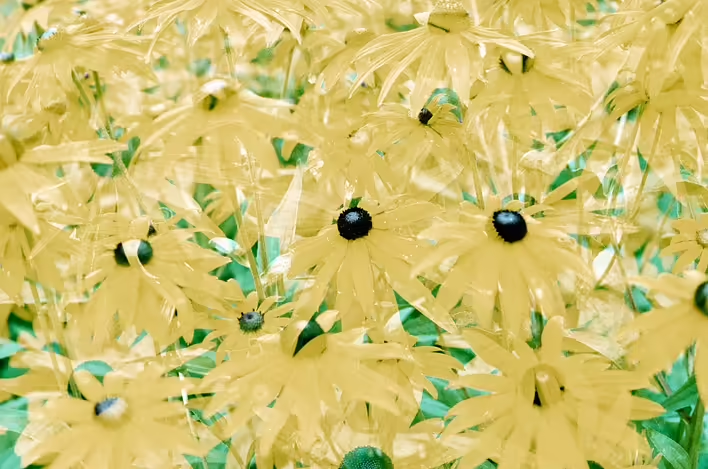
When the film is loaded into the camera upside down, light first passes through the red layer, blocking blue and green. This results in a reduction of cool tones, and the outcome is an image in a red-yellow palette.
Where to get Redscale film?
There are two options for obtaining Redscale:
- Buy ready-made film. For example, Lomography Redscale XR 50-200 or Kodak Color Plus Redscale (hand-repackaged version). These films are produced specifically for this effect and have different light sensitivities that affect color balance.
- Make it yourself. This is a budget option that opens up more creative possibilities. You just need to flip standard color film (for example, Kodak Gold 200 or Fujifilm C200) and load it into the cassette backward.
How to properly expose Redscale?
The light sensitivity of the film decreases when exposed in reverse. For example, if the cassette indicates ISO 200, with Redscale it should be exposed as ISO 100 or even 50. This helps achieve more balanced colors, reducing excessive red tint.
- ISO 50–100 – soft orange and yellow tones
- ISO 200 and above – rich red-brown shades
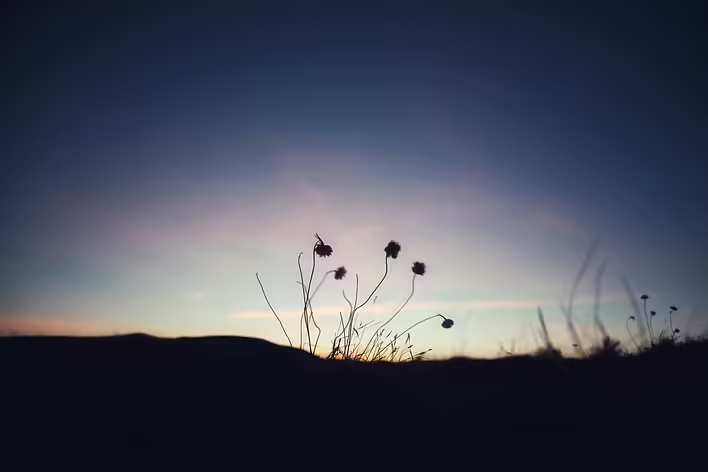
Effects and creative possibilities
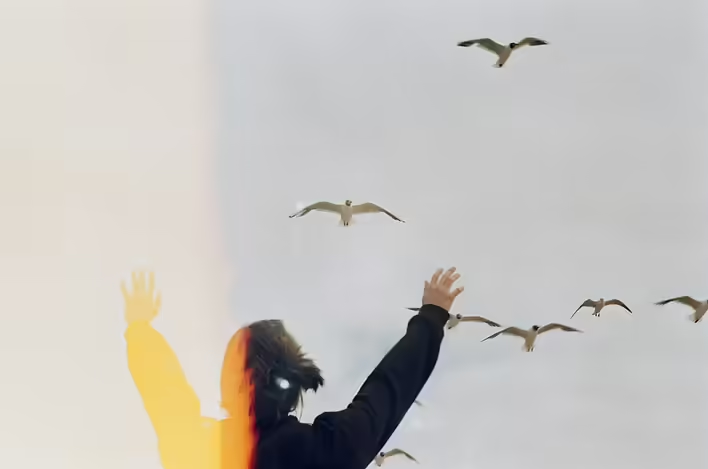
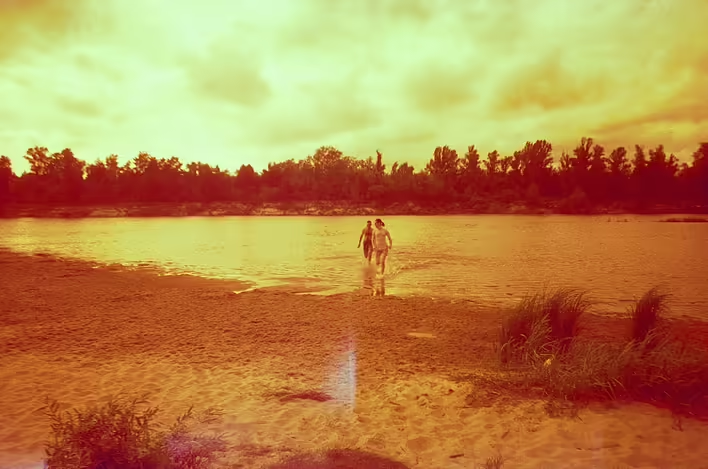
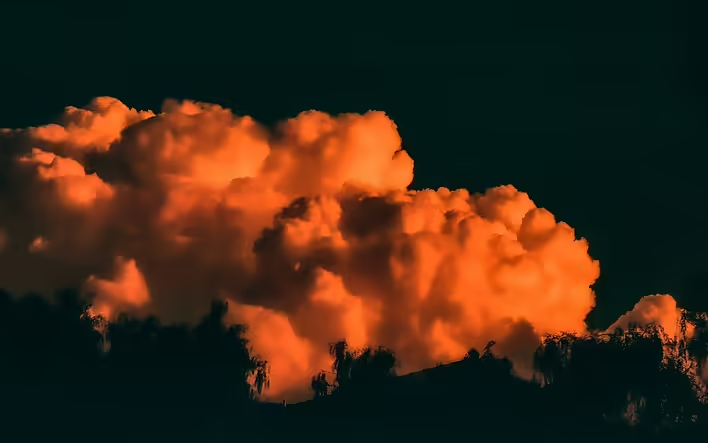
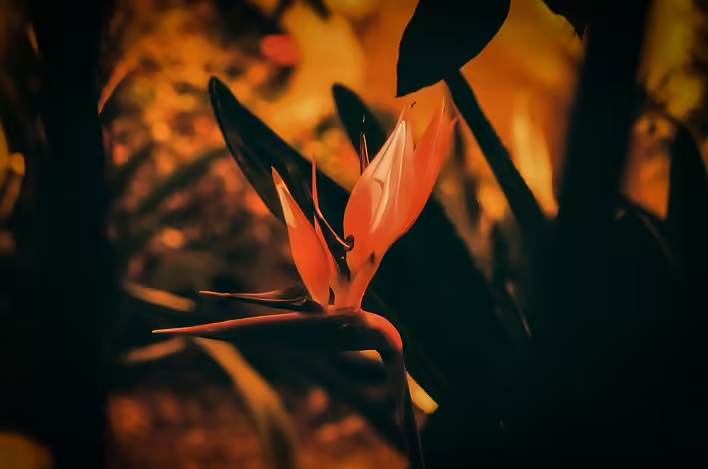
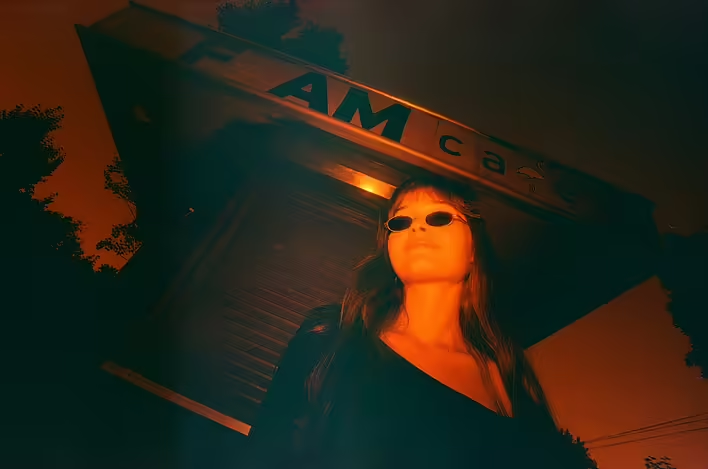
Redscale is great for portrait, street, and landscape photography. It creates a unique atmosphere:
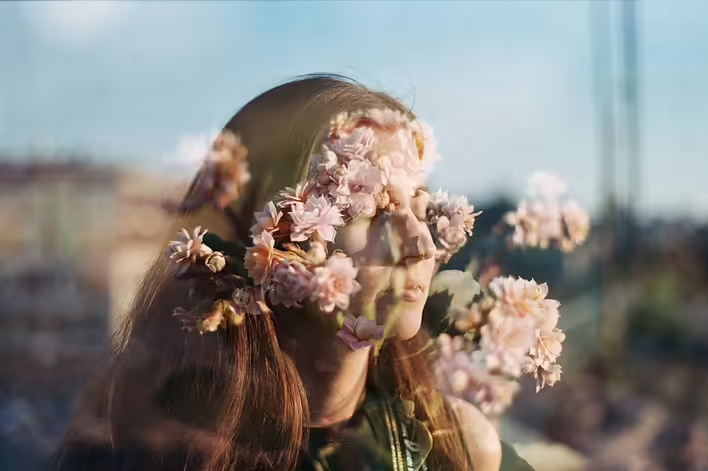
- Portraits acquire a retro effect, as if frames from an old movie.
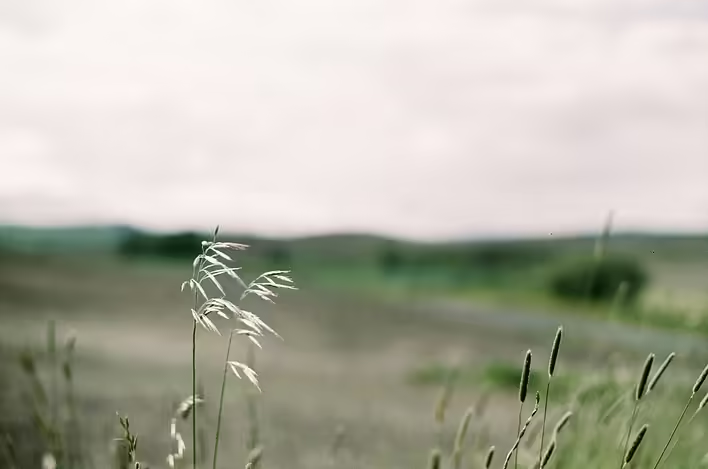
- Landscapes look surreal, especially when combining Redscale with backlit objects.
- Night shooting yields even deeper and more mysterious colors.
Tips for shooting with Redscale
- Check the exposure. It's best to slightly underexpose the frame by one or two stops to achieve more contrasting colors.
- Shoot in bright light. Sunlight allows for rich yellow-orange shades.
- Experiment with ISO. The lower the ISO, the warmer the colors.
- Use different lenses. Old Soviet lenses, for example, "Helios 44-2", create an additional cinematic effect.
If you love experimenting with film photography, be sure to try Redscale – and you might discover a new dimension of creativity.
Like it?React
🧵
This post doesn't have any additions from the author yet.