Overhang — these are areas of the model that extend over the air without direct support from below. In 3D printing, especially FDM (fused deposition modeling), this is a challenge: the plastic has nothing to hold onto and can sag, deform, or even collapse.
Critical overhang angle — usually 45°. If the angle is greater, the extruder does not have time to "build" a strong base for the next layer, and the quality decreases.
How to reduce overhang issues
Enable supports This is the simplest way. The printer will add temporary supports under problematic areas that can be removed after printing.
Optimize cooling Good cooling helps the plastic harden faster. Turn on fans or increase their speed for PLA and similar materials.
Reduce print speed Slower printing in overhang areas gives the plastic more time to cool.
Lower the extruder temperature But be careful — not to lose layer adhesion. Cooler plastic is less viscous and will not sag.
Change the model orientation Rotate the model so that overhangs are minimized or positioned at a better angle.
Modify the geometry Add a chamfer or fillet to turn overhangs into gradual transitions.
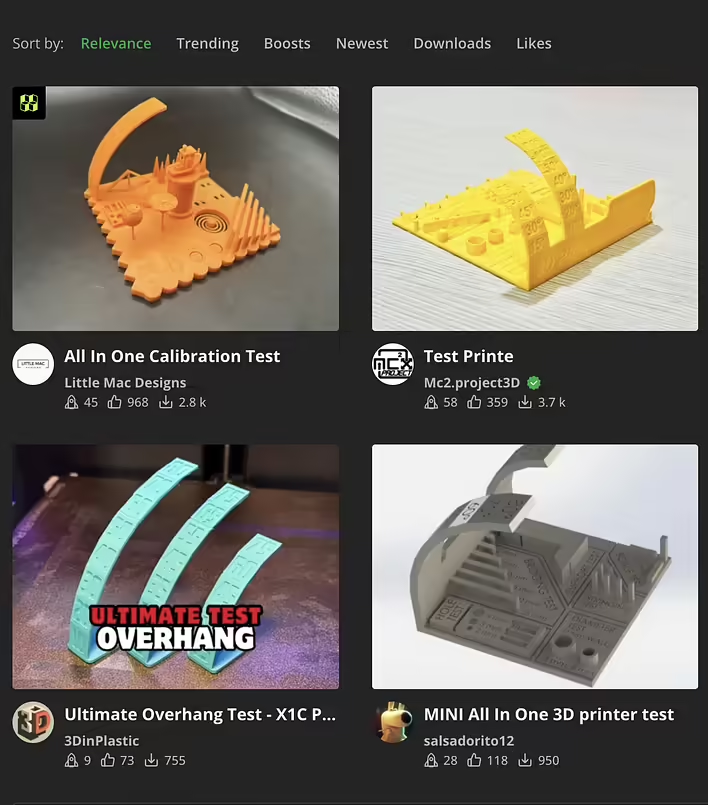
Printing overhangs is a balance between material, settings, and design. Test different options and use test overhang models for calibration. Here’s a screenshot of models from makerworld:
makerworld скріншот test overhang models
When possible, I will print the model and make a separate post about overhangs.
Like it?React
Share this post
Cite post
Select and copy the required citation standard:
🧵
This post doesn't have any additions from the author yet.

![[P1S] Message on the screen - Z-axis lead screw needs lubrication](https://d3kb0xa9zqcv9v.cloudfront.net/n2484aszggdtb76vwovcelpt4vag)
![[What to print] Tube squeezer](https://d3kb0xa9zqcv9v.cloudfront.net/1n2nj9awamp0cal358blvpihswju)
![[PrintArmy] The first 50kg of printed products for the military](https://d3kb0xa9zqcv9v.cloudfront.net/ud1y2vcjnjrg51pw18ljubptwmgd)
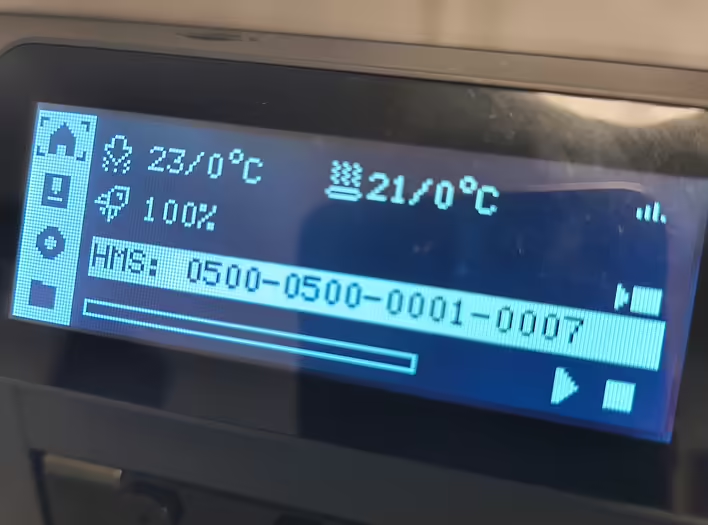
![HMS error: 0300-0d00-0002-0001 what does it mean and how to fix it? [P1S]](https://d3kb0xa9zqcv9v.cloudfront.net/0wi0y60gycmr9yktq6uss8vyao12)