I don't do home film scanning. Once I finish a roll, I immediately send it for development, and along with it, I order scanning and, if necessary, printing of the photos. You pay money, you get quality.
But recently I found a few old 35mm negatives. And here the usual human "I want to see it right now" kicked in ヽ(^o^)丿
From the negative itself, you can only roughly guess what is depicted. General silhouettes are visible, but it's almost impossible to see the details.
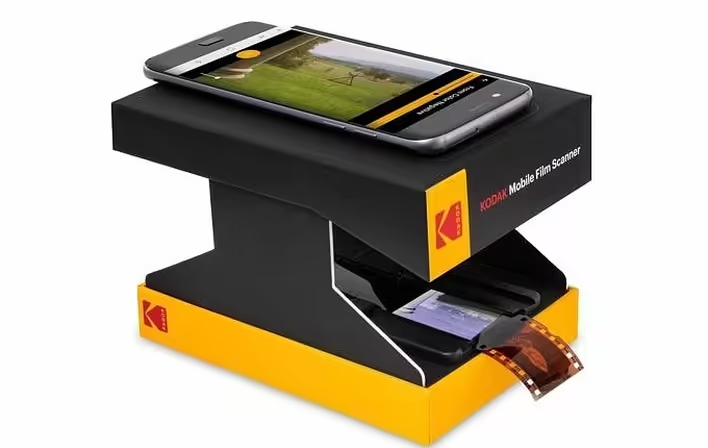
Once I saw that Kodak has devices for home film scanning. And the cheapest option is a mobile app that works with a simple light source.
Kodak Mobile Film Scanner
Similar devices have also appeared to me on AliExpress more than once. However, I didn't want to wait for delivery - curiosity won. But first, a little about positives and negatives:
What is a negative and a positive?
After shooting 35mm film, it needs to be developed. After development, we get developed film, which is usually called negative.
On the negative, the light areas of the future photograph appear dark, and the dark areas appear light. In color film, the colors are also inverted: for example, a blue sky may have an orange tint, and green grass may appear pink or purple.
To obtain the familiar image, the negative needs to be inverted - transformed into a positive. It is the positive that we see in photographs, photo books, or on a computer screen after scanning.
Previously, a photo enlarger was used for this, and photographs were printed on light-sensitive paper. Today, negatives are most often scanned, and special software automatically converts them into positive images.
My improvised "scanner"
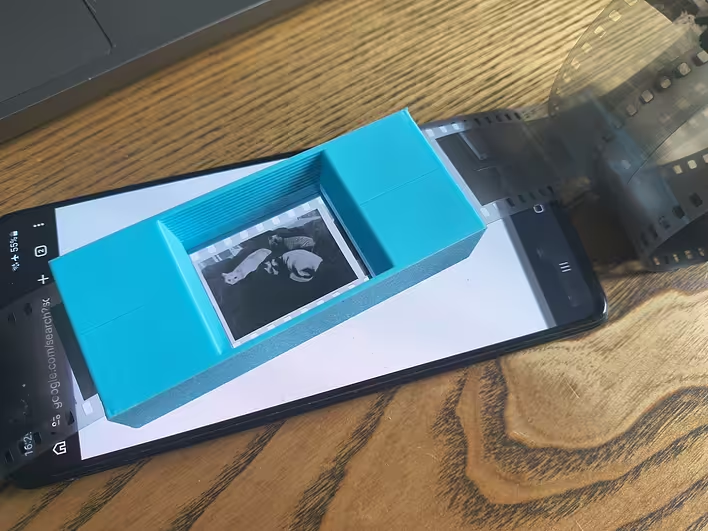
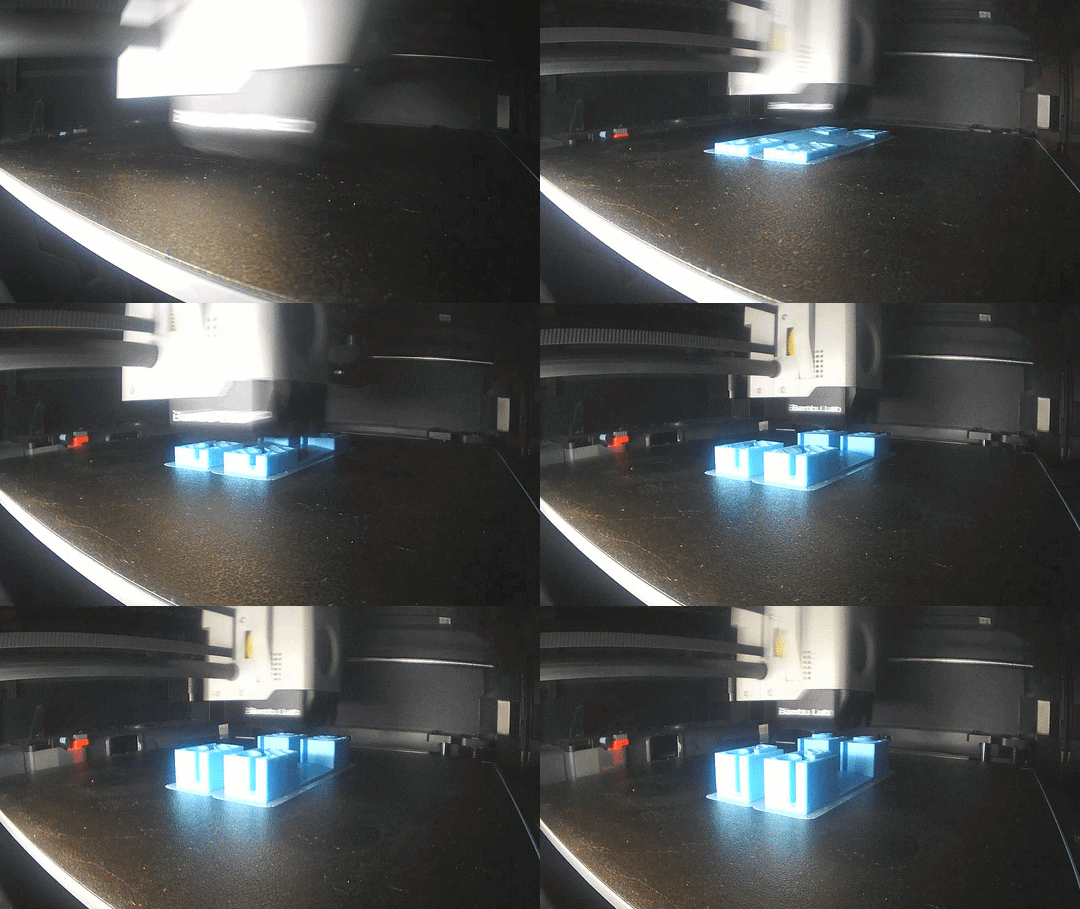
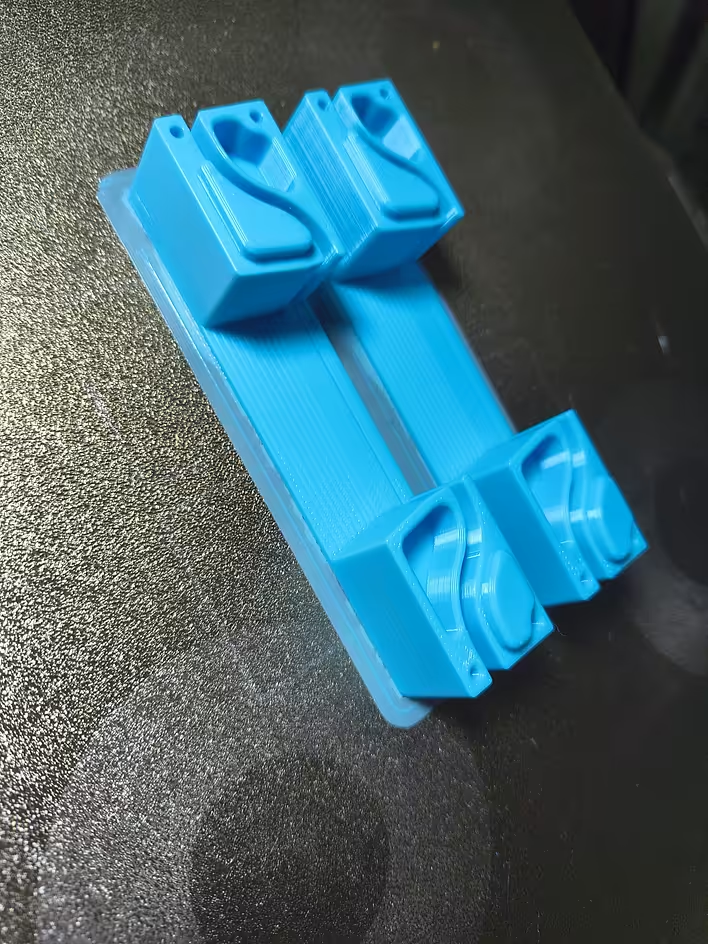
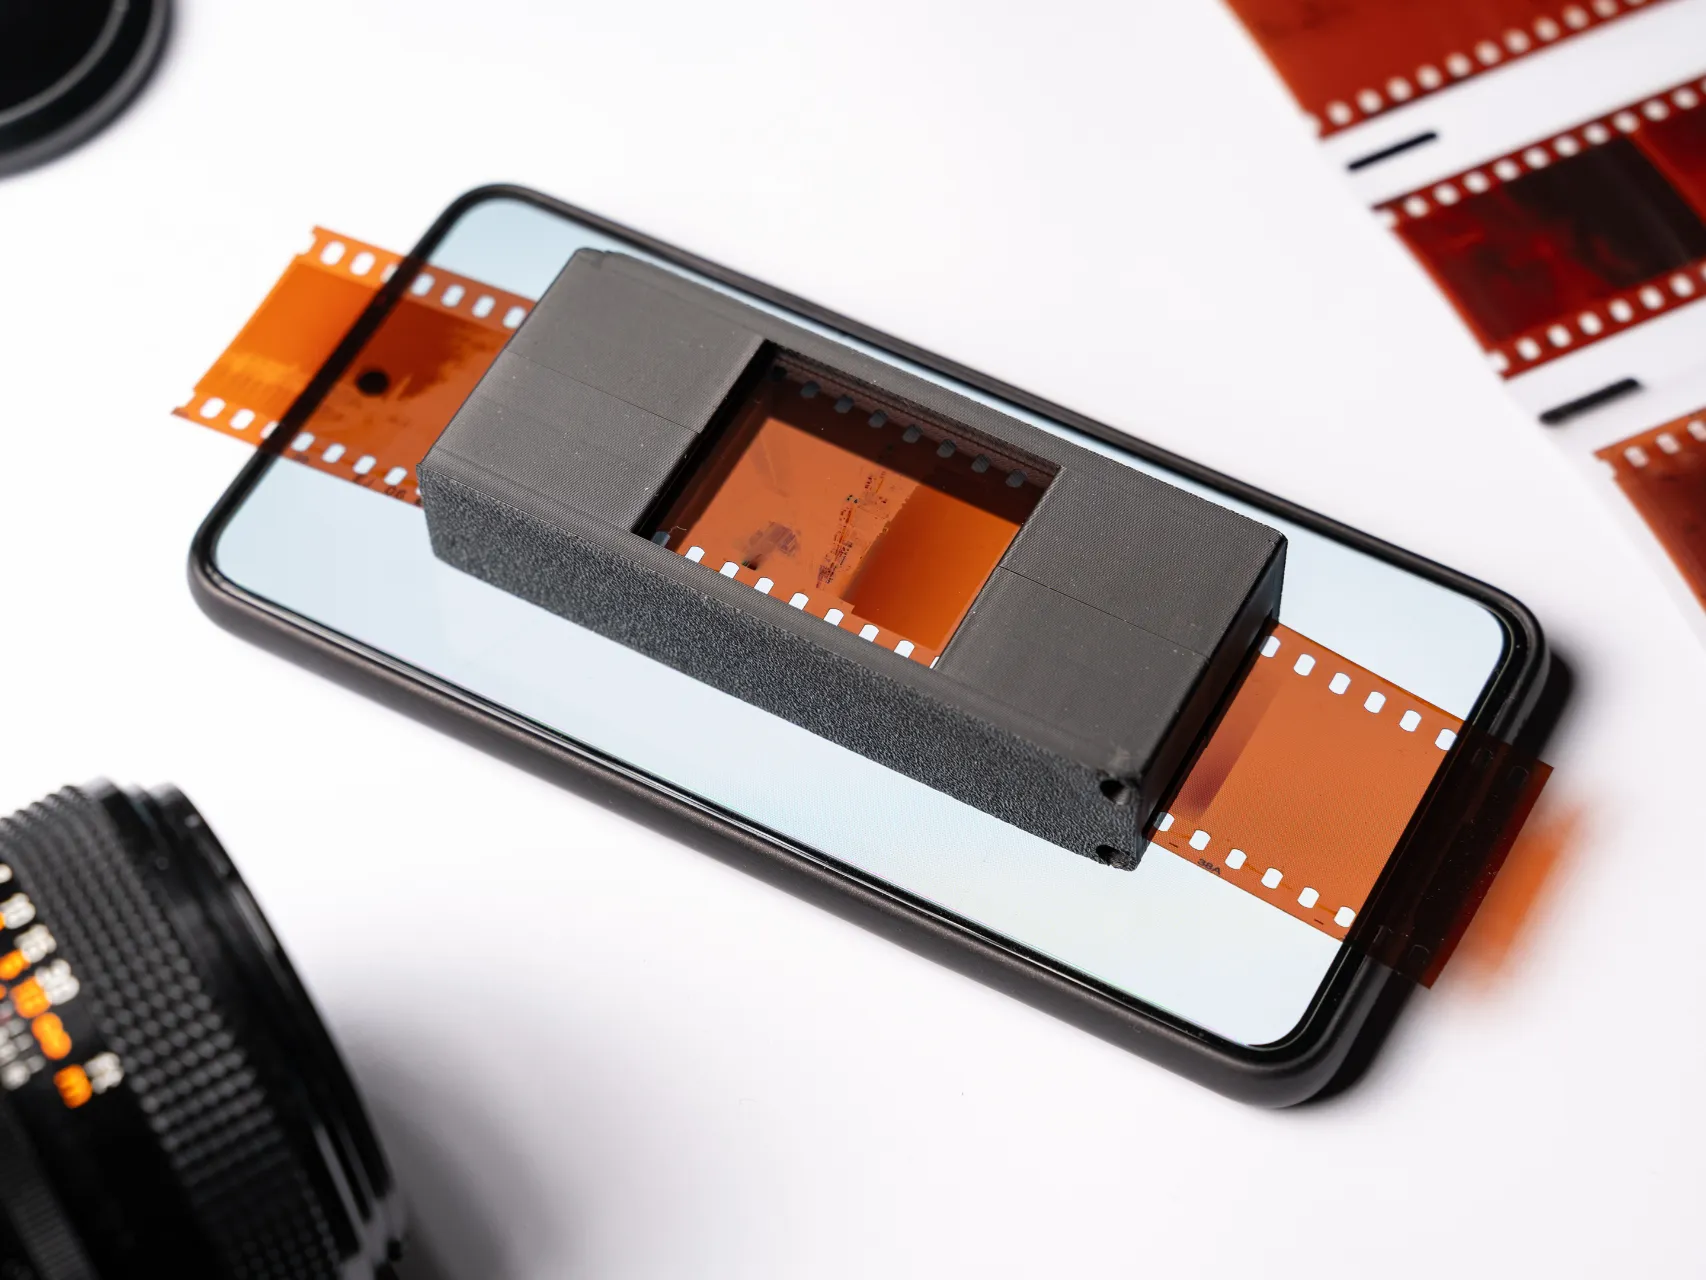
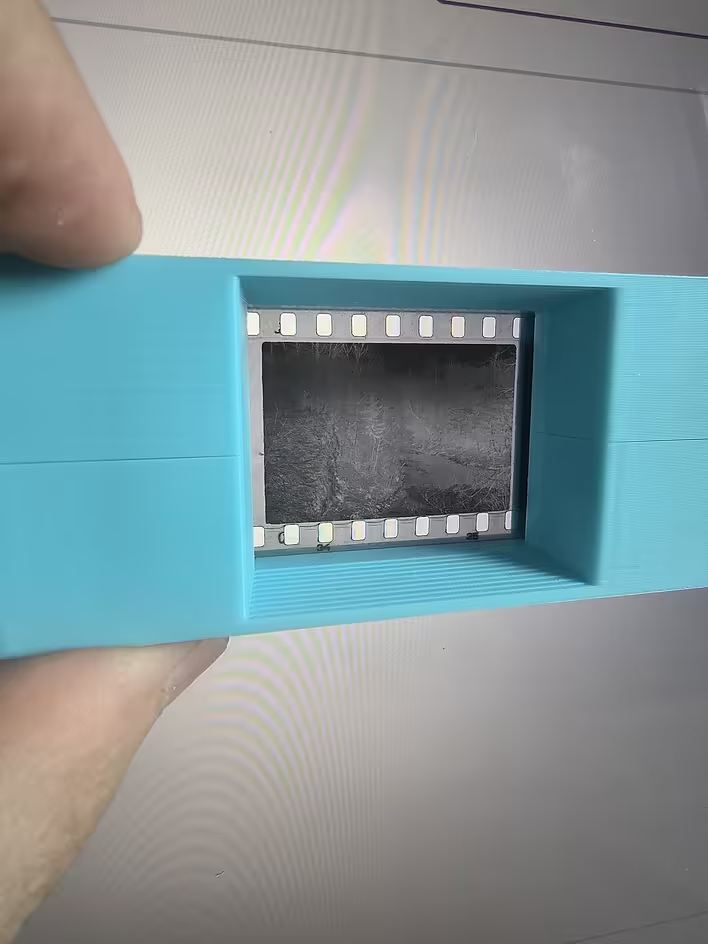
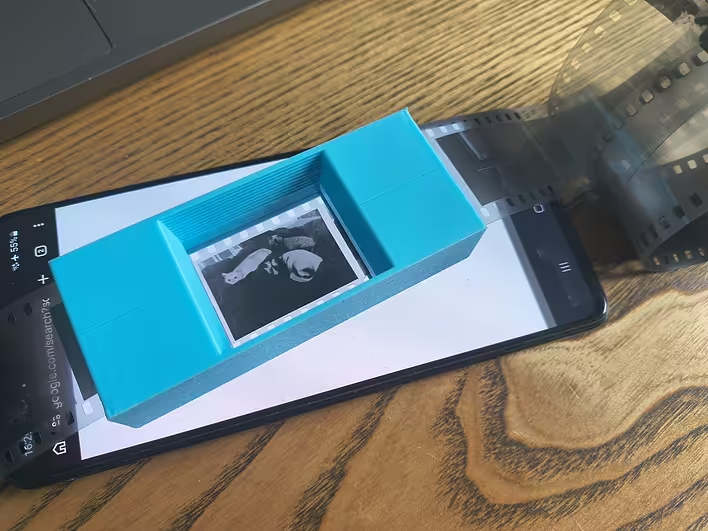
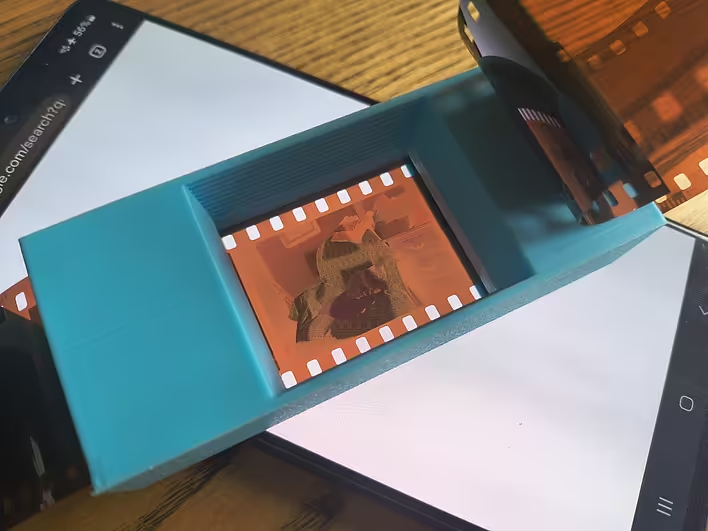
To start, I printed a simple holder for the film on a 3D printer. Its only task is to hold the negative flat so it doesn't bend.
Моделька на мейкерворлд
Here is a link to the model https://makerworld.com/uk/models/1336163-35mm-film-holder?from=search#profileId-1375466. It holds together even without bolts.
You can do this without special tools (for example, stretching between two books). Or ask someone to hold it.
Steps
Next, everything is as simple as possible:
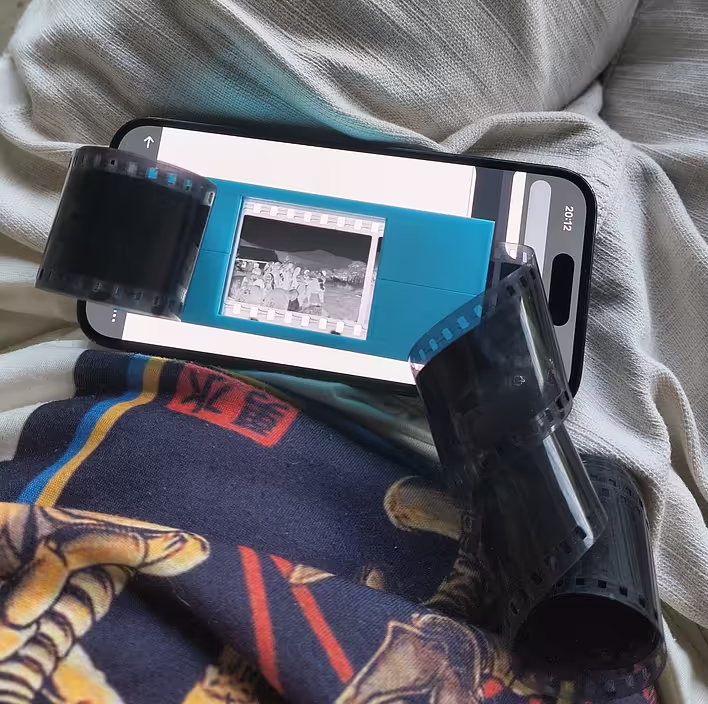
place the negative on a white screen of a phone or monitor;
photograph the negative with another phone (I could only take pictures in macro mode);
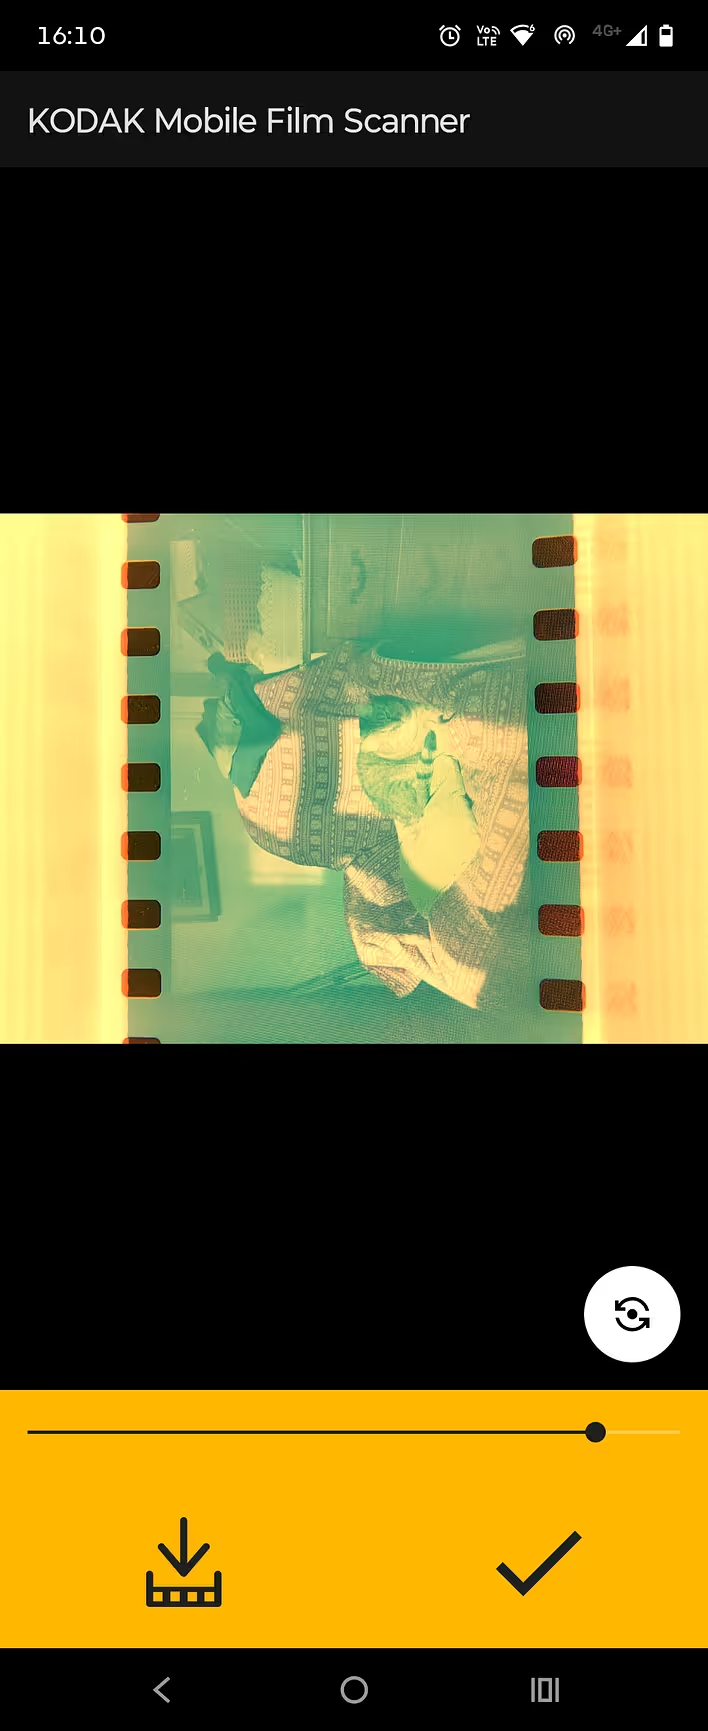
open the resulting shot in the Kodak app, which inverts the negative into a positive.
It sounds almost too simple, but it really works. You can do this literally on your knees.
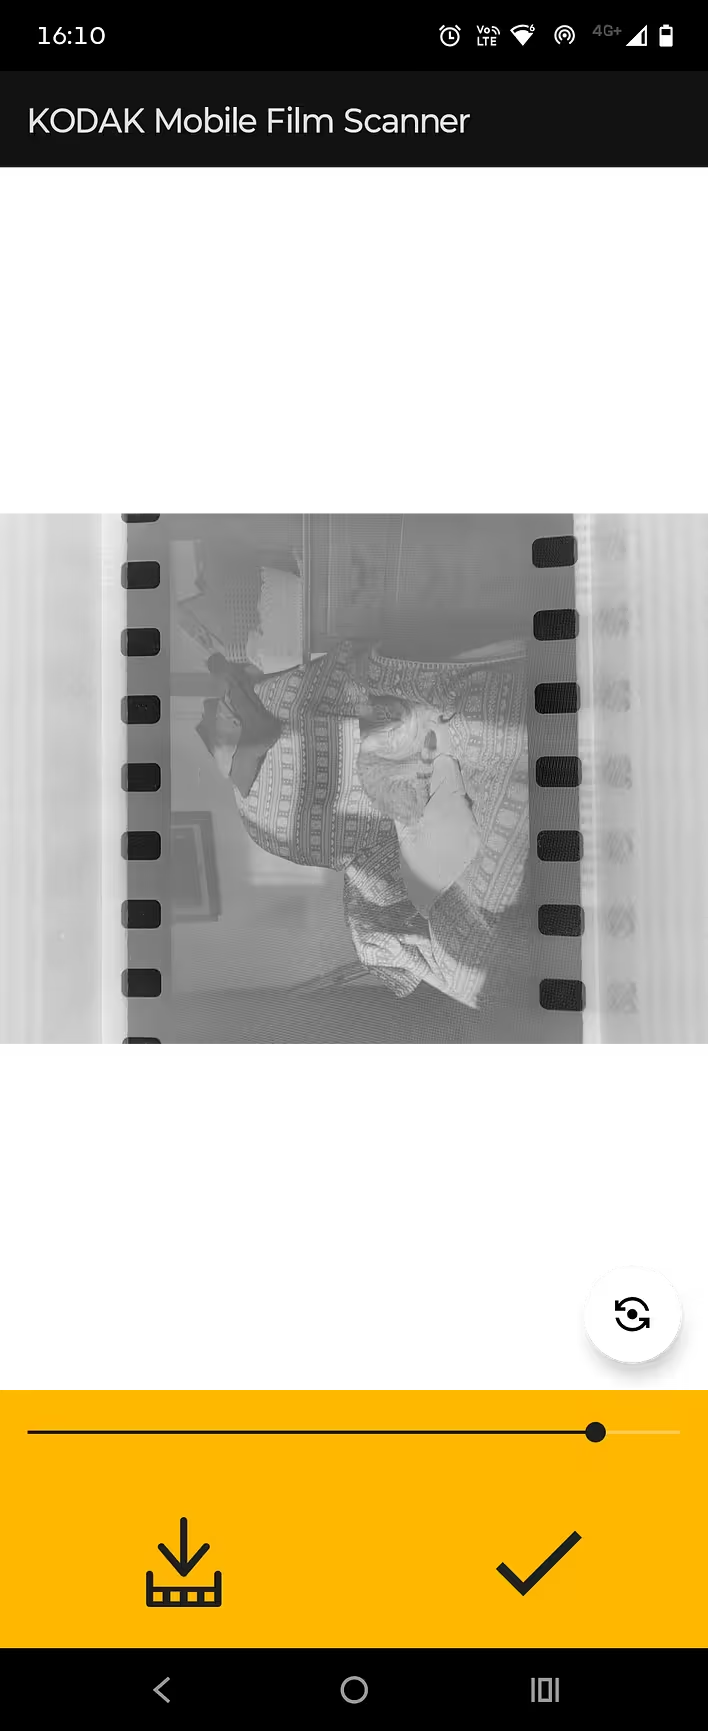
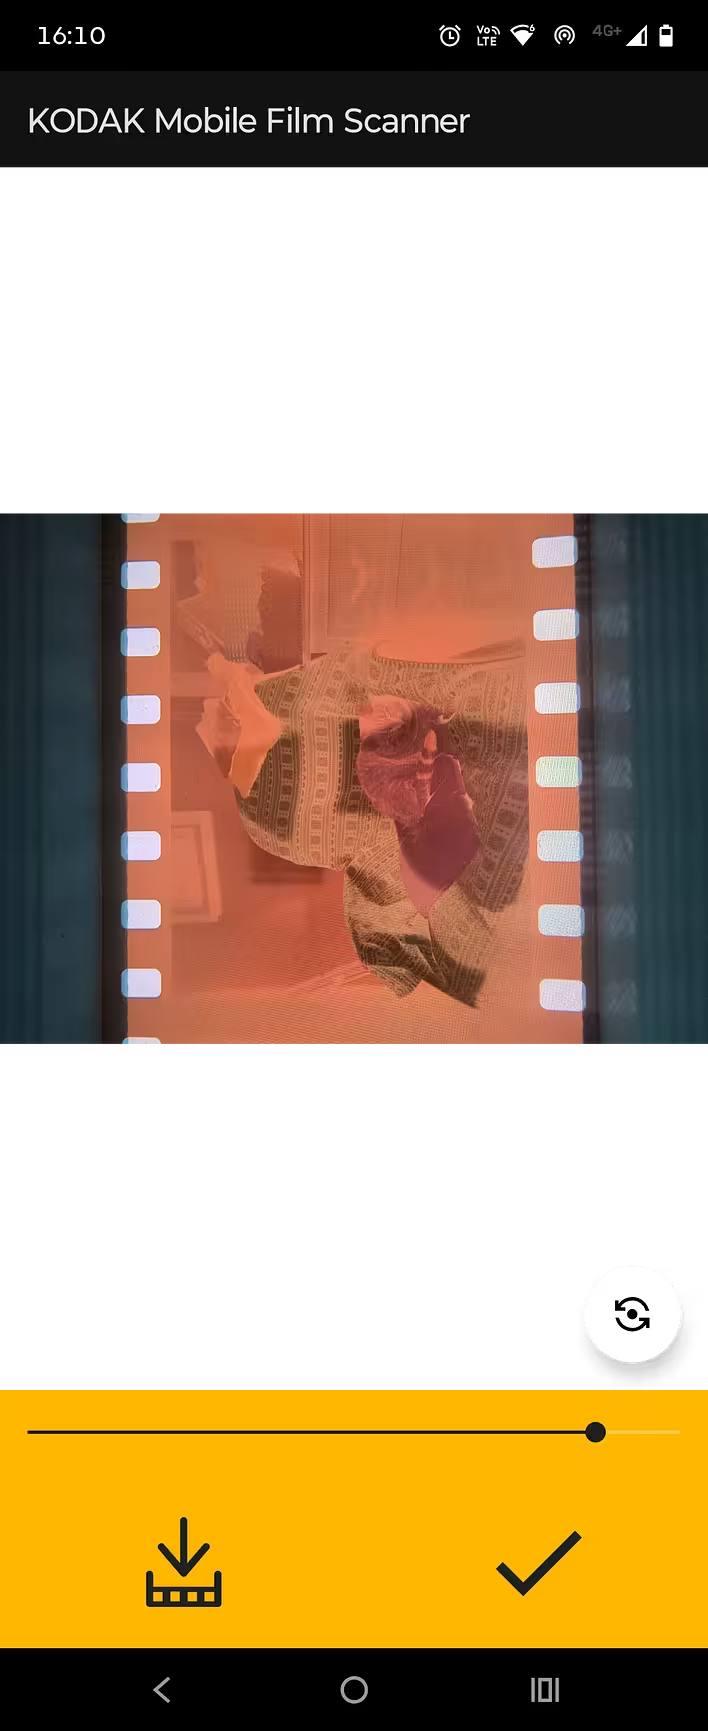
Screenshots from the Kodak Film Scanner app
Кольорова Плівка Kodak у позитиві (так собі якість)
Кольорова Плівка Kodak у ЧБ позитиві
Негатив
What came out
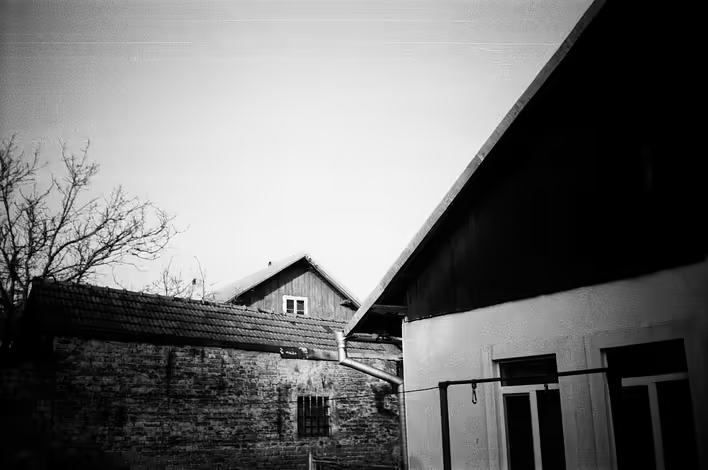
With black-and-white film, the result pleasantly surprised me. Of course, it's not professional scanning, but to quickly look at old frames or remember what was on the film, it's more than enough.
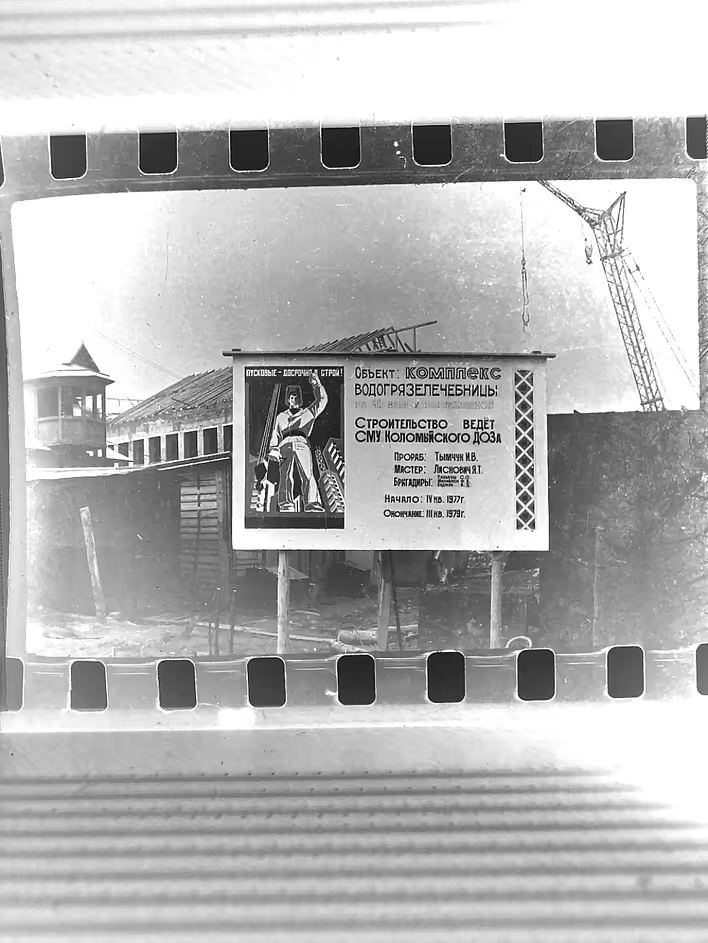
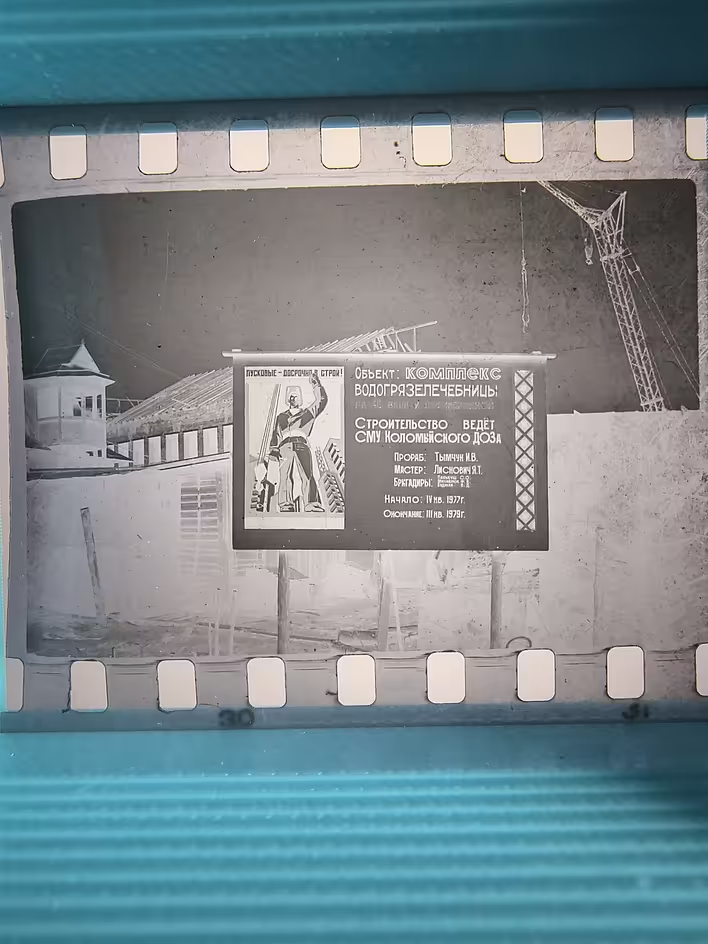
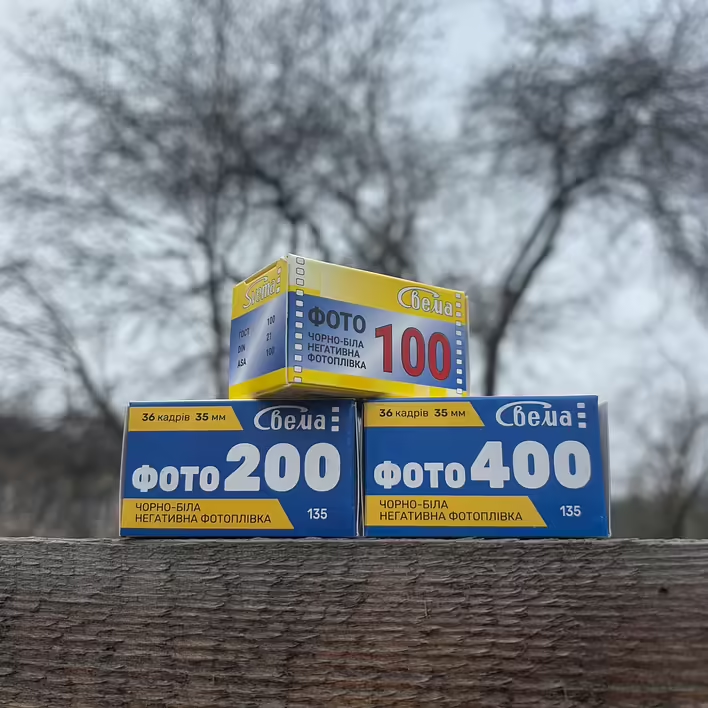
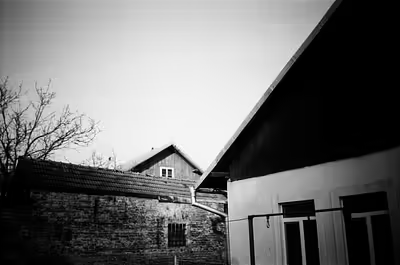
Here is an example of negatives from the SVEМА film of the 70s:
Позитив
Негатив
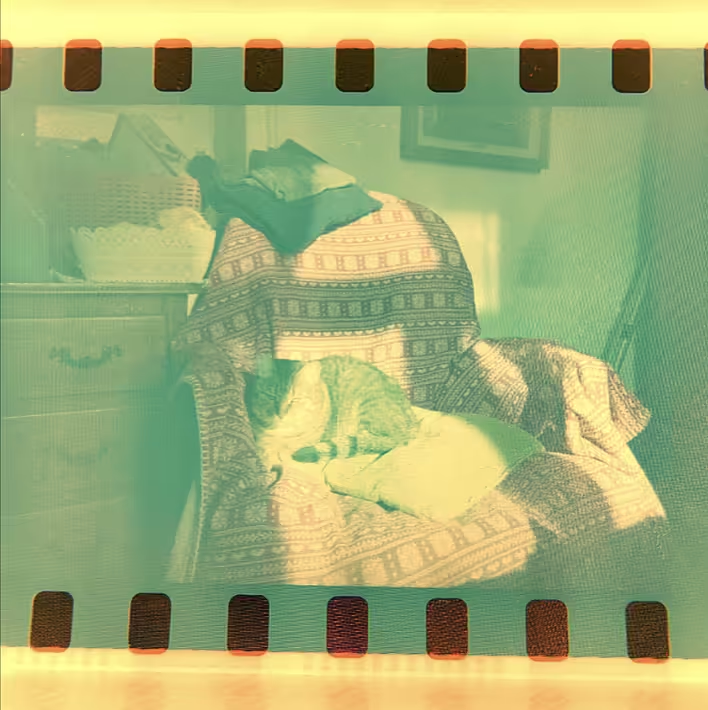
But with color negatives, everything is much more complicated.
My smartphone automatically starts actively "helping":
constantly readjusting focus;
automatically changing white balance;
aggressively processing colors;
adding its own image enhancement algorithms.
As a result, the colors become very far from reality, and the detail noticeably suffers.
If I were to evaluate the color film itself, I would give this method about 2/10. You can see what is depicted in the frame - yes. But you definitely shouldn't expect a beautiful result.
Can it be done better?
Yes.
The main limitation in my case is not the method itself, but the smartphone camera and its automatic processing.
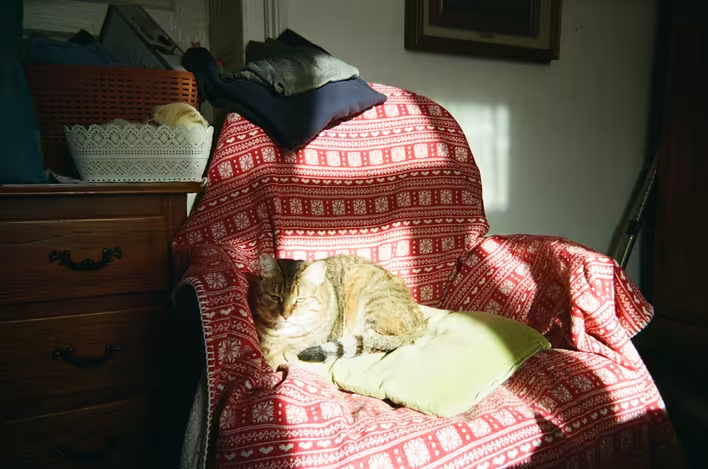
Example in color (vs professional scanner)
Скан на камеру телефону
Професійний сканер
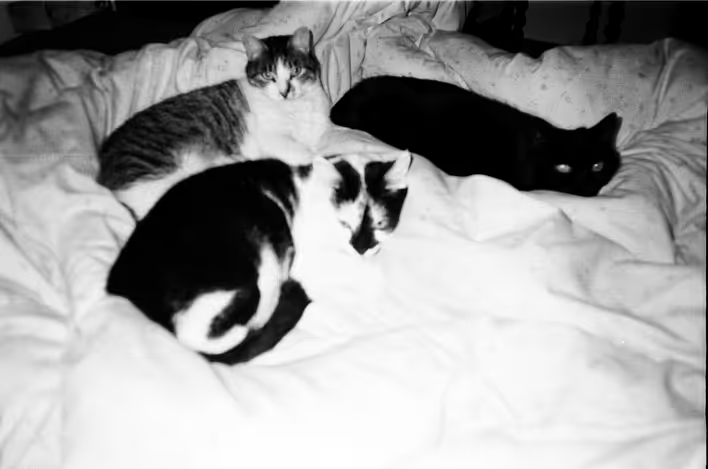
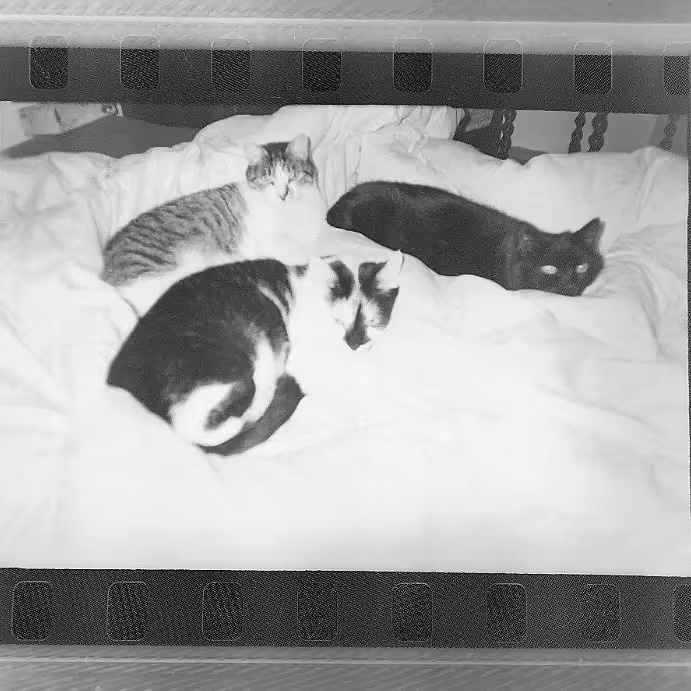
Example in black and white (vs professional scanner)
Професійний сканер
Скан на камеру телефону
If you use a DSLR or mirrorless camera with a macro lens (or at least a good macro lens for a smartphone) and shoot in RAW with fully manual settings, the result will be significantly better. This is how many photographers today engage in "home scanning" of film.
If you need to quickly see what is on the old negatives, this method is completely workable. It won't replace professional scanning, but it allows you to literally understand within a few minutes which frames have been preserved and whether it’s worth scanning them later in a photo lab.
For me personally, this was exactly the case. Curiosity was satisfied almost instantly, and the most interesting frames will still go for professional scanning later.