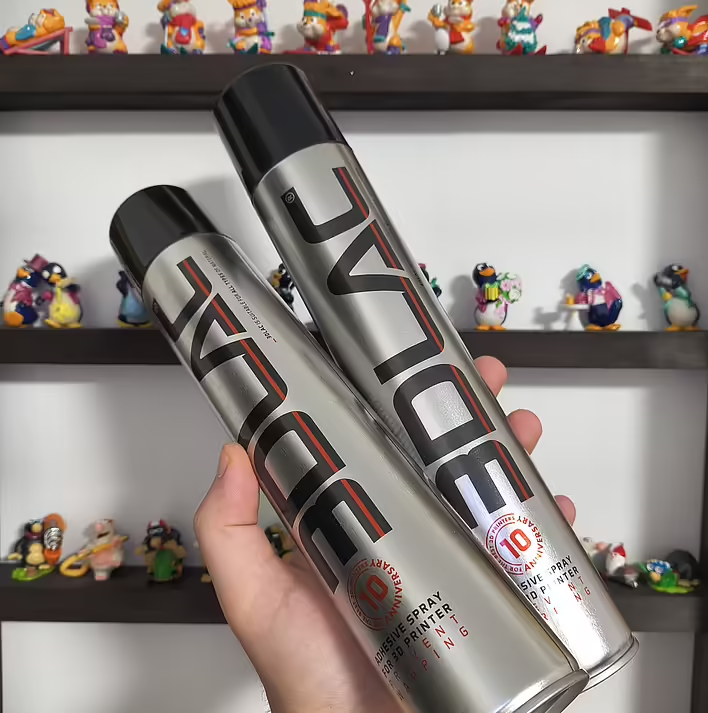
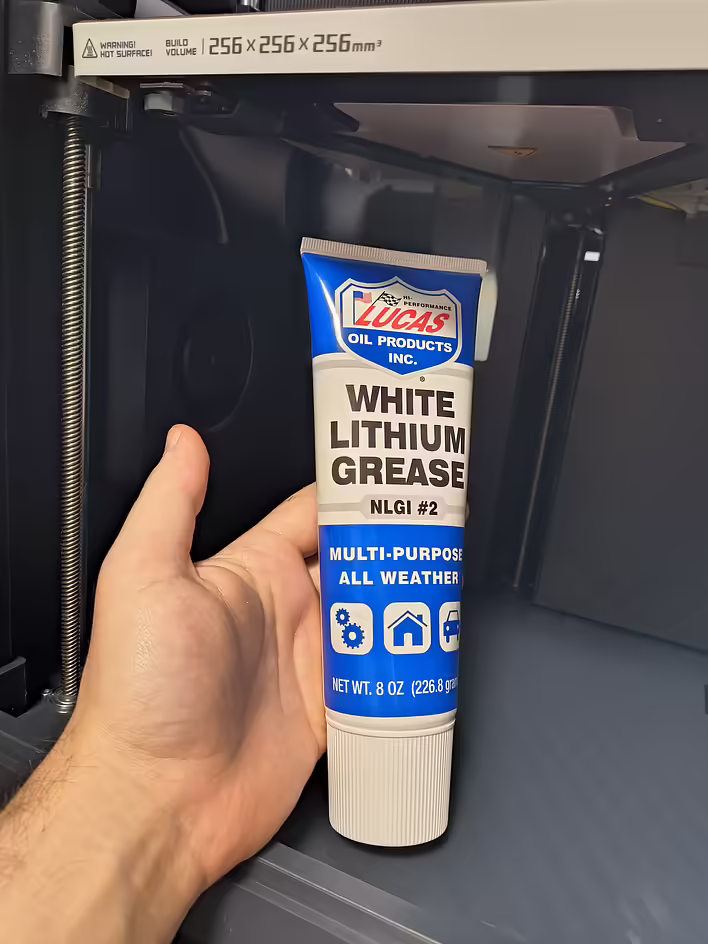
I printed 30kg for PrintArmy and a couple of kg for myself. The printer is ~3 months old. I lubricated the Z-axis guides after about 15kg. I used the packets from the Bambu Lab kit. For the Z-axis, you need to use the Grease packet.
For the 30kg, I decided to clean and lubricate everything necessary. Before that, I watched a few popular tutorials on YouTube. Specifically:
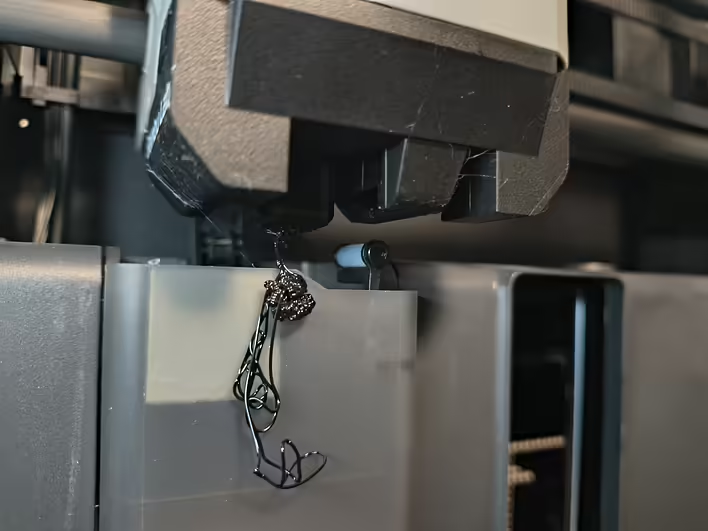
Overall, they are decent videos, but there are nuances. For example, in one video, the author applies way too much Grease. I followed his lead. Then, when I lowered the plate, I realized - the excess from the axis would be squeezed out, and the extra lubricant needed to be discarded.
Забагато змазки. Зайва просто витискається під час руху плити.
The miracle of assembly - I removed the excess lubricant. And for beginners (like me), it may seem that something went wrong.
too much grease
What was needed?
Wet wipes
Microfiber / cloths
Vacuum cleaner
Syringe (2cc)
Medical gloves (I didn't have any, but it's better with them)
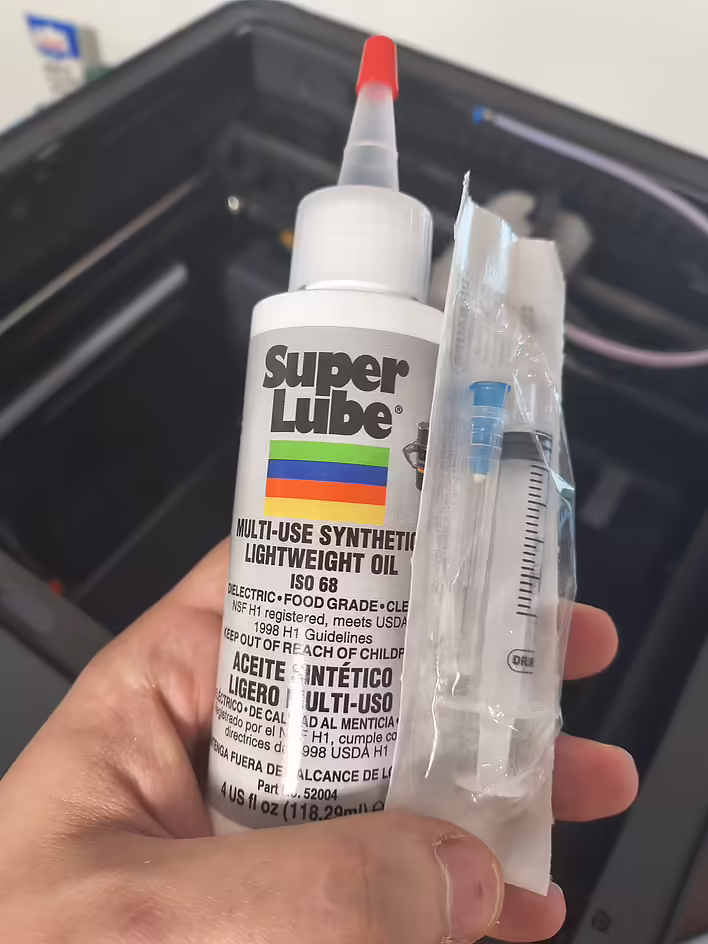
Super Lube 52004
Lucas Oil 10533
Process
Actually, everything is quite simple. We vacuum (need to remove debris so that nothing gets stuck during wiping), wipe with a dry cloth (lint-free), and vacuum again. After that, we start lubricating.
Here is link to the official documentation (tutorial for the p1 series).
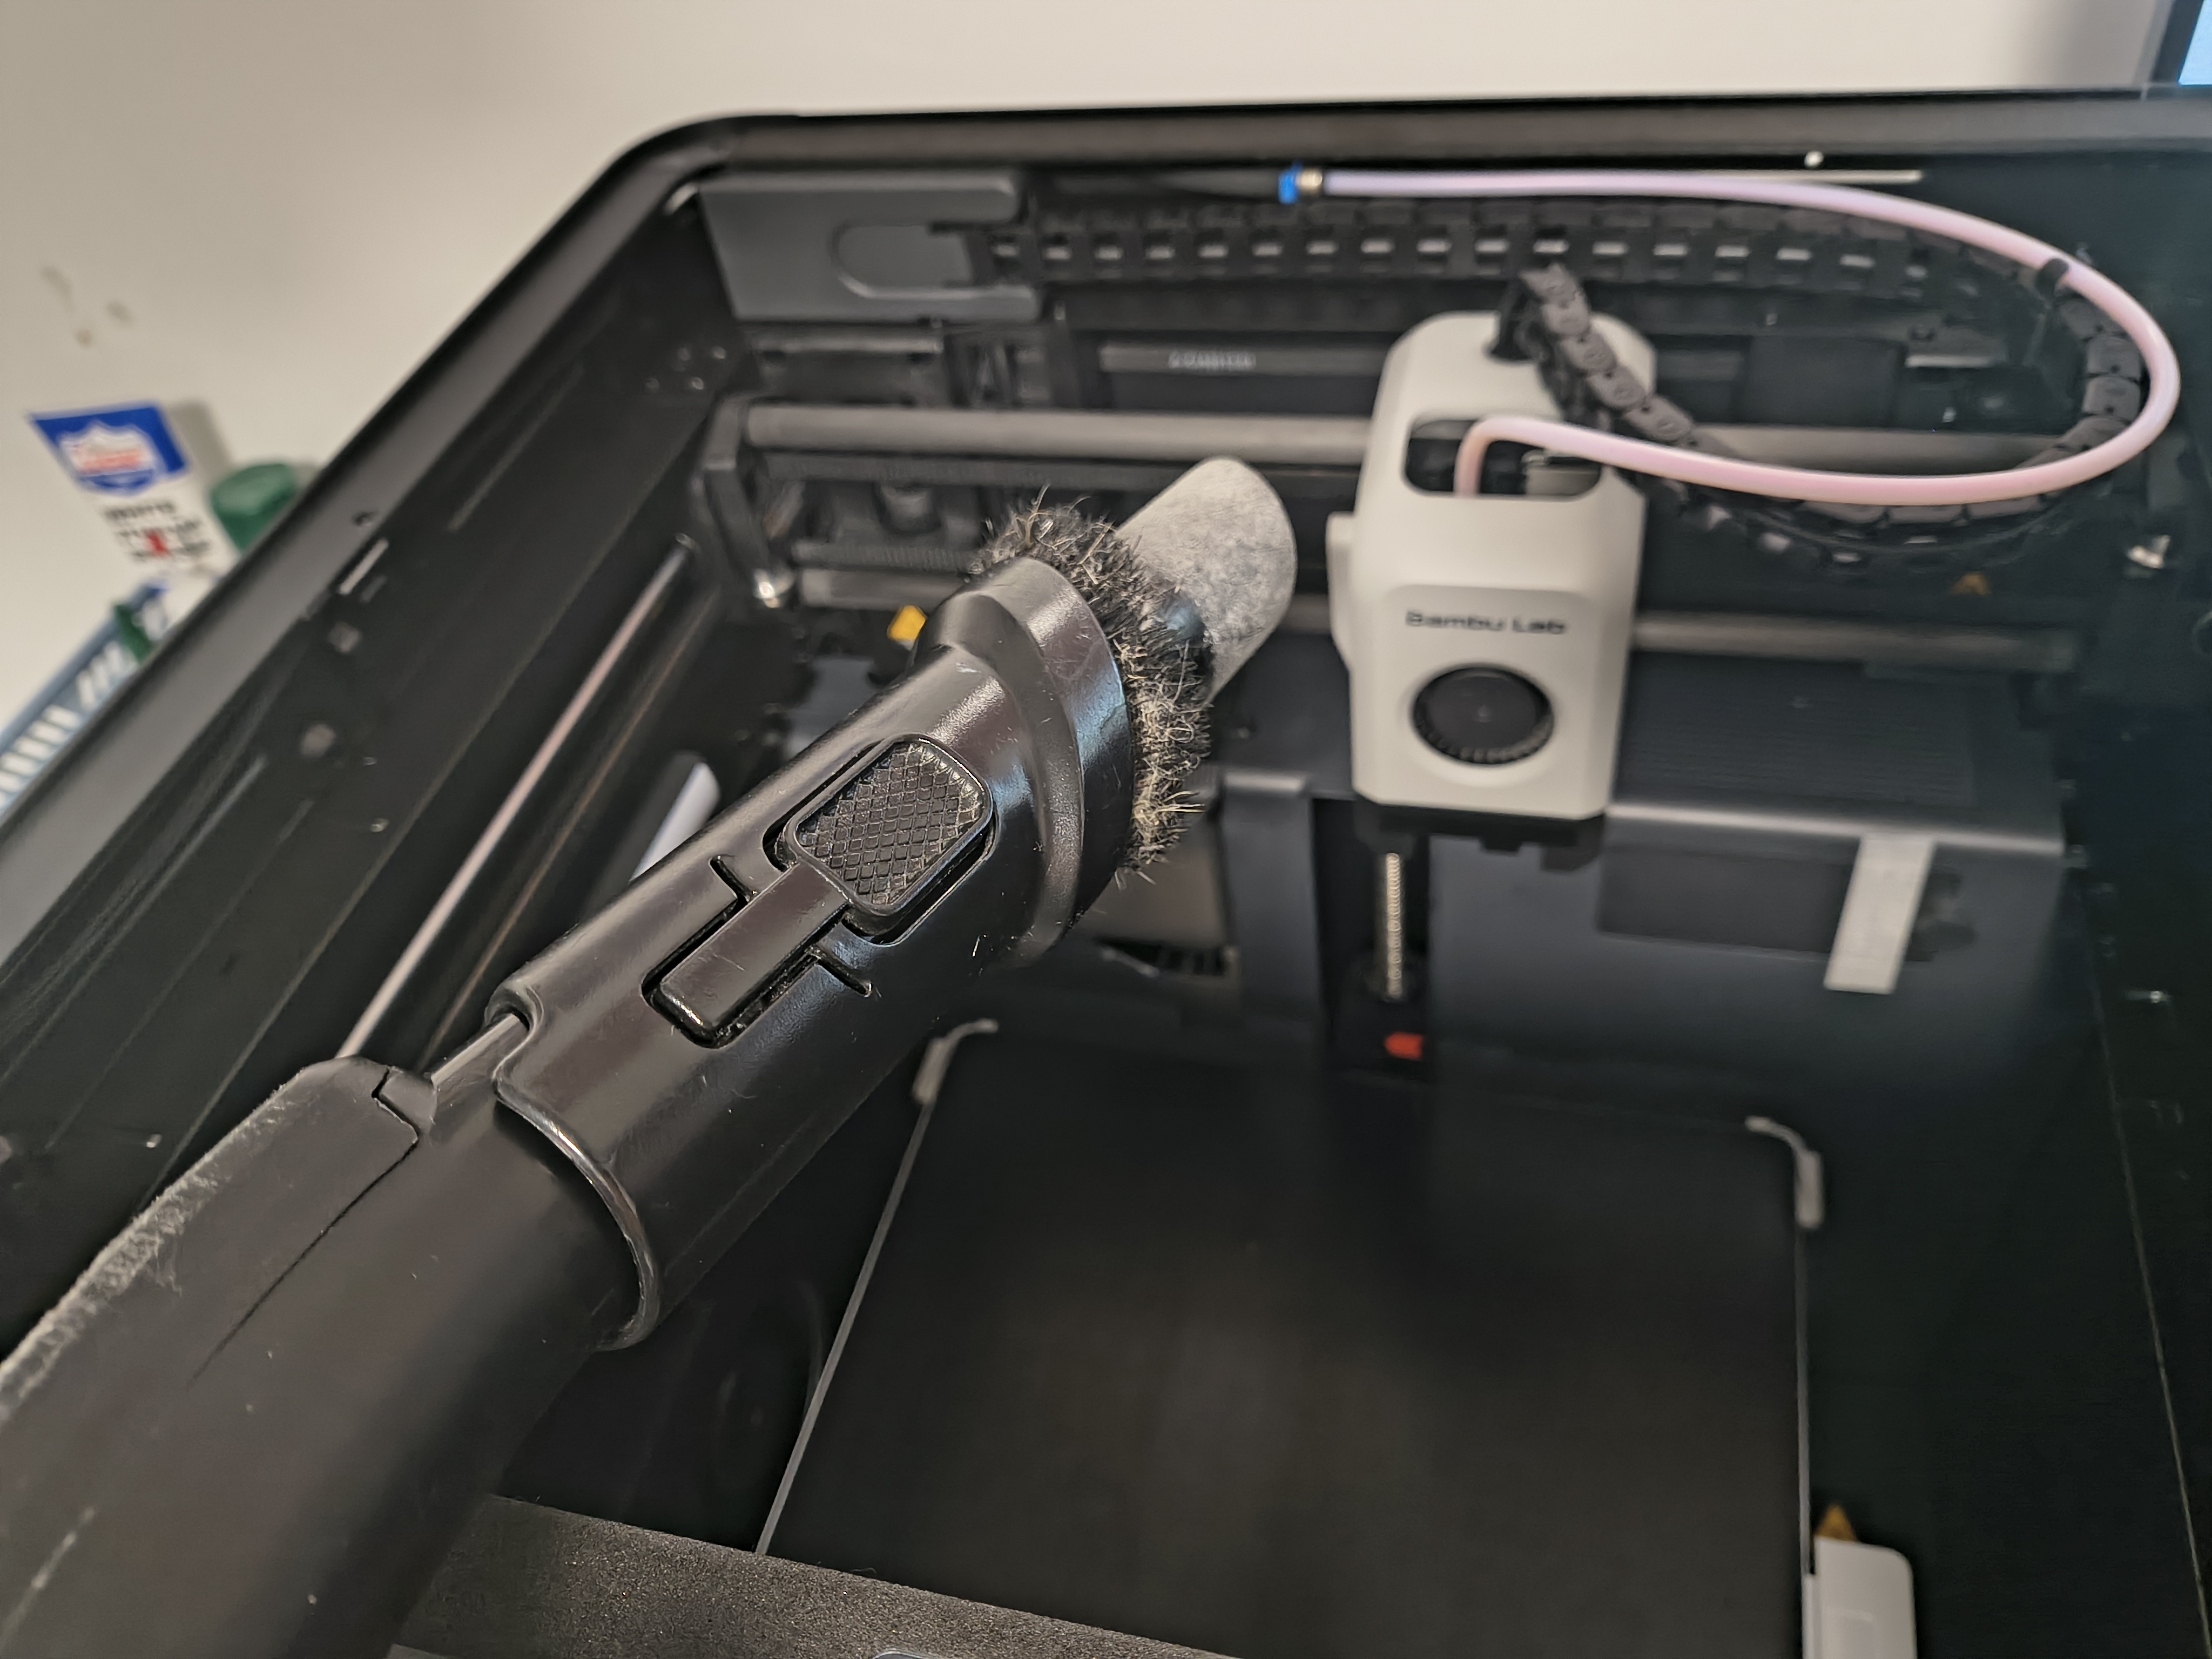
We vacuumWe need to clean all the fans (coolers) from dust and everything else you see. After the first run - we wipe with a cloth and vacuum again.
In the P1S, the ventilation is stronger than in the open P1P (according to comments), so dust accumulates more intensively there. Especially on the rear and bottom coolers.
It's hard to reach with just a vacuum cleaner — next time I will definitely get a can of compressed air, because blowing manually is not an option 😅
We lubricate
Super Lube 52004
Super Lube 52004
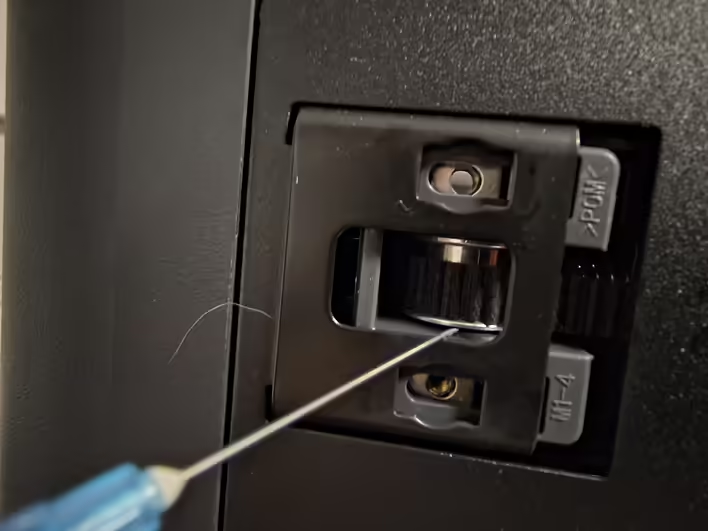
I started with the Idler Pulley. These holes are at the back of the printer. They pull the belts back and forth. Here is the official documentation translation:
Idler PulleySeveral idler pulleys are installed on the printer. These idler rollers have sealed bearings inside that do not require lubrication, but we still recommend adding a bit of lubricant between the idler pulley flange and the plastic holder to avoid squeaking. DO NOT add GREASE (lubricant) to the belts, as this may lead to belt slipping or layer misalignment.
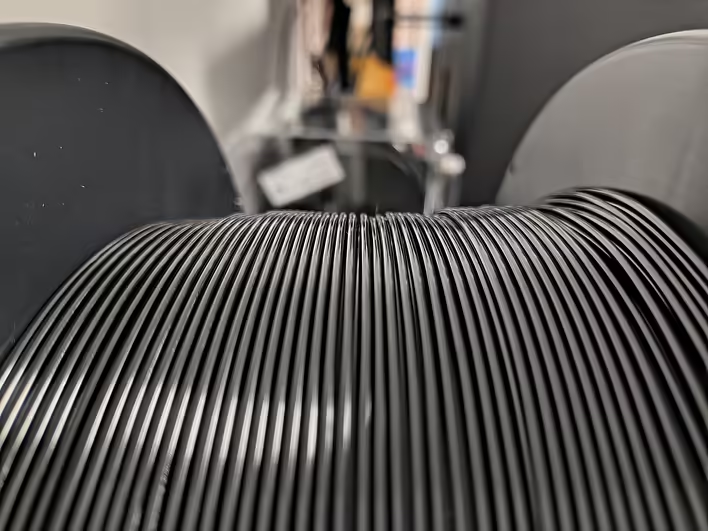
In all videos, it is said that Super Lube should not get on the belt. I used a syringe and applied a drop on the top and bottom of the bearing. My printer is in a separate room, and I don't mind squeaks or anything like that, but better safe than sorry.
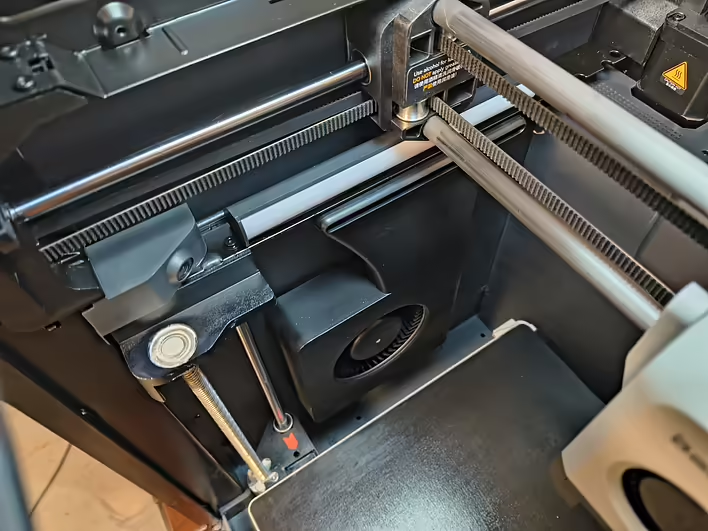
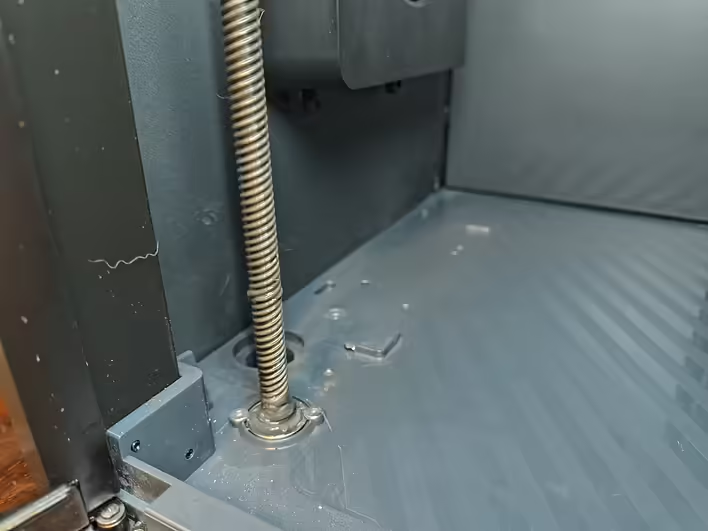
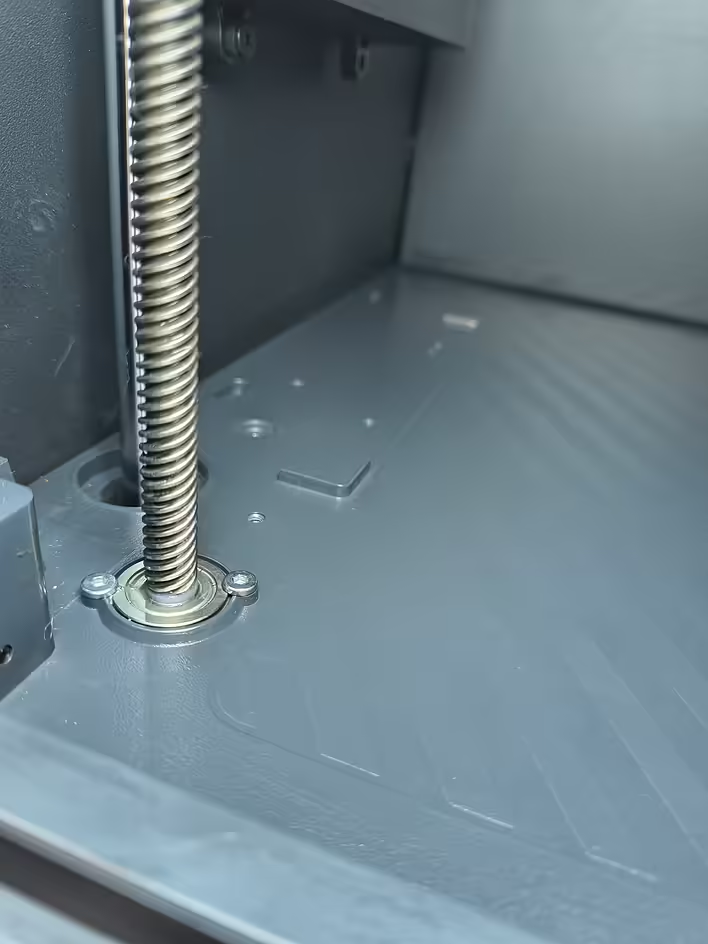
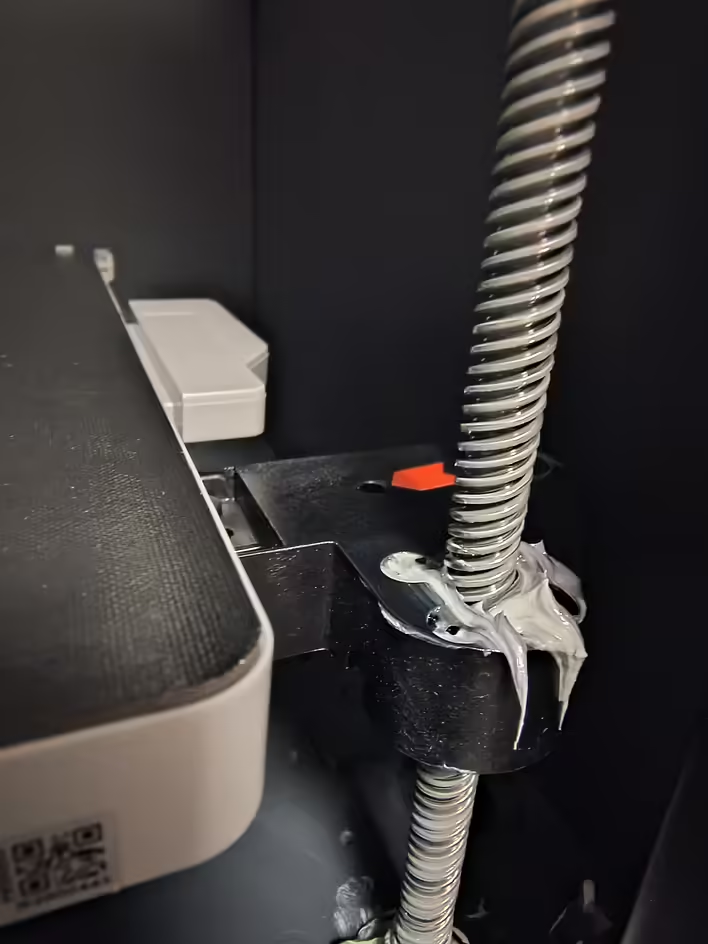
Z-axis Lead Screws
До
Після
First, you need to wipe these screws. The cloth will have to be thrown away afterward. The P1S has three lead screws. Left, right, and in the middle of the back wall.
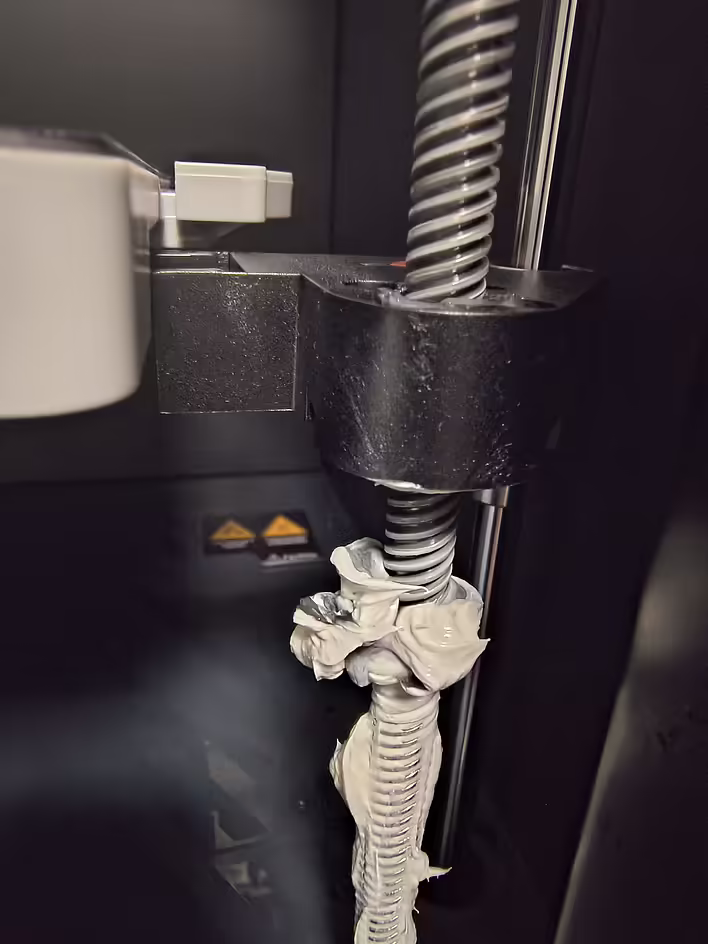
Моя помилка. Забагато змазки
Here is a visual example of what I would not recommend doing. You should lubricate with your finger in gloves just enough to leave some in the threads' grooves. Otherwise, it will look like this:
I had to wipe off the excess and throw it away. Considering the price of the lubricant, it's not very pleasant. But experience is experience.
I used this Grease:
Lucas Oil 10533
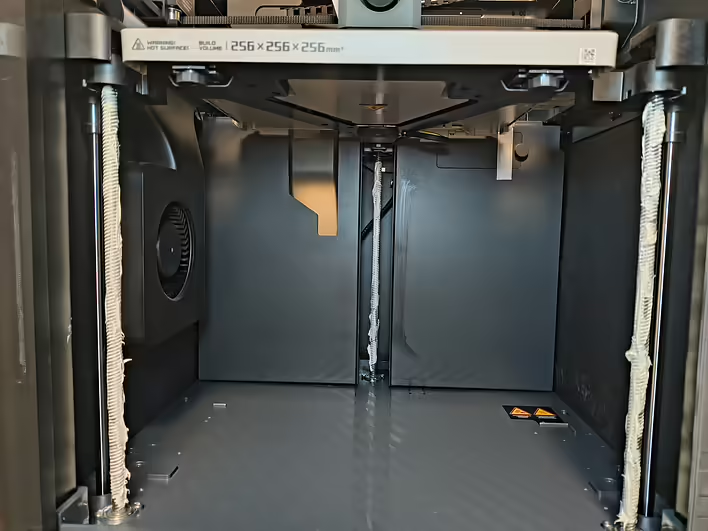
Y-axis and Z-axis Linear Rods
Y-axis and Z-axis Linear Rods (Лінійні стрижні)
These rods need to be wiped very carefully on both sides with a cloth with a drop of Super Lube 52004.
And that's it. The next time this will take me not much time.
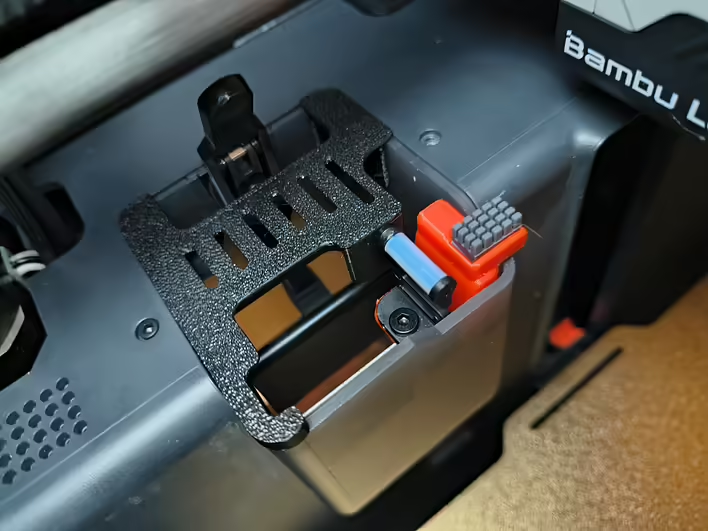
After that, I replaced the sock on the nozzle and installed an additional cleaner for it. But there will be a separate post about this.


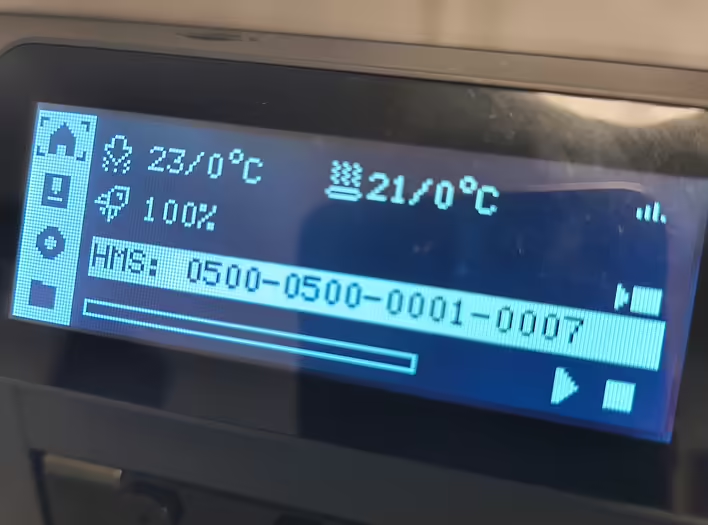
![[P1S] Message on the screen - Z-axis lead screw needs lubrication](https://d3kb0xa9zqcv9v.cloudfront.net/n2484aszggdtb76vwovcelpt4vag)