One of the traditional dishes for Christmas and Easter for many Ukrainians is smoked sausage and brawn.
For those who missed it, let's provide a brief overview. Brawn is a large piece of pork neck that has been marinated and cooked either by hot smoking (in a budzharna) or baked in a regular oven.
мнєєєєсо!
We chose a more complex and authentic route, so we decided to prepare the meat delicacies specifically by hot smoking: in a budzharna. Thus, the reader will find a step-by-step and captivating (as the author hopes) narrative about the entire process: from choosing the meat to the grand finale of obtaining the finished dish.
Day 1: Choosing the Meat
To prepare sausages, brawn, and pork belly, it is necessary to purchase meat and prepared pork intestines (this will be the casing for our sausage). Since there was time to spare, the meat was bought at the meat market. This is a somewhat risky decision, as sellers in such places often like to manipulate the weight of the goods and give incorrect change. But you can forget about paying by terminal there. On the plus side – there is indeed a larger selection of meat, and only there was the intestine found (factory-made, Hungarian production).
Summary of purchases: pork loin, pork belly, thigh part, and lard were bought.
On the same day, the meat needs to be marinated, as it should spend at least 48 hours in the marinade, even better – 72. So we got to preparing the marinade. For this, we needed:
2 liters of water
1 medium onion
160 g of salt (100 ordinary and 60 nitrite)
peppercorns
bay leaf
grated garlic
спеції, сіль та вода
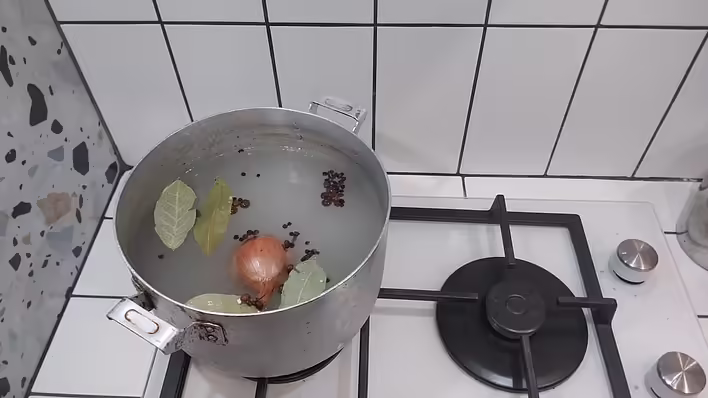
All ingredients (except for the garlic) are added to the water, after which the marinade is boiled until the onion becomes soft. It is thrown into the pot along with the peel. And only after our concentrated brine begins to cool can we add the garlic. This way, it won't lose its aroma; on the contrary, it will impart its flavor to the marinade.
варимо маринад
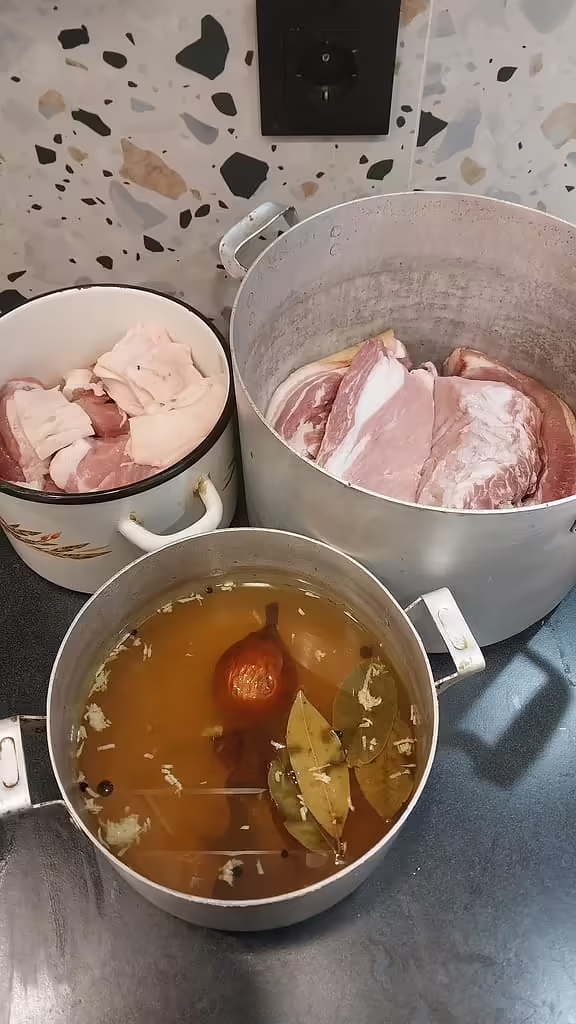
When the marinade has completely cooled – at least to room temperature – we can pour it over the pre-prepared meat.
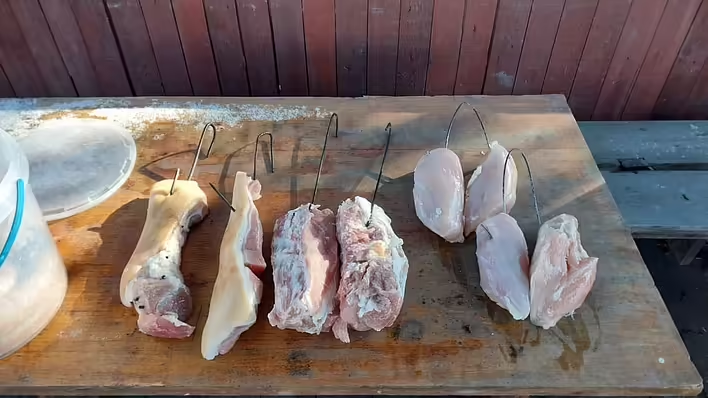
маринад і заготовки
For the pork loin, the preparation was quite simple: we just cut the piece in half lengthwise.
For the meat for the future sausage, we cut the thigh part into small pieces (about the size of 2 matchboxes).
The pork belly was already the right size for smoking, so we just rinsed it with cold water.
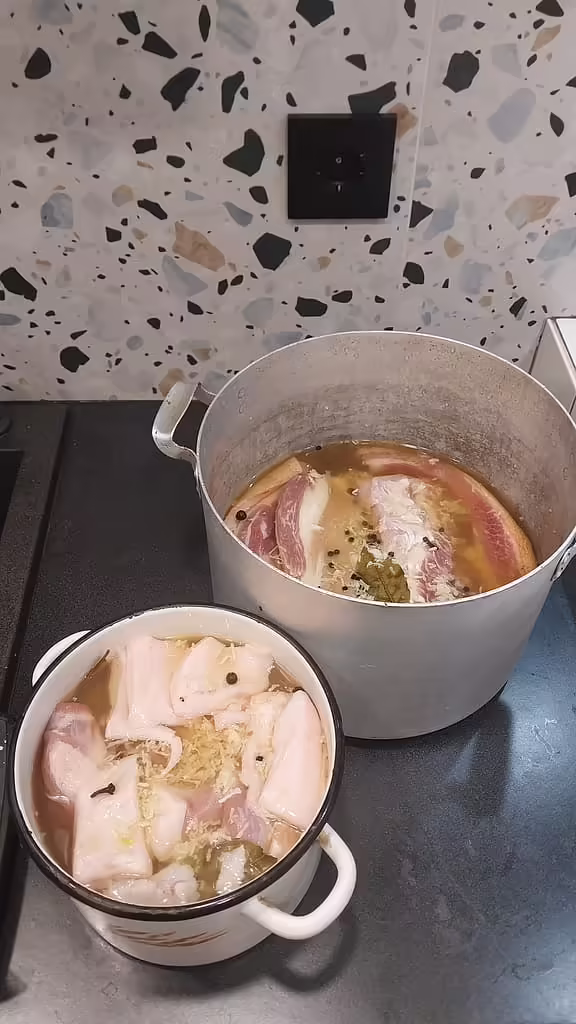
залиті маринадом заготовки
Having poured the meat, we send it to a cold place for 2 and a half days. In our case – on the balcony (hello, MasterChef, for those in the know;))
Day 2: Buying Chicken Fillet
Having read a lot of articles on the Google query "how to make homemade sausage," we decided to not botherimprovise and add chicken to the future pork mince instead of beef. So on this day, we bought chicken mince and fillet. We will also smoke it.
To avoid complicating things with the marinade, we made a quick version:
1 liter of water
60 g of salt
20 g of nitrite salt
We brought it to a boil and let it cool. We placed the chicken fillet in the same pot where the pork loin and belly are already marinating, adding the prepared and cooled brine. We left it to salt further. Since chicken fillet has a different fiber structure, it doesn't need such a long time in the marinade. Therefore, a day and a half is quite enough for it before the actual smoking.
Day 3: Making Sausage
Probably the second most difficult day. Because we had to spend the whole evening preparing the mince for the sausage and stuffing it. Here we had to put in a bit of physical effort, but more on that later.
So, our meat for the mince has been sufficiently salted. It's time to drain the marinade and pick out the peppercorns and bay leaves. We can leave the garlic.
Also, before starting to prepare the mince, we take the package of intestines out of the refrigerator (in the morning we wisely moved it from the freezer to the main section of the fridge), rinse them with water, then leave them in a bowl of water until we stuff them. They will be out of our sight for about two hours.
Власне, та сама кишка
Заливаєм її холодною водою на 30...40 хв
We also prepare garlic (there's hardly ever enough in sausage) and a pinch of spices:
paprika (red sweet pepper)
nutmeg
black pepper
a pinch of salt.
For the next few hours, our best friend is the food processor.
наш друг на вечір
We will use the meat grinder attachment and sausage stuffer.
фарш
For the meat grinder, we choose a plate with small holes and grind the meat.
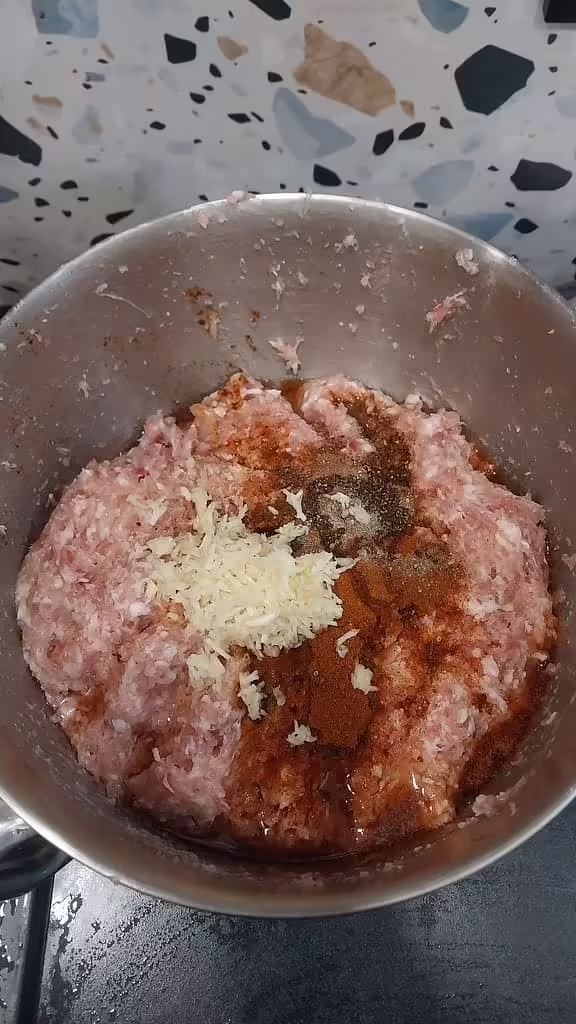
We add the prepared chicken mince and about 50 ml of water. In this same bowl, we add all the spices, grated garlic, and thoroughly mix the entire mass.
фарш з спеціями
Next, we face the “fun” and physically exhausting process: beating the meat mince. This is necessary to release the gluten from the meat and make the mass more cohesive. At least that's what the articles that Google provided us say ;)
лупашимо дубль 1
лупашимо дубль 2
Beating the meatballs on the countertop with the mince we prepared took about 20 minutes. The mass really became sticky and dense to the touch. So we can proceed to the stage of stuffing the intestine and forming the sausages.
For this, we remove the knife and plate from the meat grinder (leaving the auger), and instead install the sausage attachment and the stuffer, on which the intestine is stretched.
ковбасні насадки для комбайна
Here’s a tip from experience: we do not recommend stuffing one sausage longer than 60-70 cm. During smoking, there is a high chance that it will burst under its own weight.
When we have stretched the necessary piece of intestine onto the stuffer, we tie the end of the intestine in a few knots. We turn on the lowest speed of the processor and begin to tightly and evenly stuff the intestine, forming the sausage. The other end is also tied in a knot. We try to stuff it in such a way that there are no “air pockets” and uneven spots in the finished sausage; otherwise, this may play a cruel joke during smoking.
формуємо ковбаси
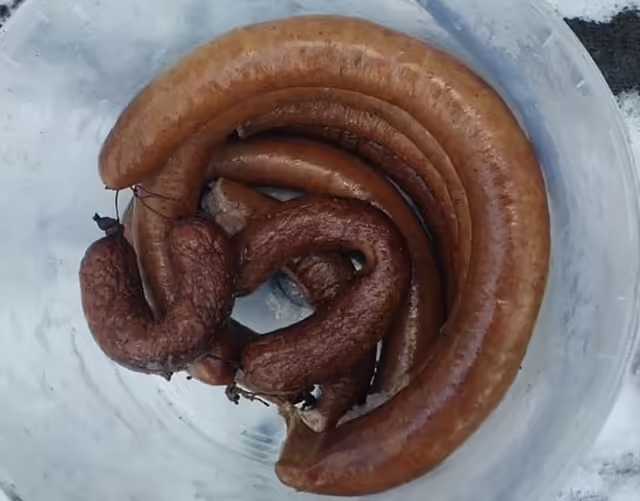
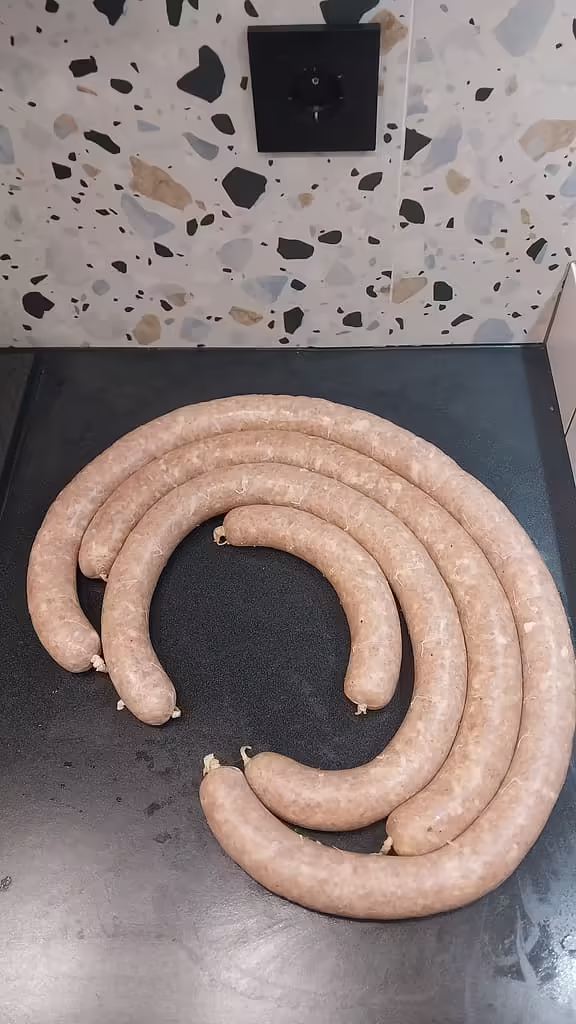
When we have formed the finished sausages, we additionally tied the ends with thread and tied them together, forming a ring. How it looks is in the photo before you ;)
вуа-ля!
Tired and satisfied that everything worked out, we place the preparations into a bucket, cover it with a lid, and send it to the balcony until tomorrow morning, when we will directly smoke all this deliciousness.
те саме відро м'яса
Day 4: Smoking
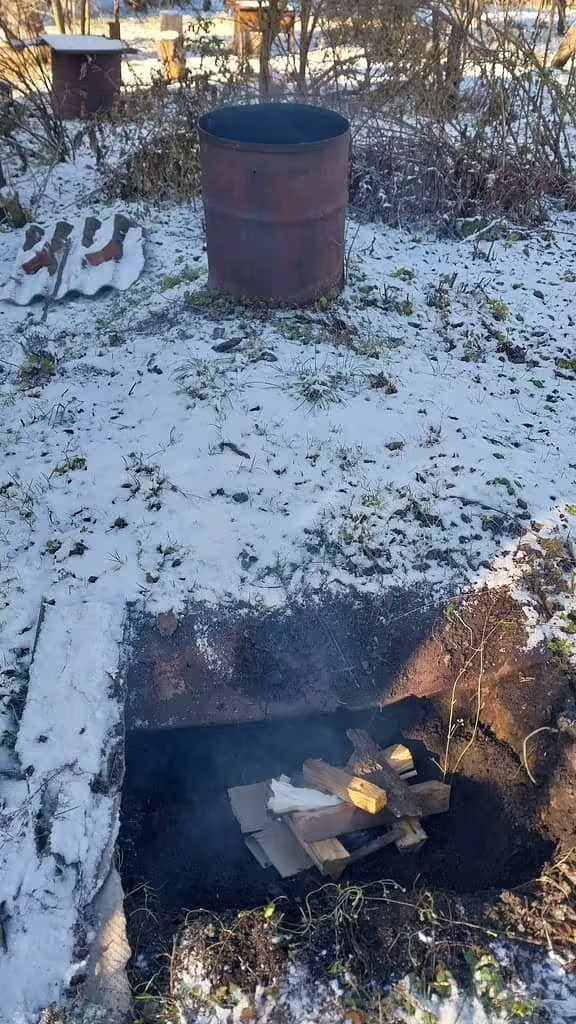
We head to the summer house, where we have built an improvised budzharna: a 200-liter iron barrel and a 120 cm trench. We need to heat it up before loading the meat and sausages.
прогріваємо бочку
For smoking in winter, from the moment of lighting the fire to the complete readiness of the meat, from our own experience, we recommend to allocate at least six hours.
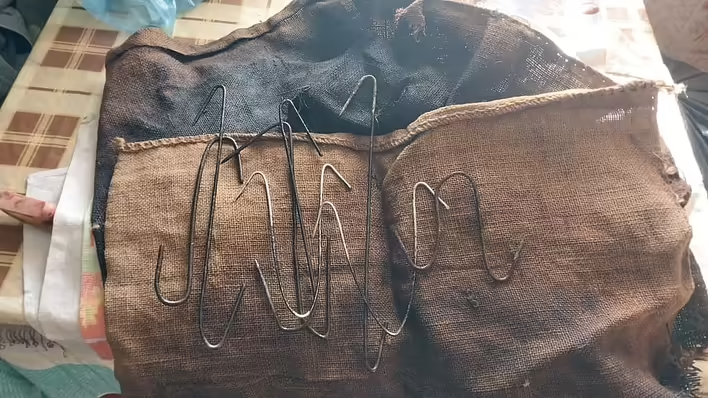
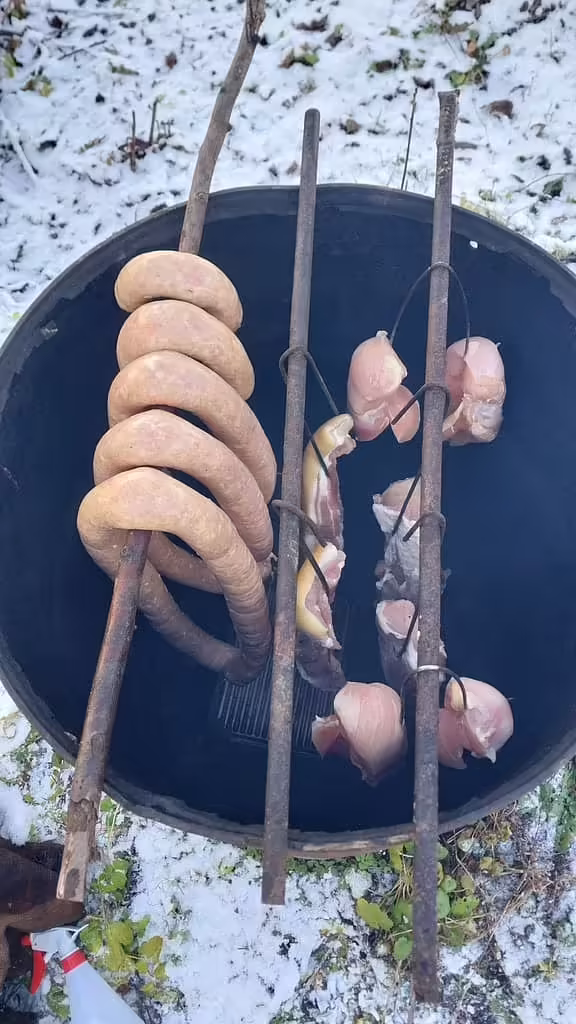
We hang the meat on hooks, and the sausage – on a wooden beam.
промиті та очищені від попереднього копчення гачки
населяємо м'ясо на гачки
We will smoke exclusively on fruit wood: cherry, apple, and pear.
закладка бочки
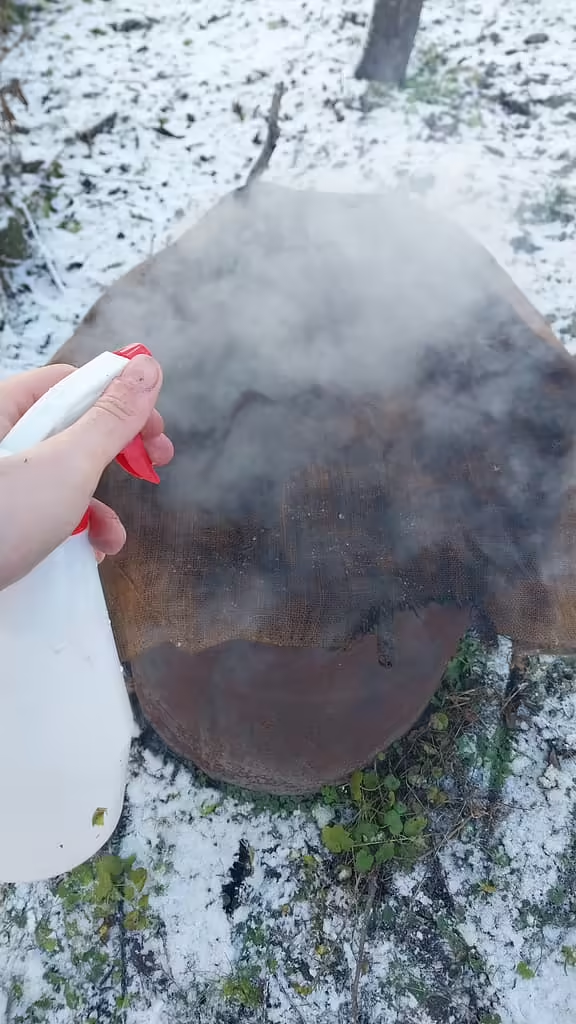
We cover the barrel with a burlap sack, which we will periodically spray with plain water. The fire in the pit should be of medium intensity so that the temperature inside the barrel is constantly maintained at 70 ± 5 degrees. This way, our meat and sausages will not dry out but will retain their juiciness and will be sufficiently infused with smoke.
не забуваємо обприскувати мішковину водою
Many people practice wrapping the meat with thread, netting, or gauze. This is done both to enhance the aesthetic appeal of the finished product and to prevent too many combustion products from settling on the meat's crust. To avoid worrying about whether our brawn, pork belly, and sausage have absorbed too many carcinogens – after smoking, they can all be rinsed with plain water.
So, let the game begin! We heated the barrel, loaded the meat. Now our task is to periodically toss wood into the fire, spray the burlap with water, and after 2 hours, turn the sausages to the other side.
Here’s the result we have after 2 hours of the process:
пройшло 2 години
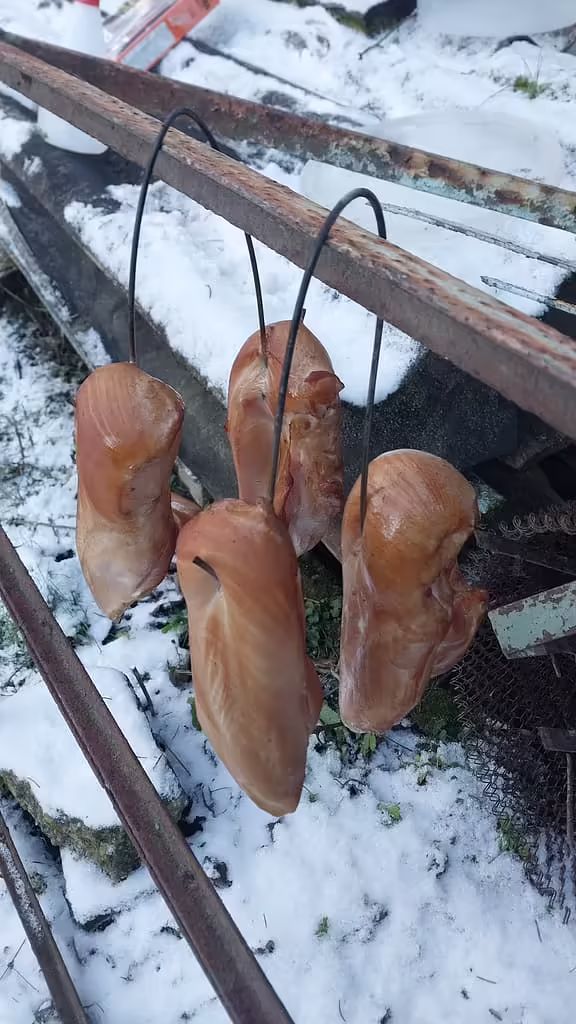
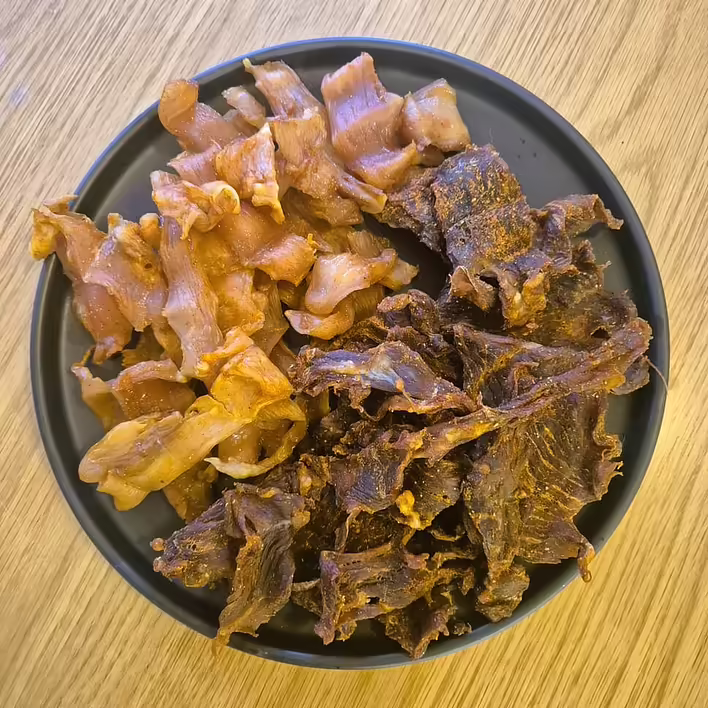
And this is the fillet:
готове філе
For complete readiness, it needs to stay in the budzharna for 3-4 hours. The sausage – about the same. And the pork loin and belly require 5-6 hours. Since we cut the pieces in half, we used less time for smoking. The thicker the pieces, the more time we will spend on the smoking process. This is also something to pay attention to.
And this is the finished product:
відерце))
We let it cool, put it all in the same bucket, take it home, rinse it with water, and enjoy the taste of homemade smoked sausages, pork belly, brawn, and chicken fillet.
результат нашої роботи :)
Everything is possible if you want it!
If you like our posts and recipes – you can always support our blog on the service Buy Me a Coffee. Your donations will inspire us to create new and useful Ukrainian content. We will be able to buy new ingredients, devices, and interesting cookbooks. This will allow us to regularly adapt recipes for simple and understandable cooking at home. Or you can just share this post on social media, which will also help the Tseivo platform to develop ;)