Lightly salted cucumbers are a quick and simple summer dish. It's a way to enjoy fresh, slightly salty, with a hint of spice, crunchy and aromatic cucumbers. Proper preparation of the ingredients is the key to a great result. We have calculated the proportions for the best crunch and the nuances of preparation, and we want to share them in this post.
Time spent: for preparation – half a day, for cooking – 10 minutes, for salting – 1-2 days (depending on the level of salting that you prefer)
Difficulty: 1 out of 5
Number of servings: 1 two-liter jar
Cost of ingredients: low
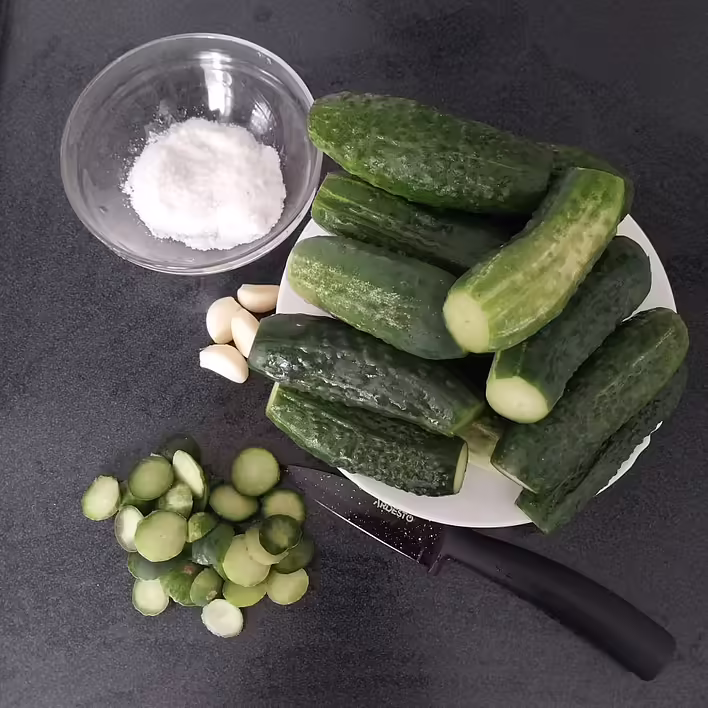
We will need:
1 kg of cucumbers
2 tbsp of rock salt (not sea and not iodized, this is important!)
750 ml of drinking water (filtered or boiled, this is also important)
4-5 cloves of garlic
horseradish leaves, dill flowers (sold at the market as a ready-made "bouquet")
продуктовий набір
Preparation
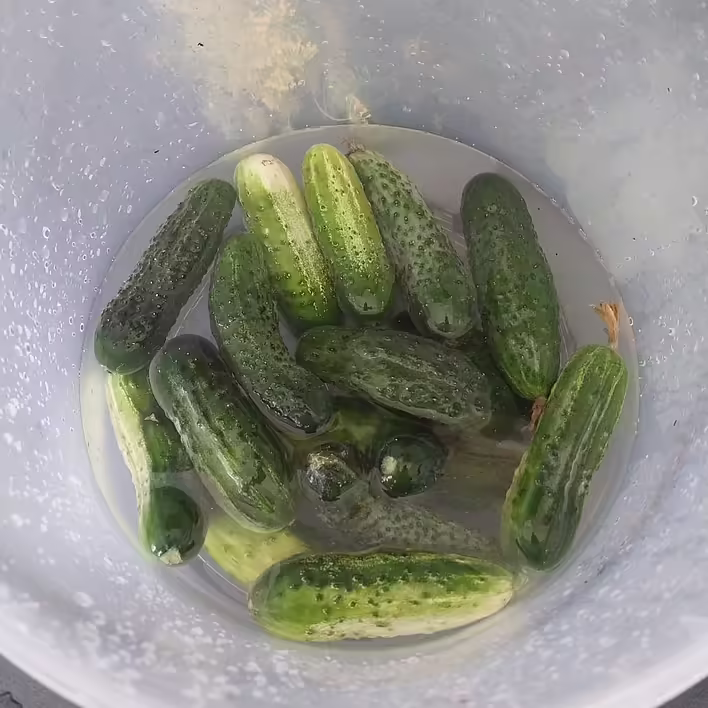
Thoroughly wash the cucumbers under running water, then place them in a container with cold water for a few hours. We put them in a plastic bucket overnight (we just forgot about them). This will help the cucumbers stay crunchy.
вимочуємо огірки
For the brine, we will use 750 ml of water. This volume was calculated empirically, first placing the jar with cucumbers and filling it with water. After that, we poured it into a bowl and then added salt and stirred well until it was completely dissolved.
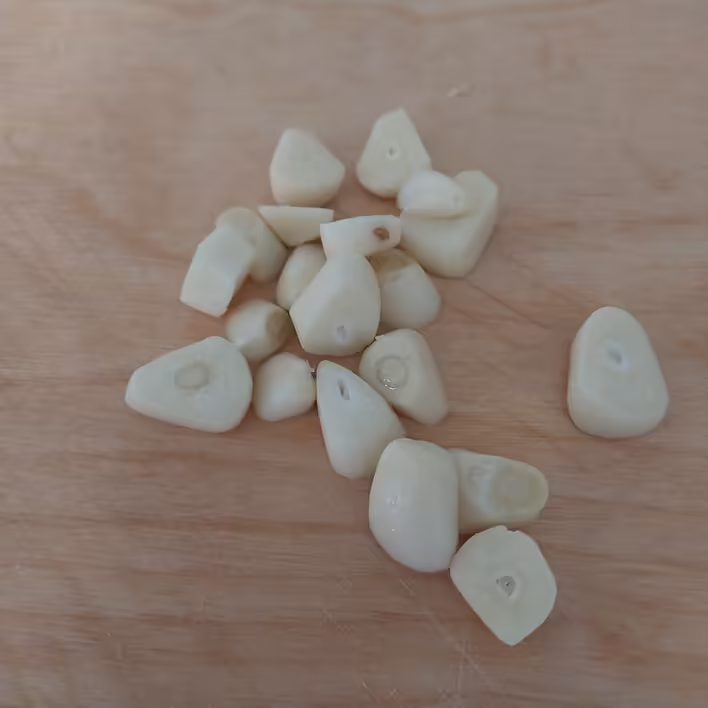
Peel the garlic and cut each clove into fairly large pieces.
порізаний часник
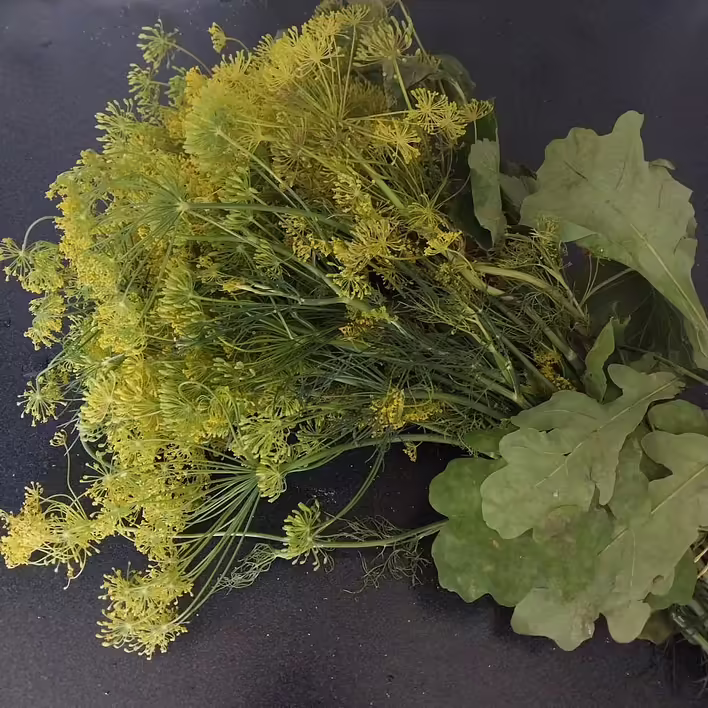
Under running water, thoroughly wash the dill flowers and horseradish leaves, as they may have unwanted "guests" from the animal world.
той самий "букет"
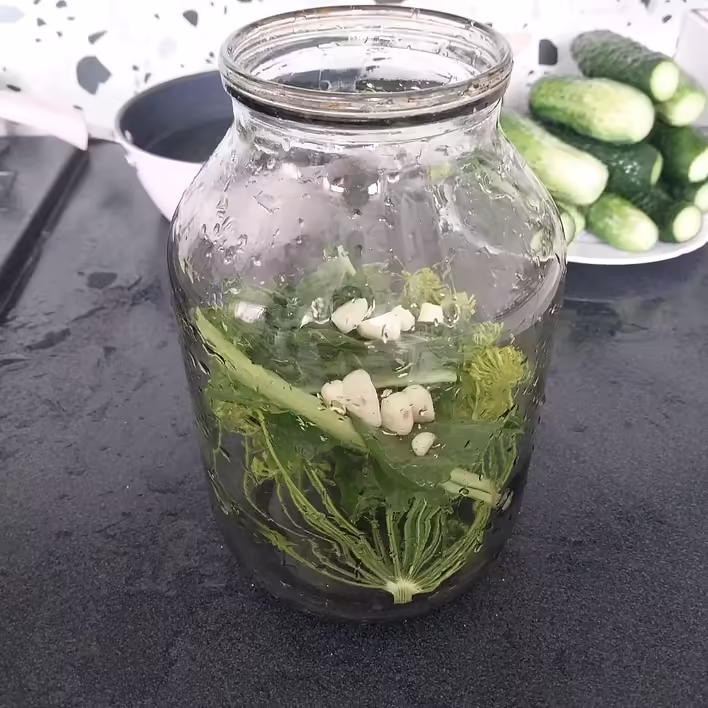
Cut off the "ends" of the cucumbers ;). Place a few dill flowers, horseradish leaves, and some of the chopped garlic at the bottom of a clean two-liter jar.
дно
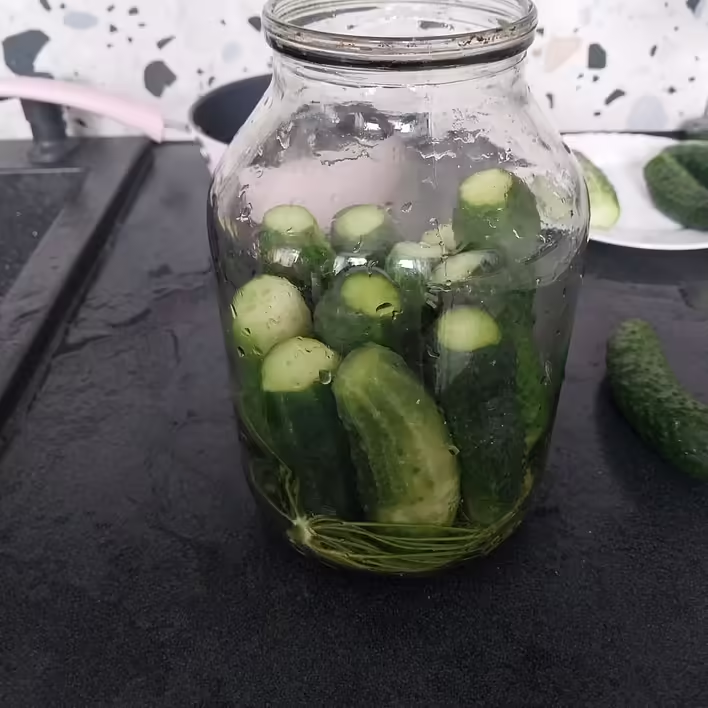
Firmly pack the jar with vertically placed cucumbers.
перший шар
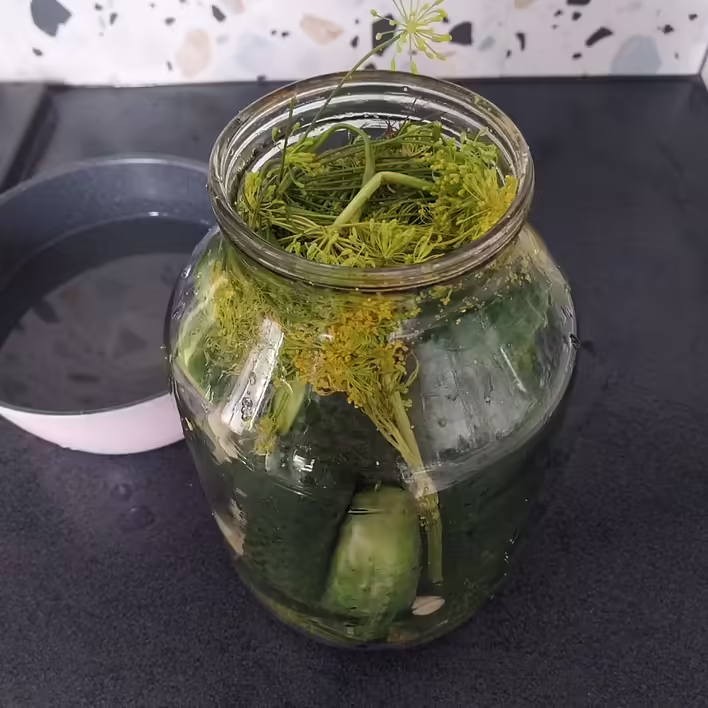
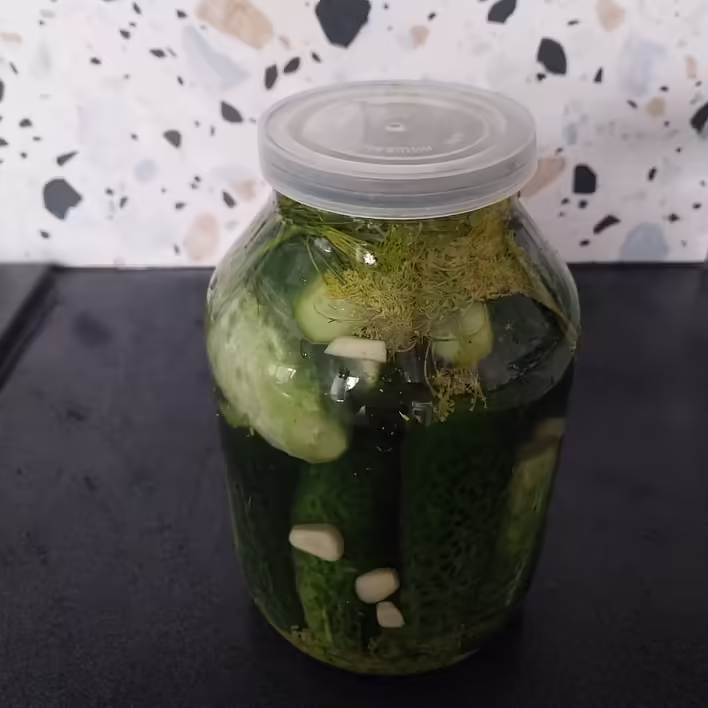
We managed to fit two such layers. Between them, we add a bit of garlic. The top of the jar is filled with dill flowers and we add the remaining garlic.
заклали другий шар
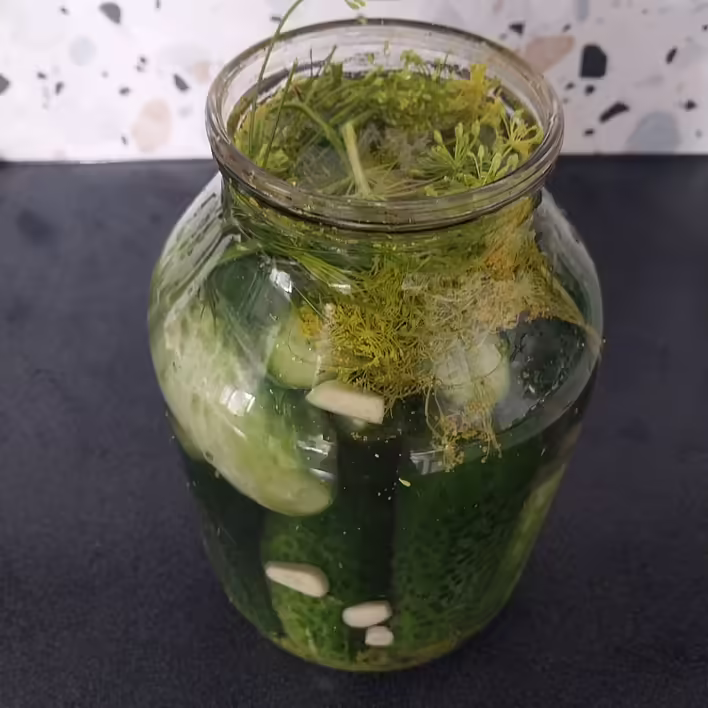
And now it's time to pour the prepared brine into the jar.
Cover (do not close) with a lid and leave the jar with cucumbers at room temperature for 1-2 days. After a day, we can check the cucumbers for taste. If they are still not salty enough, we leave them to salt for another day.
чекаємо засолки
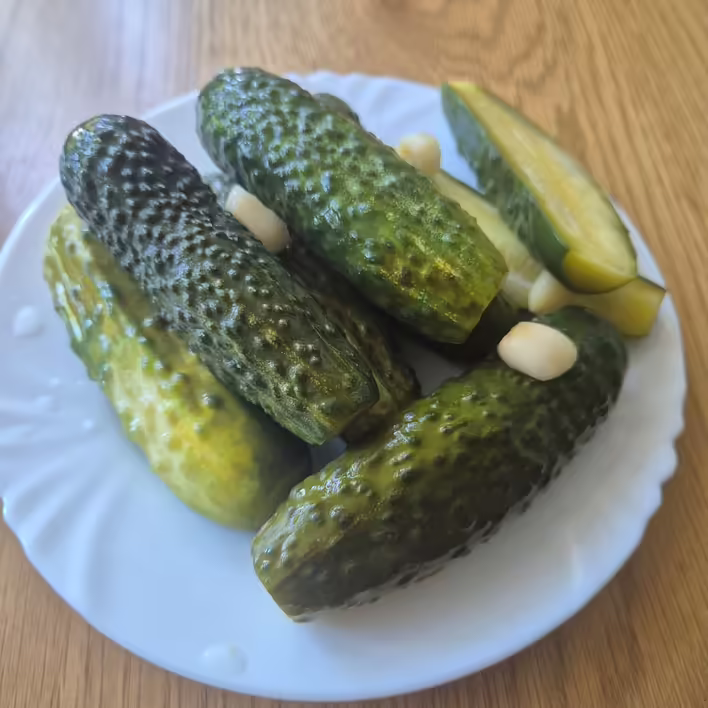
As soon as the cucumbers reach the desired level of salting, we move the jar to the refrigerator for further storage. In the refrigerator, the cucumbers will retain their freshness and crunchiness for a few more days, until they are completely eaten. Enjoy! ;)
огірки-огірочки