To enjoy delicious and fragrant pastries, you don't always have to go to a café or a bakery. Especially if it's freezing, foggy, snowy, or rainy outside. You can buy frozen dough (not just puff pastry, but full-fledged croissants) and bake them at home.
хрусткий та ароматний, круасан французький знатний
A Bit of Background
The story began with the fact that there is a young and very cool bakery in our city – the family bakery “Under the Limes”. They bake very tasty and healthy sourdough bread from whole grain flour. Both from wheat and rye. They have long crispy French baguettes in their assortment, and recently they have introduced cinnamon rolls, buns with various fillings, and croissants. But the desserts from the counter are snatched up first, so if you work until 6 PM, the chances of “snagging” your favorite croissant at that time are practically zero.
But we don't look for easy ways. We went directly to the bakery, where we exclusively purchased frozen semi-finished products (through a big connection;)) and received very useful instructions on the technique of their preparation.
After all, for a croissant to turn out crispy, with large pores inside, not soggy (that is, baked, without raw dough inside), there are several tricks and peculiarities of the process. It is not enough to simply shove a baking sheet into the oven and press the ON button. So, we will explain step by step how to properly bake croissants in your own kitchen so that they turn out no worse than in a professional bakery. All according to the canons of Tseivo, just our own practice and experience;)
Stage 1: Proofing the Dough
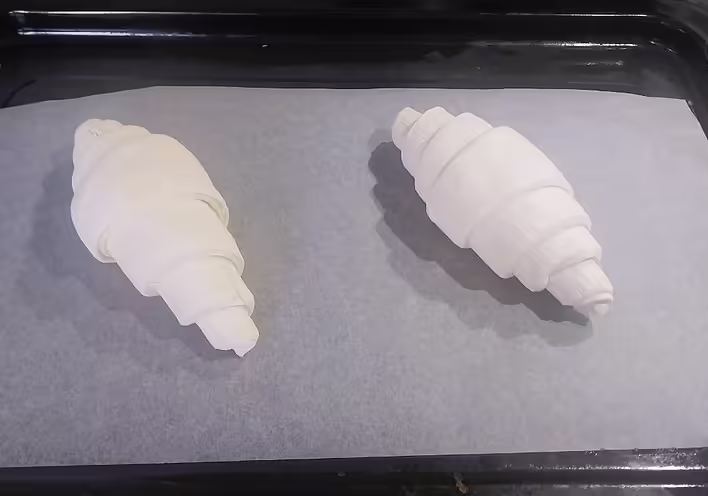
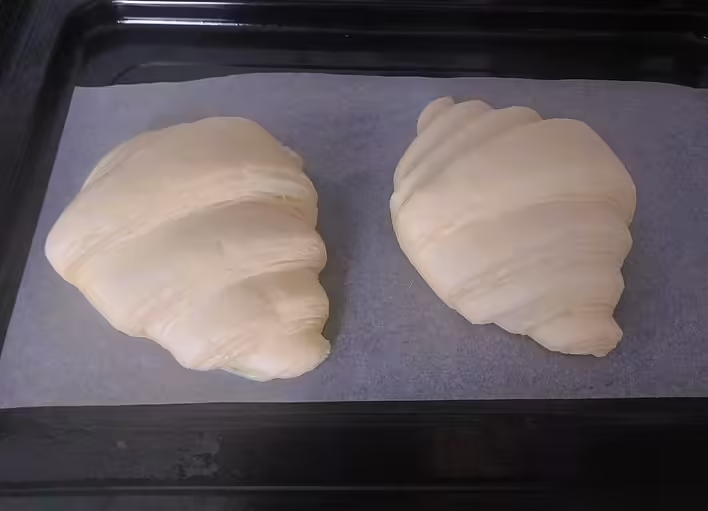
We have frozen croissants. They are small, but there's no need to be scared. From this “little one” a full-fledged “handsome” will grow, but for the dough to rise, it needs time and temperature.
заморожені круасани
We place the croissants on a baking sheet lined with parchment. We boil a small amount of water. We turn on the oven and let it warm up for a few minutes at maximum temperature.
We keep only the lower heating element on, setting the temperature to 36-40 degrees, no more. That is, the temperature should be such that you can comfortably hold your hand inside the oven. It is at this temperature that the dough will rise: the yeast will come into play.
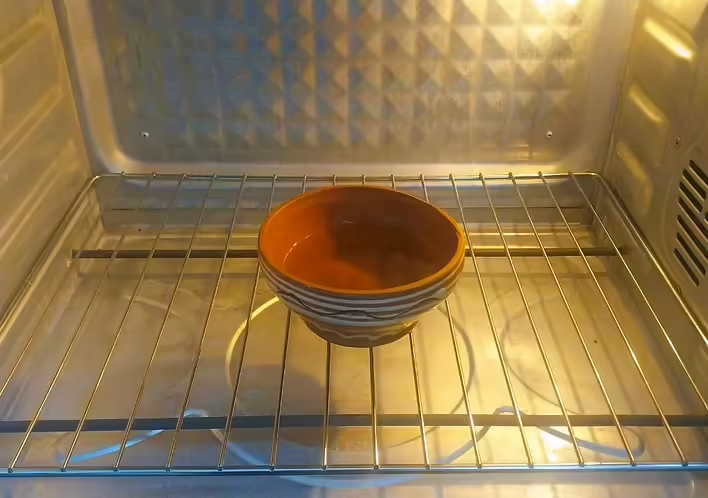
It is also important to ensure humidity inside the oven. This is why we pour about 100 ml of boiling water into a container, which we will place in the lower part of the oven.
зволоження для етапу розстоювання
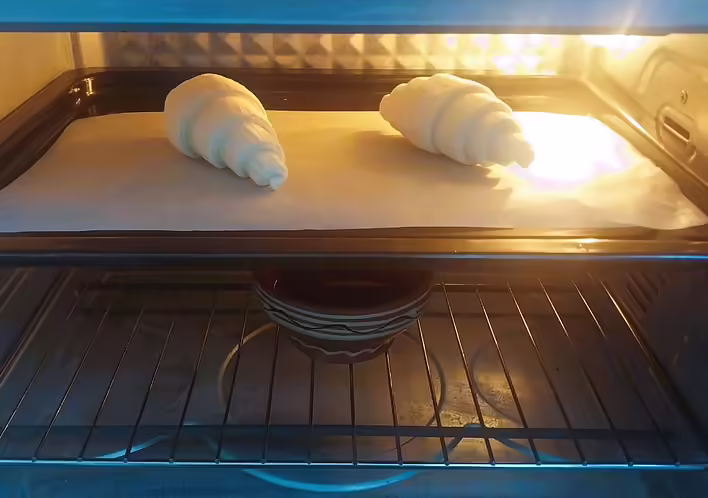
Summary of this stage: we place the baking sheet with croissants on the middle level, put the container with water at the bottom, maintain the temperature at 35-40 degrees, and leave it for an hour and a half.
фото-резюме етапу розстоювання
Stage 2: Baking
During the proofing, the croissants have doubled in size. They feel very soft to the touch and do not stick to the parchment. This means it's time to bake them.
круасани після розстоювання
We take out the rack and remove the container with water. We turn on the upper and lower heating elements, setting the temperature to 180 degrees. Time – 10 minutes. After 10 minutes, we raise the temperature in both heating elements to 210 degrees and bake for another 5-7 minutes. If necessary, at the end of this time, you can turn on the convection mode for 1-2 minutes to create an even golden crust on top of the croissants.
Our need to turn on the convection mode is dictated by the peculiarity of the oven itself, as its heating elements are quite narrow and pinpoint. Therefore, the same crust would not form over the entire surface of the croissant. However, the hot air masses from the fan during these 2 minutes completed the aesthetics of our baking.
Stage 3: Tasting
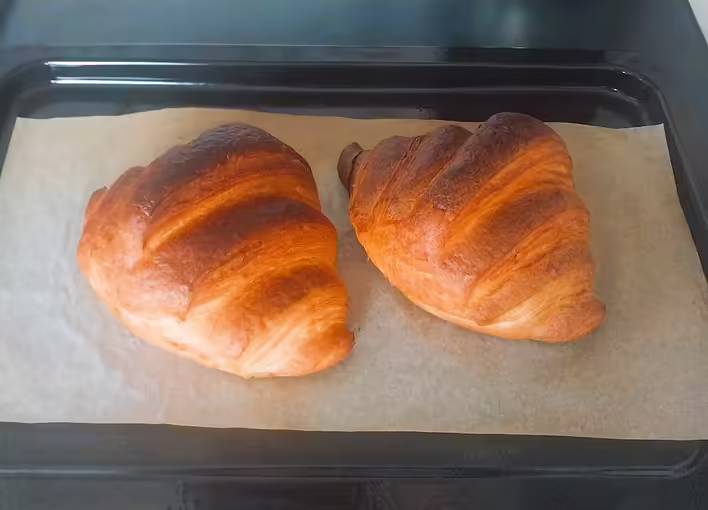
So, the entire process took 1 hour and 50 minutes: from the moment of proofing to the finished croissant. Verdict: such a treat is the perfect dish for breakfast on weekends when there is free time, no need to rush anywhere, and there is a desire to indulge in something delicious.
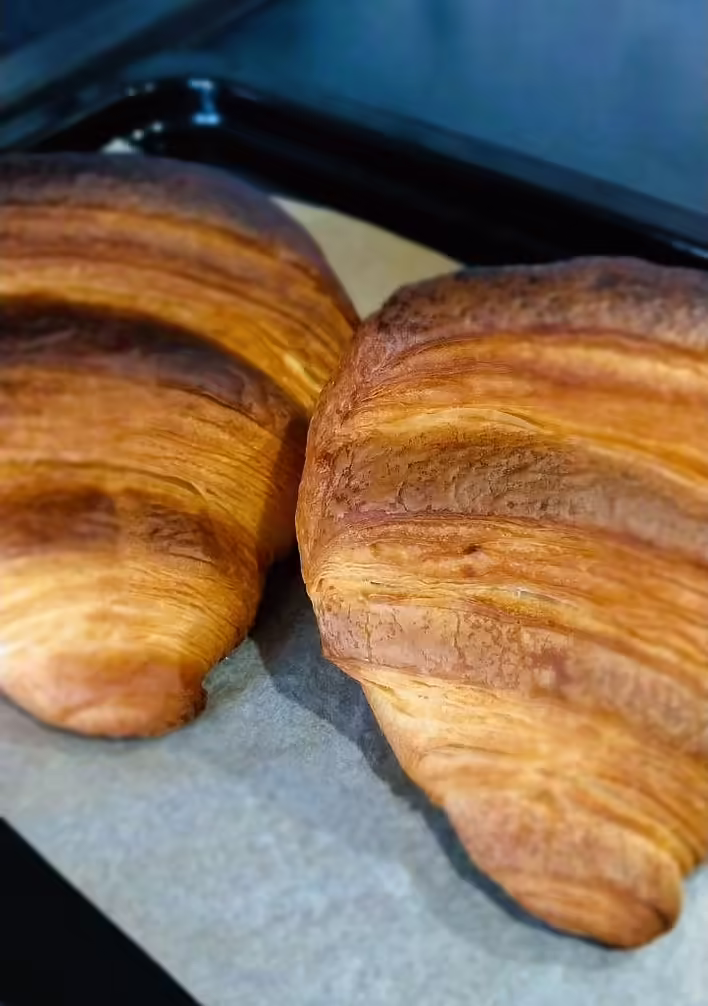
вуа-ля!
Since the croissant is empty inside – this leaves even more room for culinary fantasies. You can fill it with chocolate or cream, pistachio paste – you will get a wonderful dessert. Or with lettuce, mozzarella, and red fish – a complete, nutritious, and healthy breakfast.
Cook at home and enjoy delicious and healthy dishes!
If you like our posts and recipes – you can always support our blog on the service Buy Me a Coffee. Your donations will inspire us to create new and useful Ukrainian-language content. We will be able to buy new ingredients, devices, and interesting cookbooks. This will allow us to regularly adapt recipes for simple and understandable cooking at home. Or you can simply share this post on social media, which will also help the Tseivo platform grow ;)