We continue our experiments in the kitchen and cooking with ingredients that can be found in the refrigerator/freezer, as well as in nearby stores. This time for dinner, we decided to make a pie with simple, tasty, and healthy ingredients: chicken fillet, spinach, feta cheese, and sun-dried tomatoes. So, as always, we will describe the step-by-step cooking process, illustrated with our own photos.
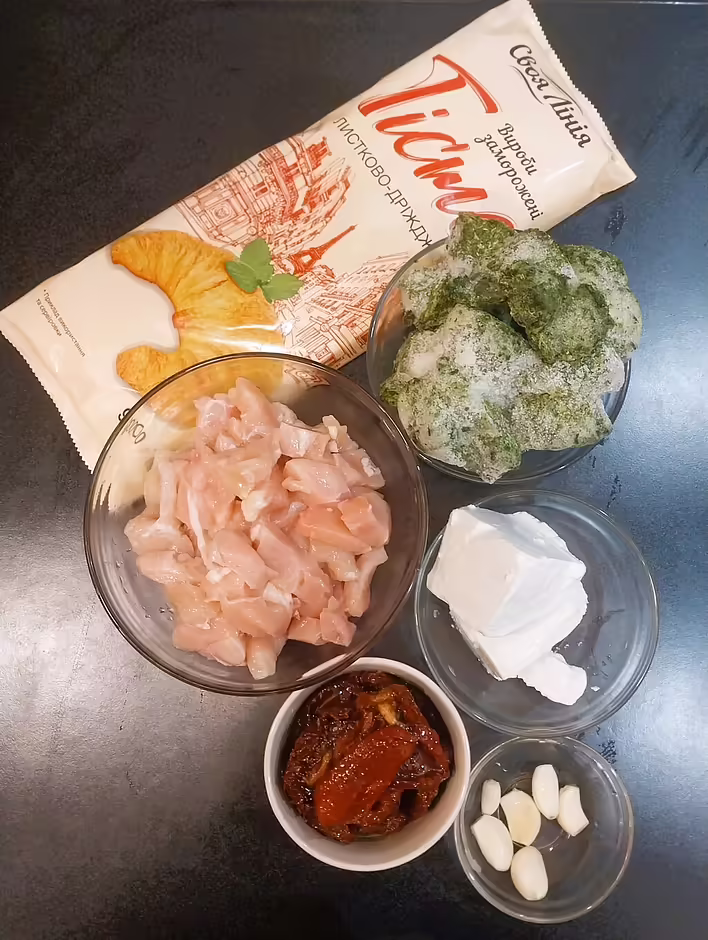
We will need:
chicken fillet – 600 g
frozen spinach – 400 g
garlic – 5 cloves
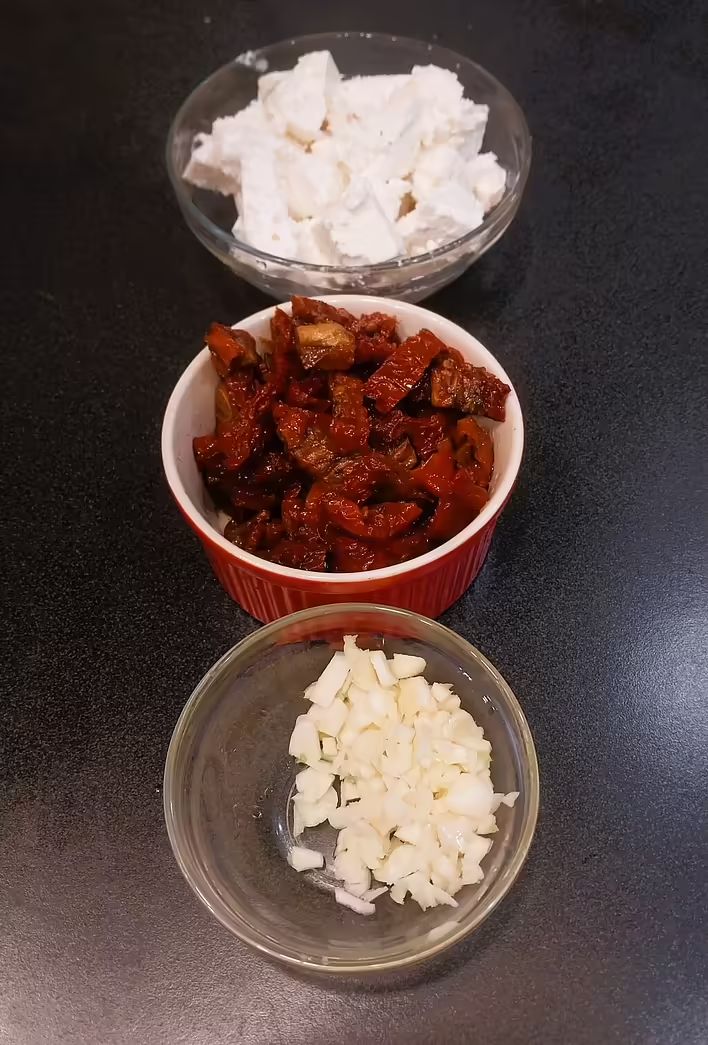
feta cheese – 200 g
sun-dried tomatoes – 150 g
puff pastry – 450 g (2 rectangular sheets)
salt, pepper, khmeli-suneli – to taste
продуктовий набір
Step 1: preparing the filling
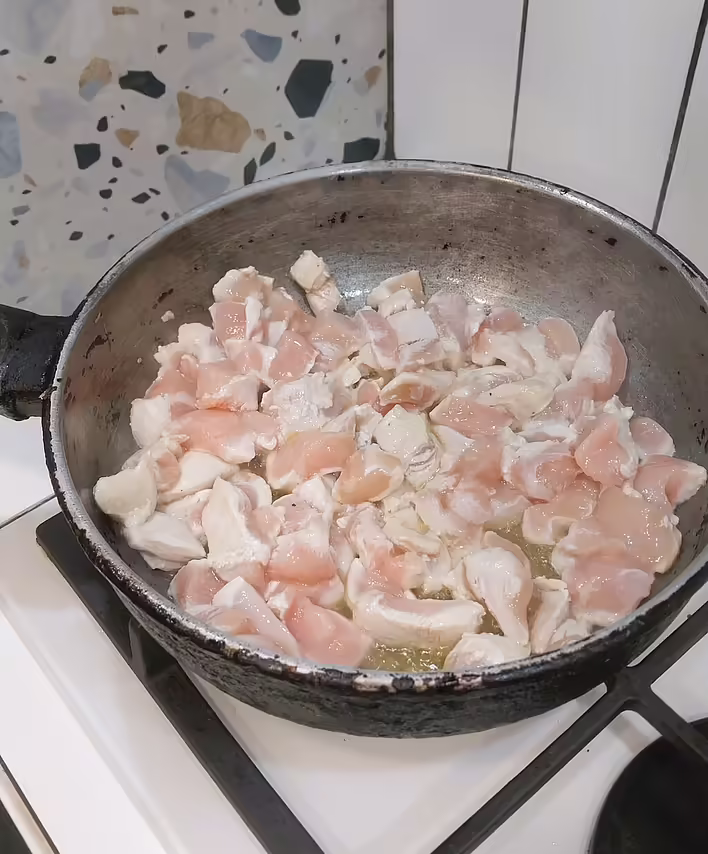
We wash the chicken fillet, dry it with paper towels, and remove any membranes and tendons. Cut it into small pieces, about 1-2 cm.
Heat the pan, add a small amount of oil (we used oil from the sun-dried tomatoes), and start frying the chicken.
смажимо філе
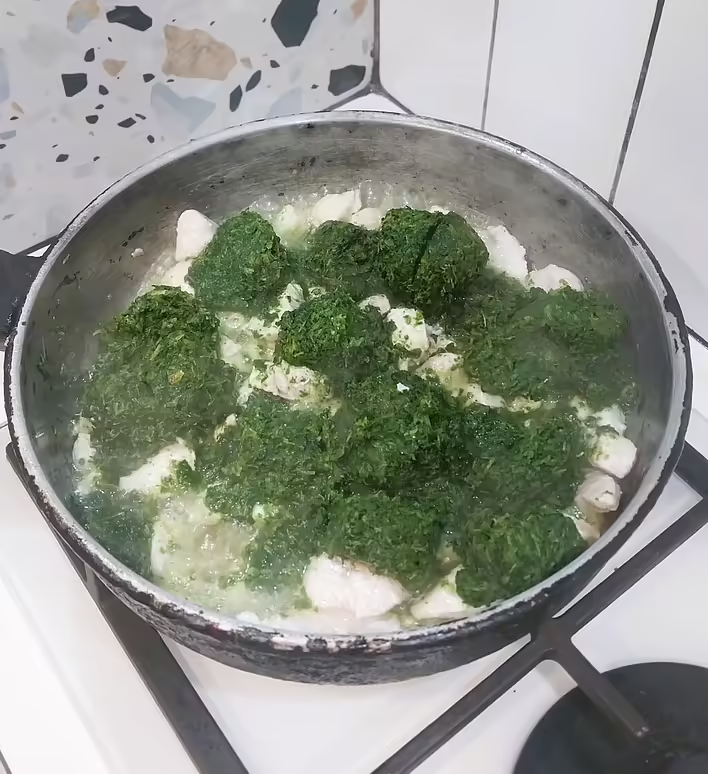
As soon as it turns white – add the frozen spinach.
вводимо шпинат
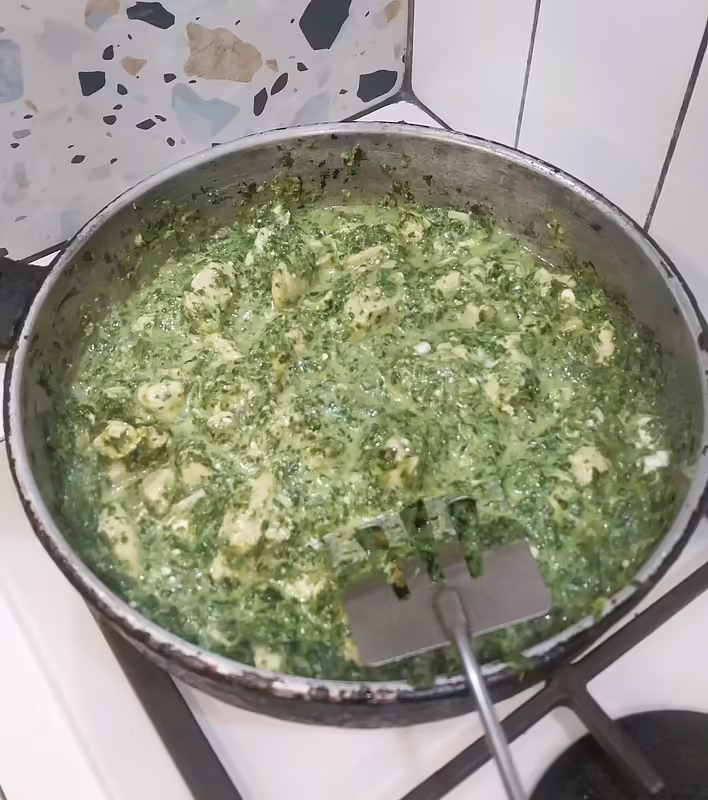
As it turned out, this is the longest step, as the spinach was not thawed. The main thing is to wait for the excess moisture to evaporate from both the spinach and the chicken. Only after that should you add the minced garlic, and after that – the crumbled feta cheese.
часник, фета, томати. Додаємо саме в такій послідовності
Thoroughly mix the mixture, add salt and pepper. Taste for salt, as feta cheese is quite salty on its own.
додаємо сир фета, вимішуємо
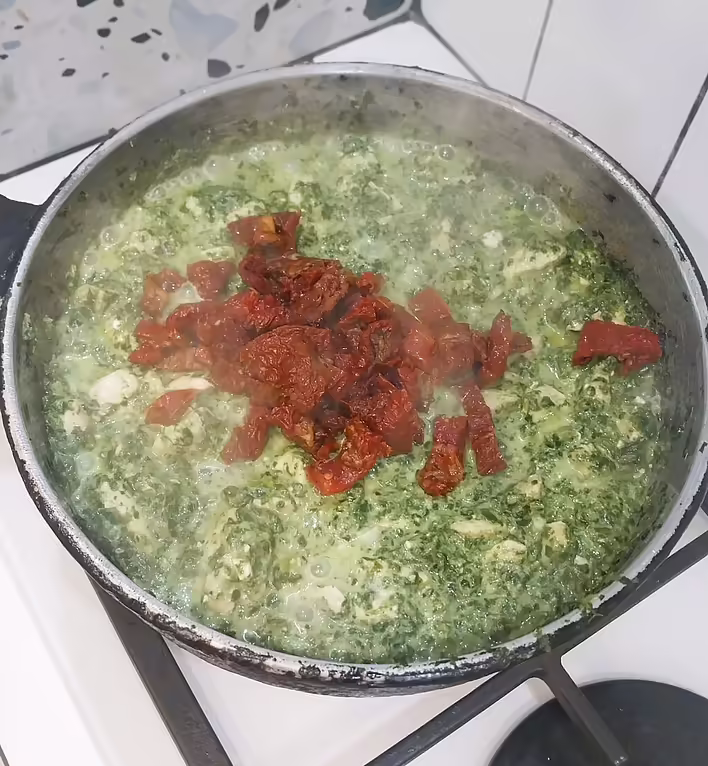
When excess moisture starts to evaporate from the cheese – it's time to add the chopped sun-dried tomatoes. Their sweetness will complement the neutral flavors of the chicken, spinach, and cheese. We also added a bit of khmeli-suneli seasoning to give the filling a bit more aroma.
вводимо томати
After the excess moisture evaporates and the mixture thickens, let it cool for a few minutes, after which we can start assembling the pie.
Step 2: preparing the dough
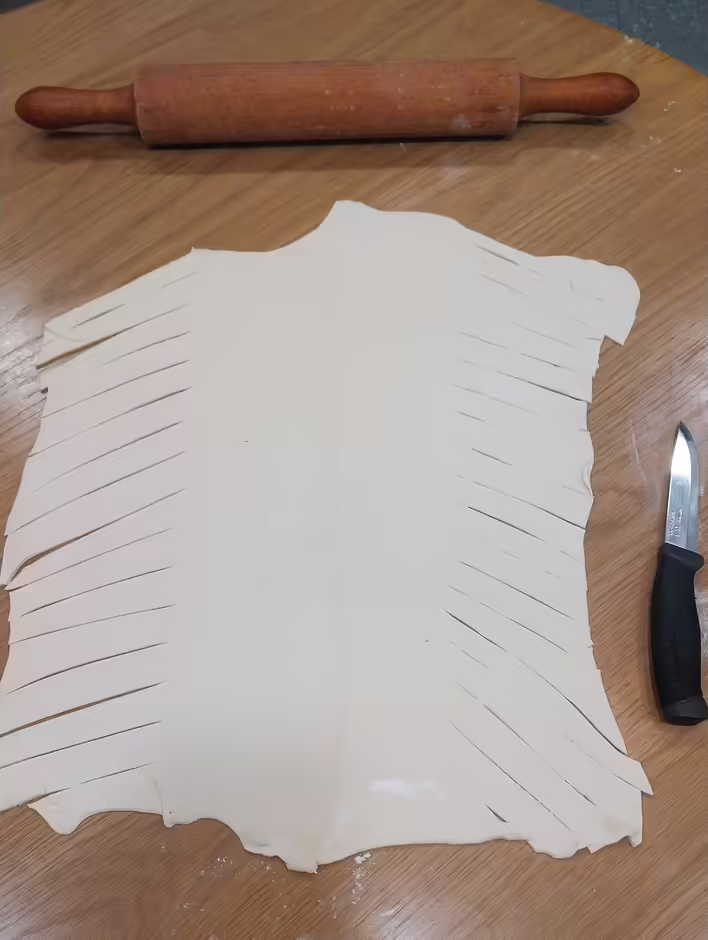
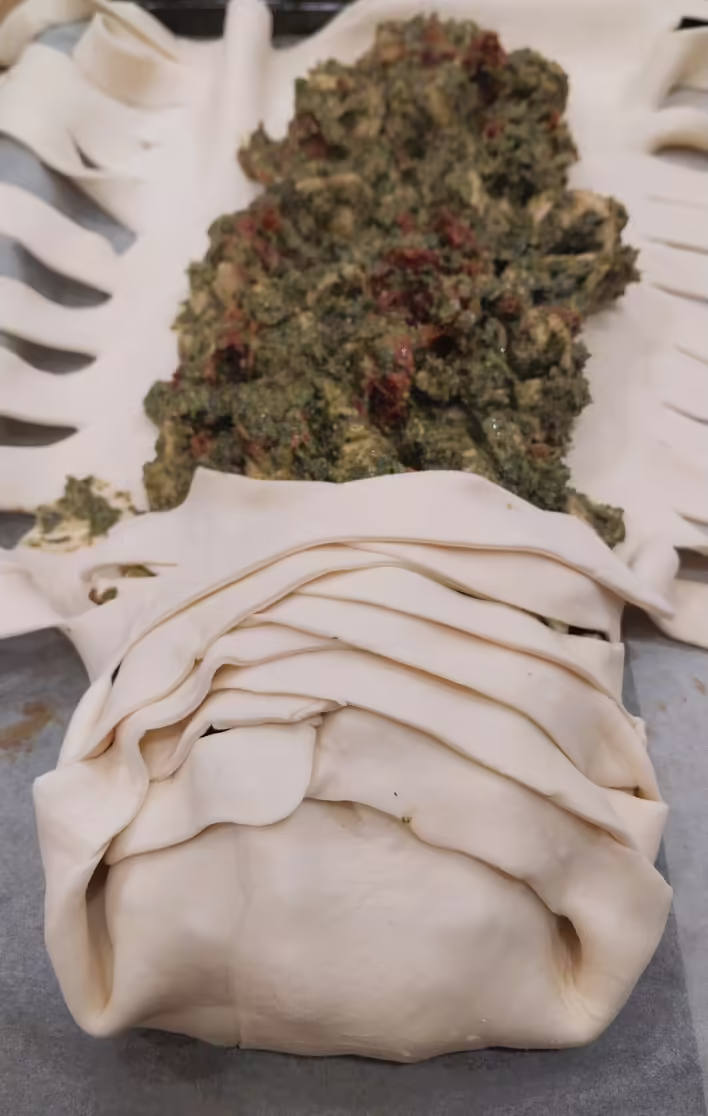
We used 2 rectangles of ready-made puff pastry. We joined them together, rolled them out to a thickness of 1-2 mm, and made diagonal cuts along the edges. This will be needed for wrapping the filling. The main thing is to mark where the filling will be placed and to use a knife with a sharp blade for cutting.
видно шов з'єднання, та надрізи для майбутнього загортання
викладаємо начинку
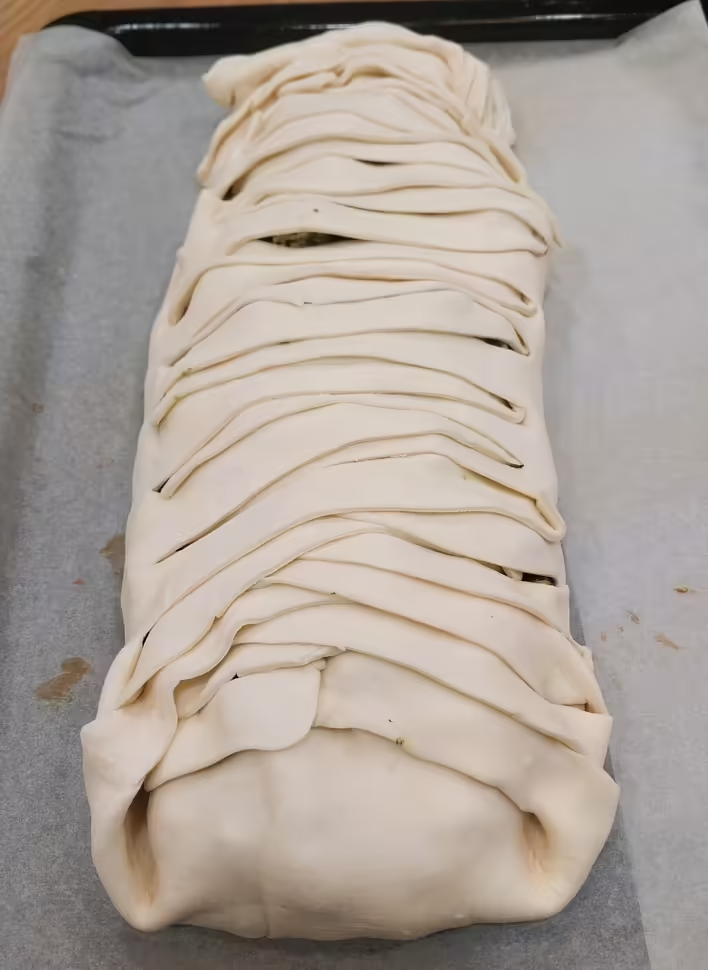
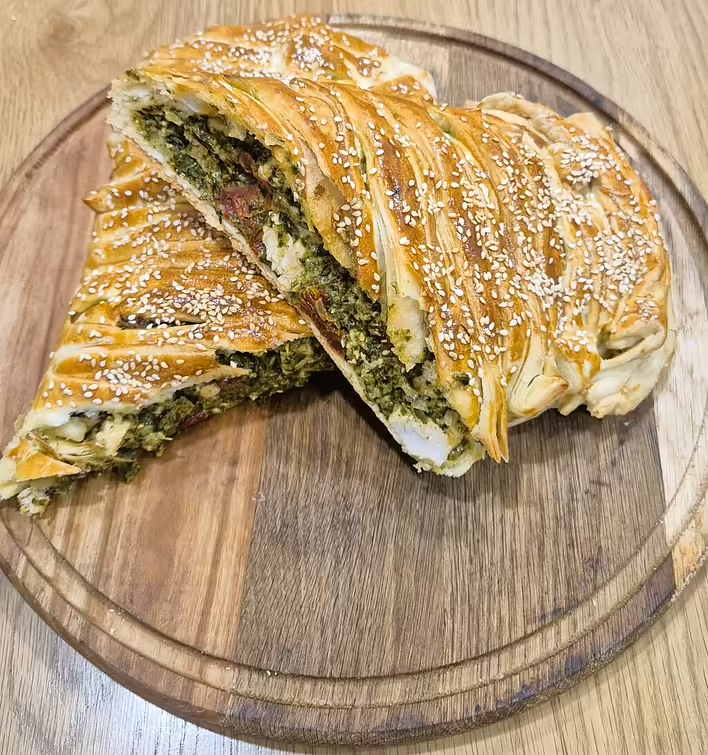
This style of wrapping, as some recipes for similar pies on the internet claim, is called "braid". However, if desired, the filling can be wrapped in the dough in any other way, as the kitchen is a place for improvisation and creativity ;)
загортаємо дубль 1
загорнутий пиріг
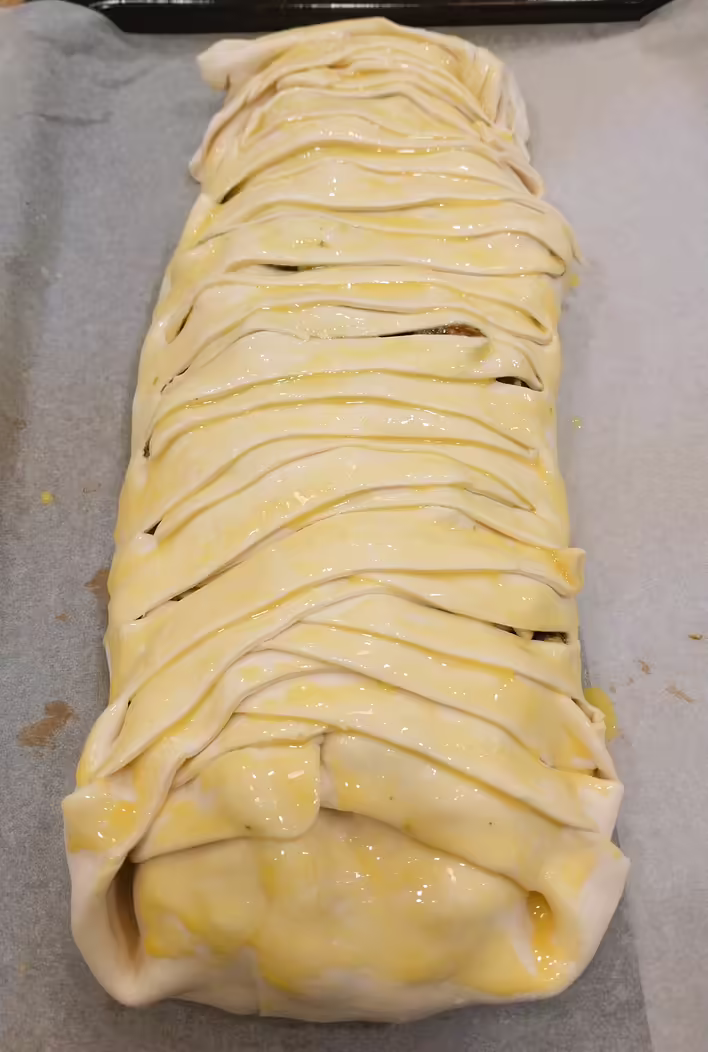
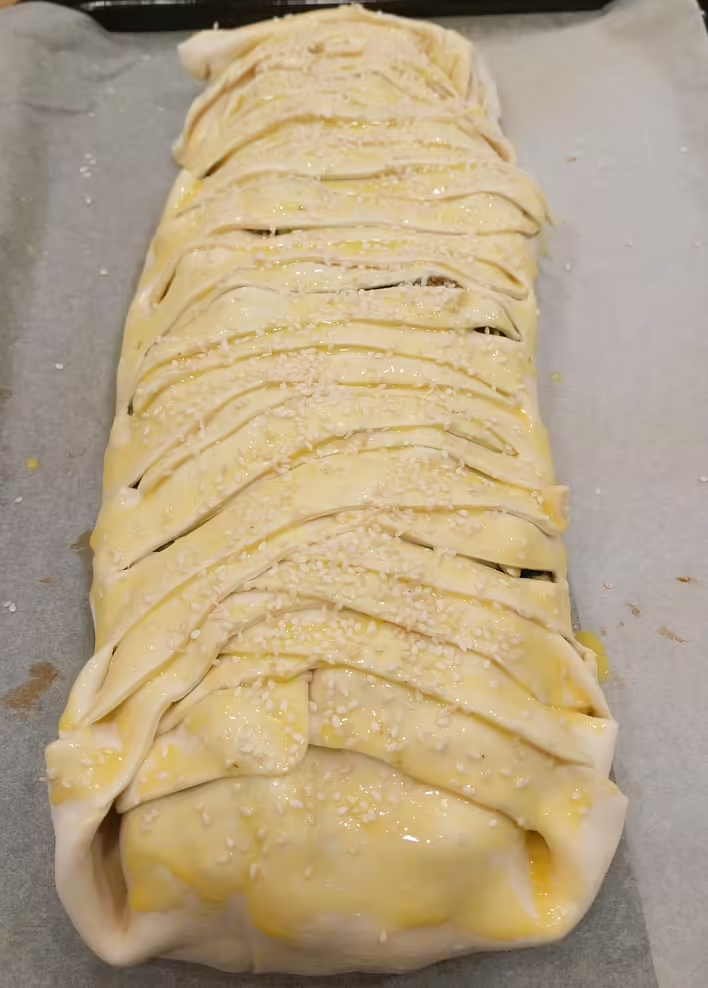
After shaping the pie, we used a culinary brush to apply chicken yolk on top and sprinkled sesame seeds for greater aesthetic appeal of the finished dish.
намастили яєчним жовтком
посипаємо кунжутом
Step 3: baking
Preheat the oven to 180 degrees, select the top and bottom heating mode. Place the pie in the oven and bake for 20 minutes. In the last 3-5 minutes, switch the oven to convection mode to form a golden, even crust.
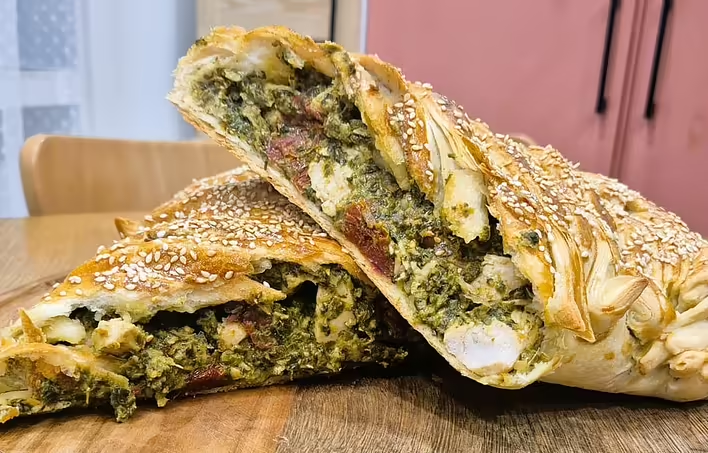
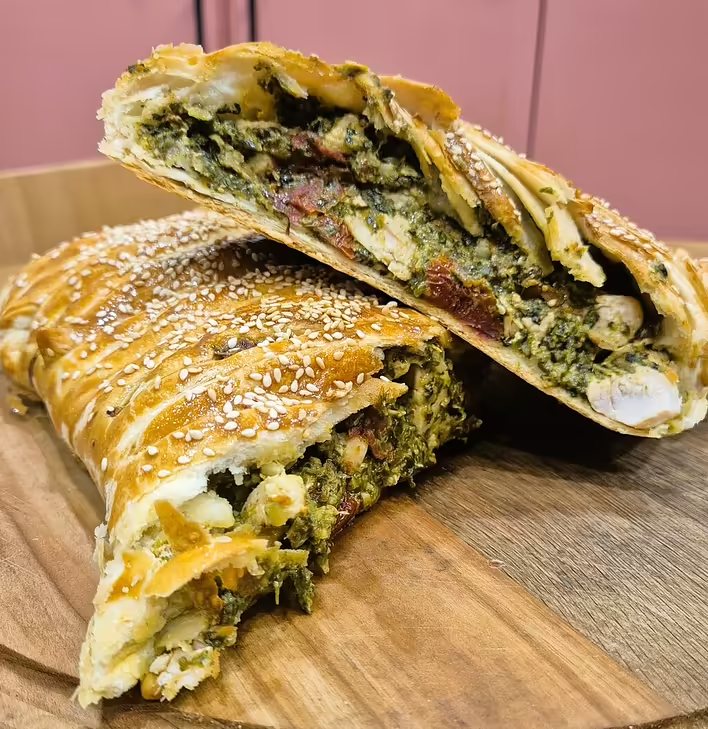
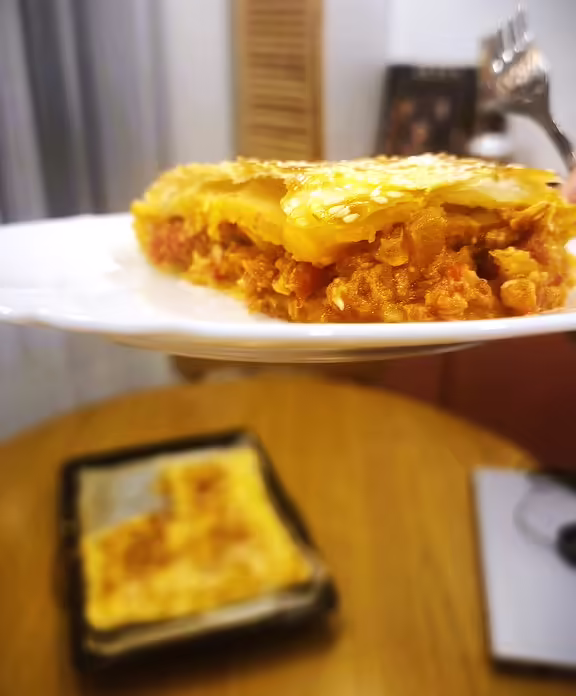
Remove from the oven, wait for the pie to cool slightly, cut it, and as always, enjoy!
готовий пиріг
пирога мало не буває!
If you enjoy our posts and recipes – you can always support our blog on the Buy Me a Coffee service. Your donations will inspire us to create new and useful Ukrainian-language content. We will be able to buy new ingredients, devices, and interesting cookbooks. This will allow us to regularly adapt recipes for easy and understandable cooking at home. Or you can simply share this post on social media, which will also help the Tseivo platform grow ;)