I got my hands on an Acer Nitro 5 (AN515-54-5304) laptop with Windows 11 Home installed. The legality of the operating system was in doubt, so it was decided to remove everything from the laptop and install Ubuntu.
#1 Step. Download the Ubuntu ISO image.
First of all, you need to download the ISO image of the operating system to your computer. Go to ubuntu.com (the official site) and download the latest release of Ubuntu Desktop. More details at the link - how and where to download Ubuntu.
Note that the Ubuntu site provides a 64-bit version of the operating system for download. 32-bit architecture is gradually becoming a thing of the past.
#2 Step. Verify the integrity of the Ubuntu image.
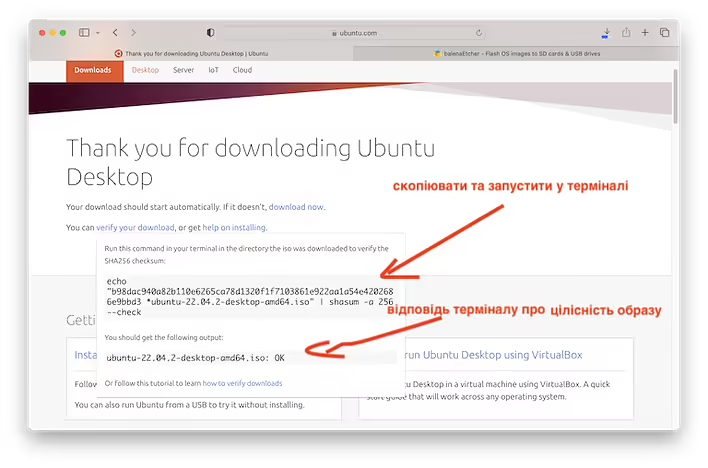
After downloading the file, you need to verify it. This will help ensure that the downloaded image is not corrupted. On the Ubuntu site, after the download starts, you will see a prompt. Click 'verify your download' and follow the instructions.
Перевірка checksum Ubuntu
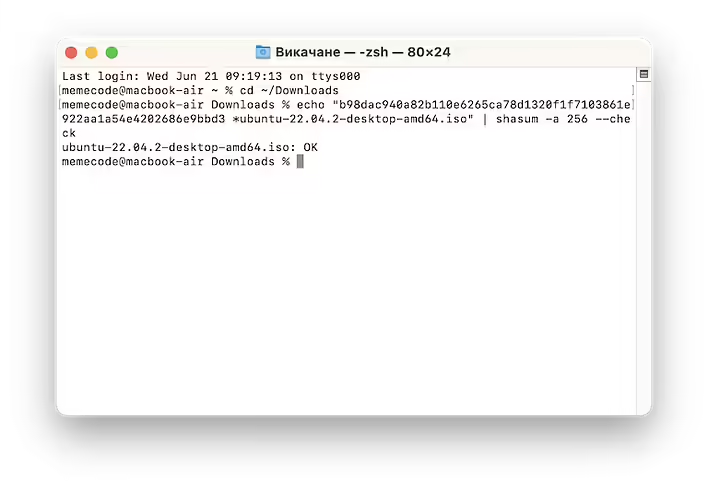
Run this command in your terminal in the directory the iso was downloaded to verify the SHA256 checksum:
echo "b98dac940a82b110e6265ca78d1320f1f7103861e922aa1a54e4202686e9bbd3 *ubuntu-22.04.2-desktop-amd64.iso" | shasum -a 256 --check
Be careful. Copy the command from the Ubuntu site.
Paste the copied text into the Terminal (I remind you, I am doing this on macOS. If possible, I will add a description of this process for other operating systems as well).
Open the terminal
Navigate to the folder with the ISO image. This is done using the `cd` command. In my case (navigating to the downloads folder):
cd ~/Download
After that, paste the copied command from the Ubuntu site into the terminal to verify the downloaded file. In my case, it is:
echo "b98dac940a82b110e6265ca78d1320f1f7103861e922aa1a54e4202686e9bbd3 *ubuntu-22.04.2-desktop-amd64.iso" | shasum -a 256 --check
As a result, we should see:
ubuntu-22.04.2-desktop-amd64.iso: OK
Перевірка checksum Ubuntu в терміналі на macOS
If there is something wrong with the file:
ubuntu-22.04.2-desktop-amd64.iso: FAILED
shasum: WARNING: 1 computed checksum did NOT match
In this case - delete this file and download a new one.
#3 Step. Prepare a USB drive to write the Ubuntu ISO image.
Connect the USB drive to your Macbook. You should understand that any data on the USB drive will be lost, so make a backup of important files if there are any on it.
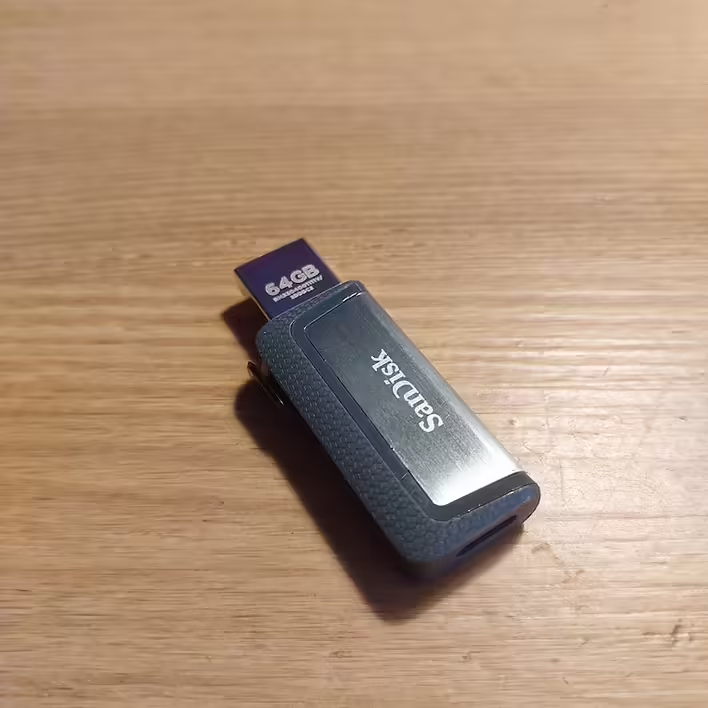
I didn't have a USB flash drive, so I bought a new one. My Macbook doesn't have traditional USB ports, only USB-C. So I chose a USB drive that has both USB 3.1 and USB-C at the same time. In my opinion, this is a good universal option.
SanDisk Ultra Dual 64GB USB 3.1 + Type-C (SDDDC2-064G-G46)
I bought a SanDisk Ultra Dual 64GB USB 3.1 + Type-C (SDDDC2-064G-G46) for about 300 UAH on Rozetka. Let's see how long it will work.
So this flash drive is new and empty. I did not format it additionally and immediately proceeded to write the Ubuntu image to it.
#4 Step. Write the Ubuntu image to the USB drive using balenaEtcher.
Why balenaEtcher? It is a program that really works well, has a nice interface, and does not require special knowledge.
You can write any ISO image to a USB drive using the terminal, but with good and free software available - I choose this one.
Download and install balenaEtcher from the official site. After that, open the program and in a few simple steps write Ubuntu to the USB flash drive.
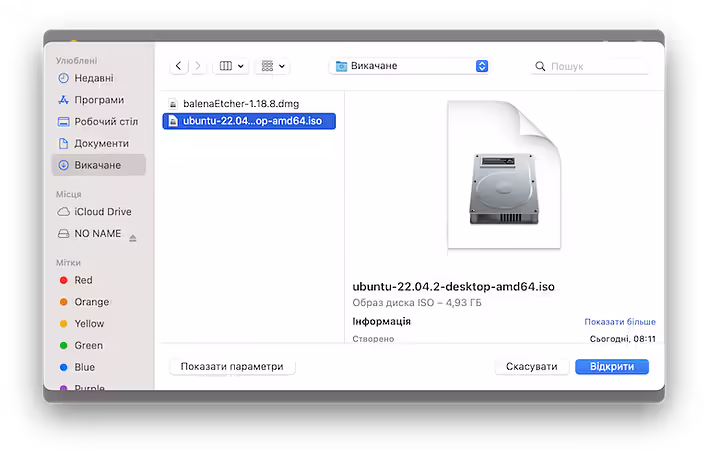
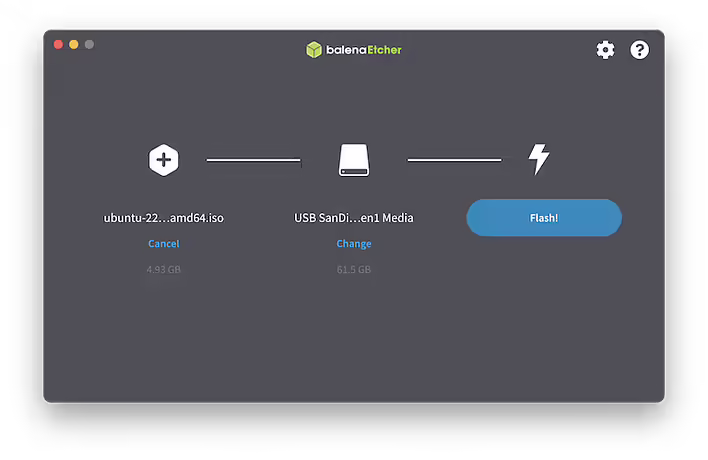
Вибір файлу в balenaEtcher
From the balenaEtcher interface, it is clear that we need to select the ISO image, choose the USB drive, and wait for the program to do everything it needs to.
Click 'Flash from file' and select the required file.
Вибір Ubuntu ISO в balenaEtcher (macOS)
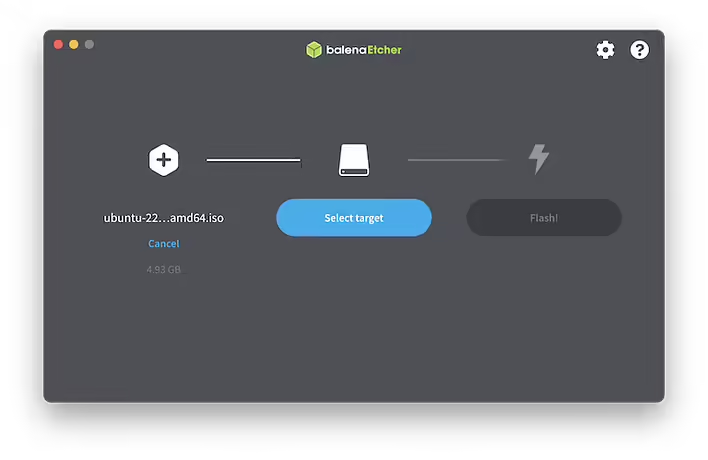
After that, click Select target to choose the USB drive.
Вибір флешкі у balenaEtcher
Be careful. If you mistakenly select another flash drive - all information on it will be lost.
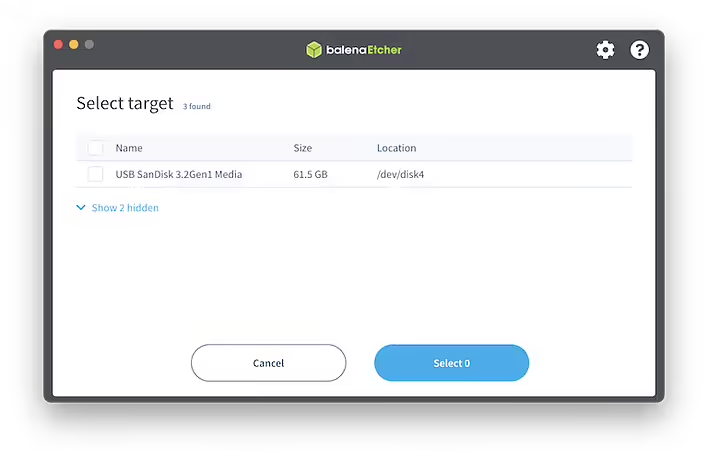
Вибір USB SanDisk 3.2Gen1 Media у balenaEtcher
I selected my USB SanDisk 3.2 Gen1 Media and clicked 'Select 1'.
The next step is Flash (write).
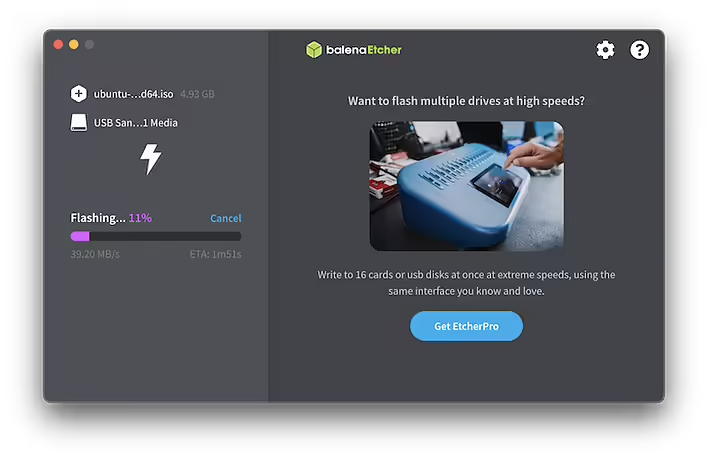
Запис ISO у balenaEtcher
Writing will take some time. It depends on many factors.
Прогрес запису ISO у balenaEtcher
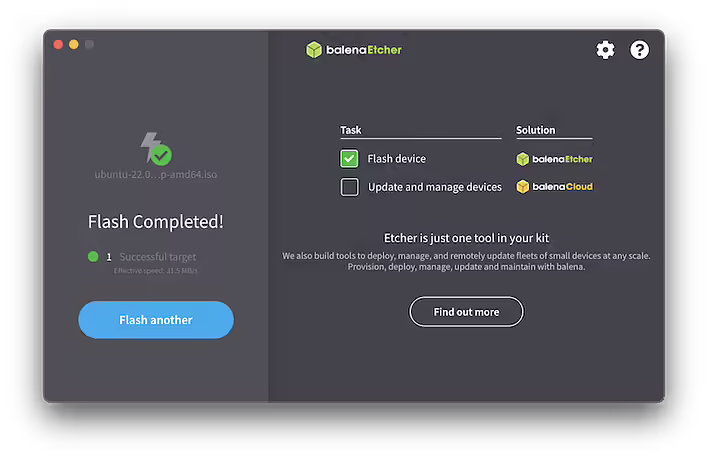
The balenaEtcher interface is in English but intuitive. After the writing is complete, we will see the following window:
Успішний запис ISO за допомою balenaEtcher
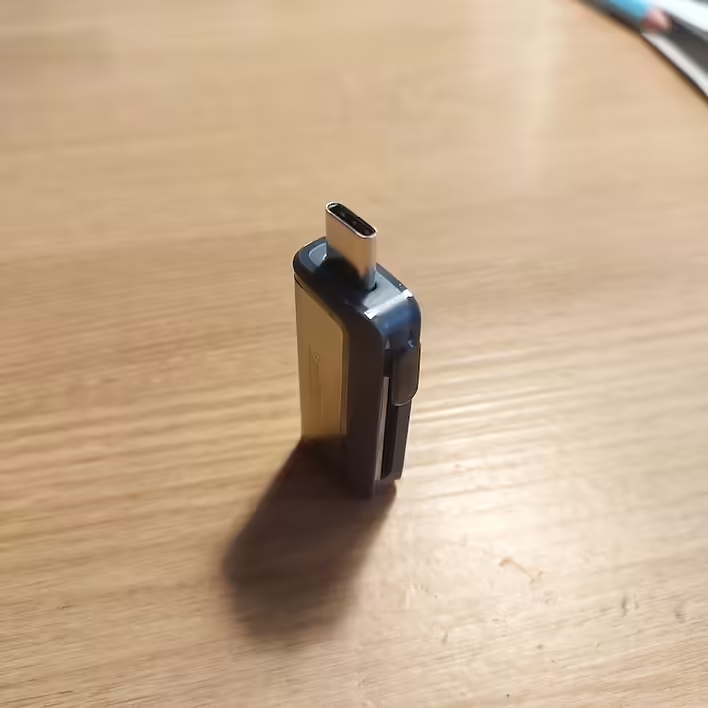
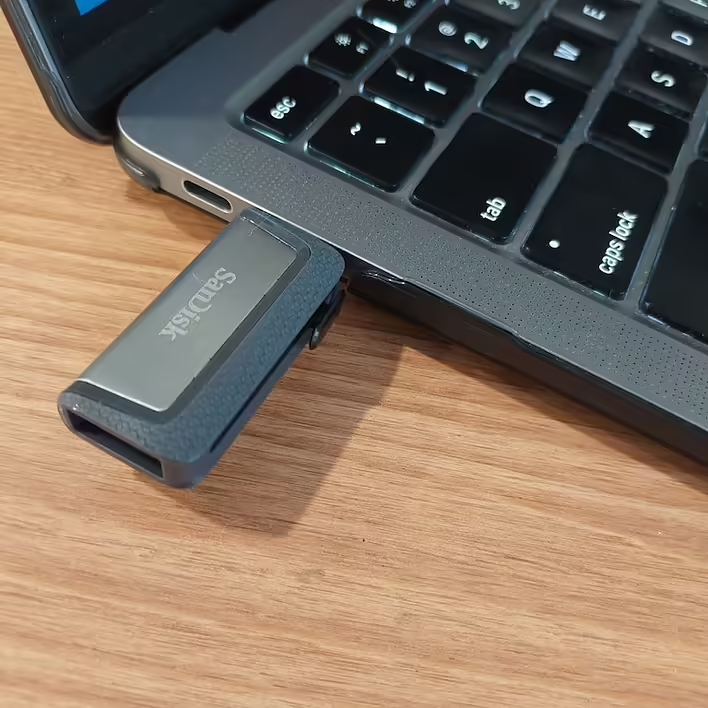
After that, we can close the balenaEtcher program and remove the USB drive from the laptop. By the way, I used the USB-C port for writing.
SanDisk USB-C у Макбуці (MacBook Air)
#5 Step. Boot the computer from the USB drive.
Previously, I made a backup of all necessary files from the hard drives of the Acer Nitro 5 computer. That is, everything on the hard drives, in the following steps I will erase without the possibility of recovery. Keep this in mind.
You need to turn off the computer, connect the flash drive with Ubuntu, turn on the computer, and go to the Boot Manager. This is done differently on different computers.
The Boot Manager of the Acer Nitro 5 looks like this:
Acer Nitro 5 Boot Manager
Here we can see 'Linpus Lite' (Ubuntu) and Windows Boot Manager (this item is present because I have Windows 11 Home installed).
Select Linpus Lite and press 'Enter'.
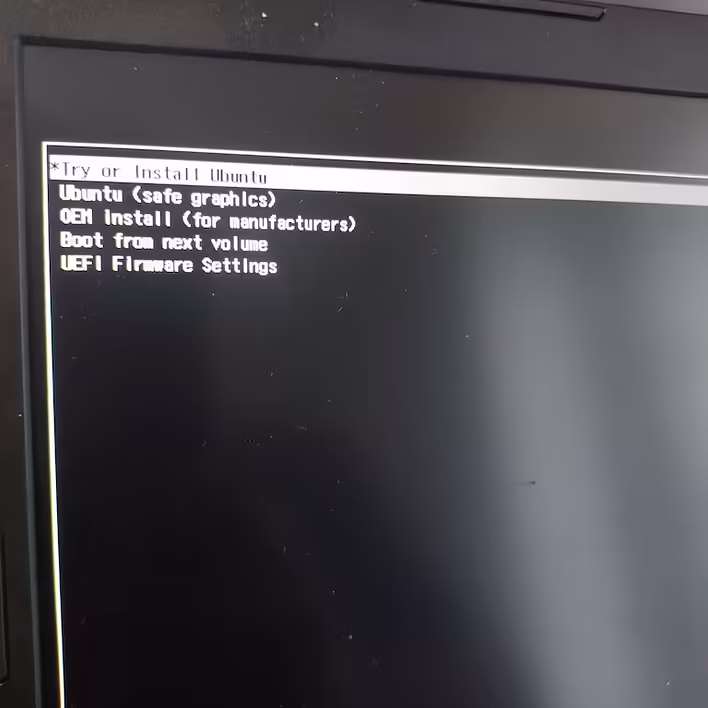
Linpus Lite (Acer Nitro 5)
We will see the options that Linpus Lite will offer us. Select '* Try or Install Ubuntu`.
After that, we will see the Ubuntu installer.
#6 Step. Installing Ubuntu using the graphical interface.
All you need to do is follow the instructions on the screen. By the way, don't forget to connect the power to your laptop if it is running on battery during the installation. This will prevent the device from possibly shutting down due to lack of power.
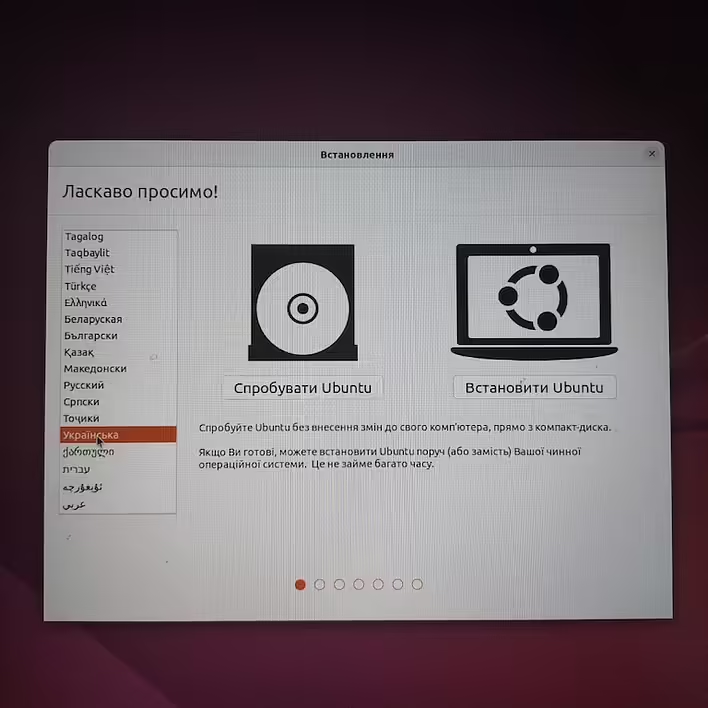
Обираємо мову при встановленні Ubuntu
The first thing to choose is to select the Ukrainian language. If you are going to work in IT - I recommend choosing English. The English interface will help you learn the language and talk about the same interface elements without trying to translate Ukrainian into English on your own.
Click 'Install Ubuntu'. The next step is to choose the keyboard layout. By default, everything is set correctly. So we can move on. These settings can be changed after the operating system is installed.
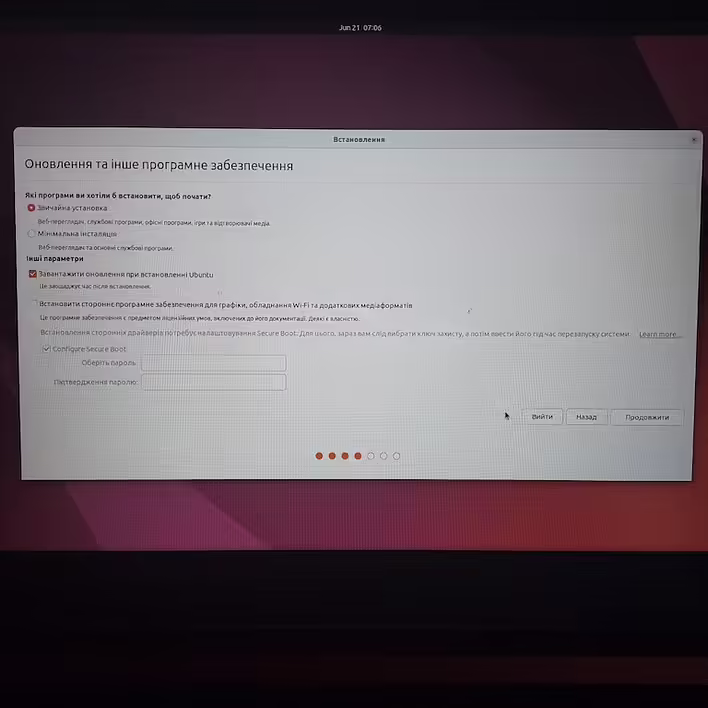
Next - update settings. I usually choose 'Normal installation' and 'Download updates while installing Ubuntu. That is, during the installation - Ubuntu will update itself and download everything it needs.
Оновлення при встановленні Ubuntu
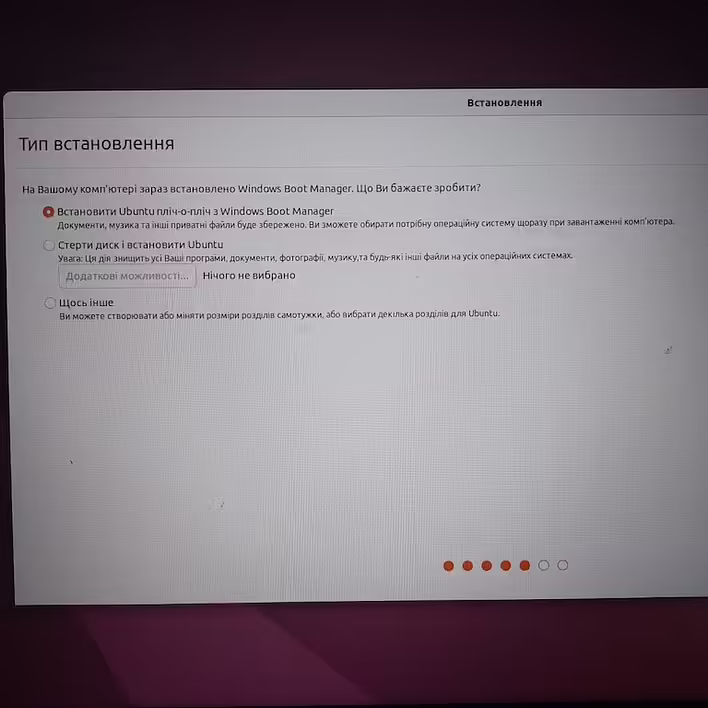
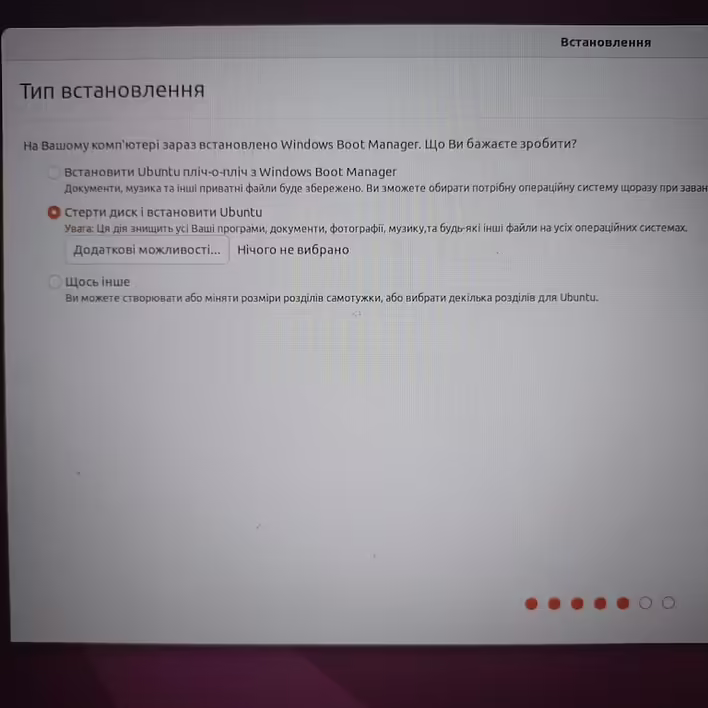
The next step is to choose the installation type.
Тип встановлення Ubuntu
We are interested in the second option - `Erase disk and install Ubuntu`. The possibility of installing Ubuntu alongside Windows Boot Manager will be considered separately.
Стерти диск і встановити Ubuntu
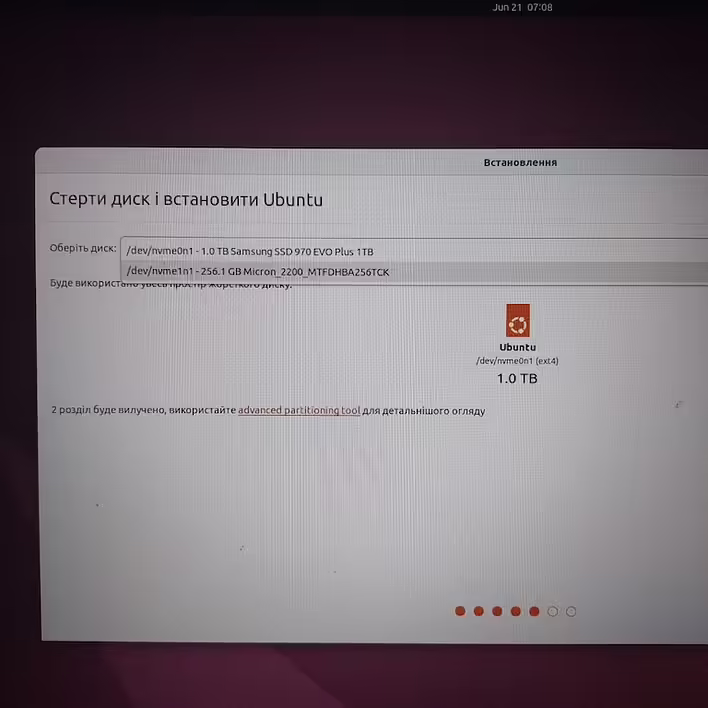
To install Ubuntu, I chose a 256GB SSD (my Acer Nitro 5 also has another 1TB disk, which I formatted after installing Ubuntu and use for saved files).
List of disks:
Вибір диску для встановлення Ubuntu
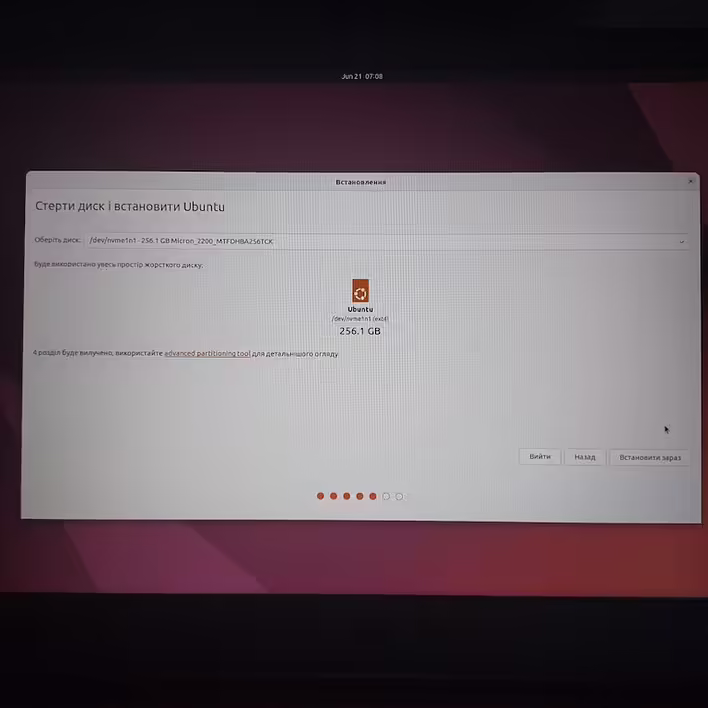
Selected disk:
Стераємо обраний диск
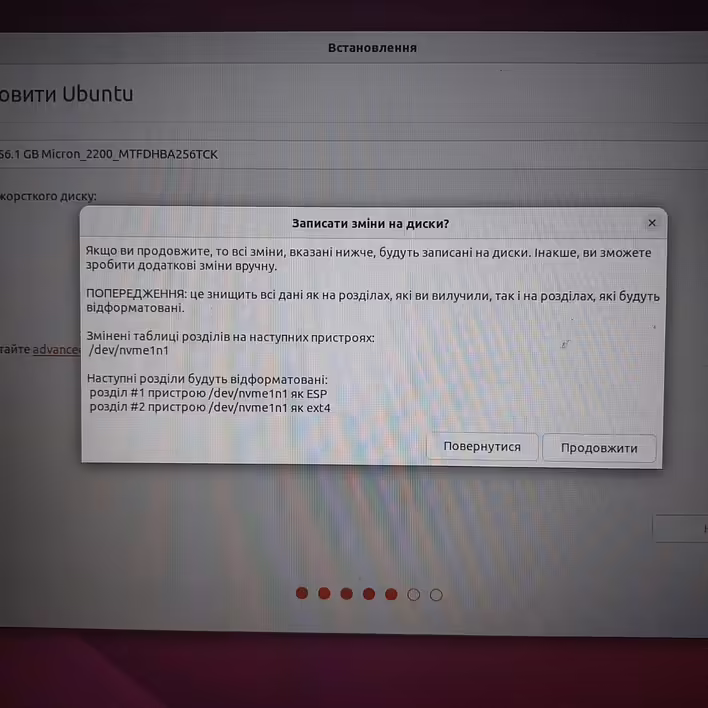
Read the warning and continue on our path.
Попередження про зміни на диску
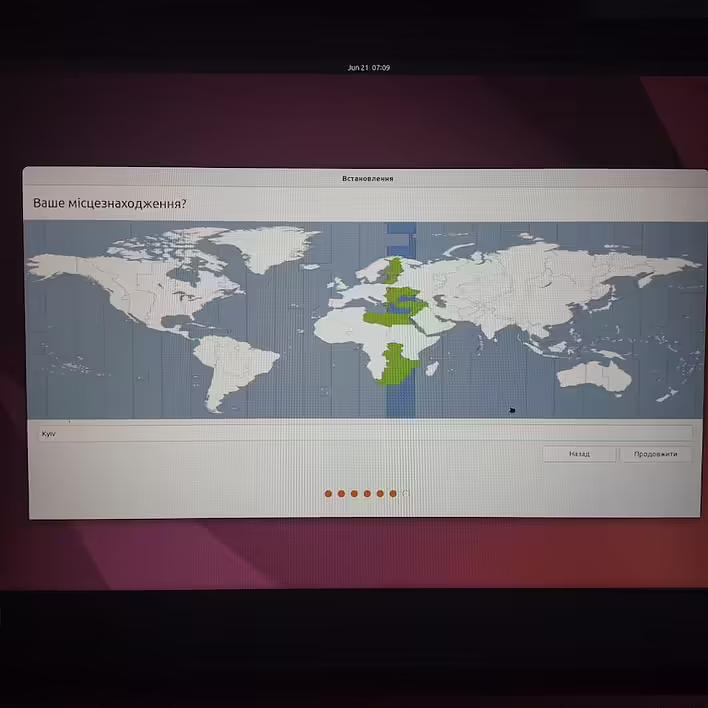
The next step is to choose the time zone. We select Kyiv.
Таймзона Ubuntu
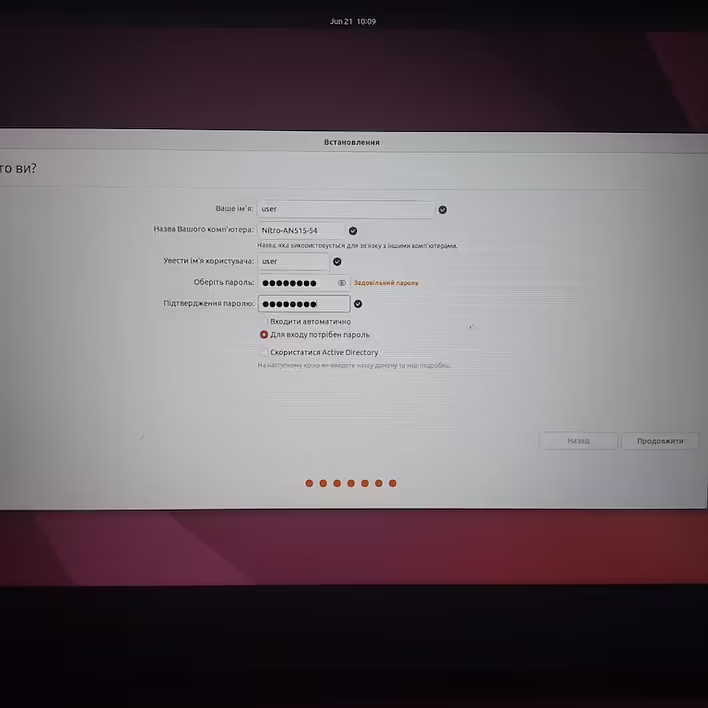
Add user information, computer name, and password.
Налаштування (логін/пароль) Ubuntu
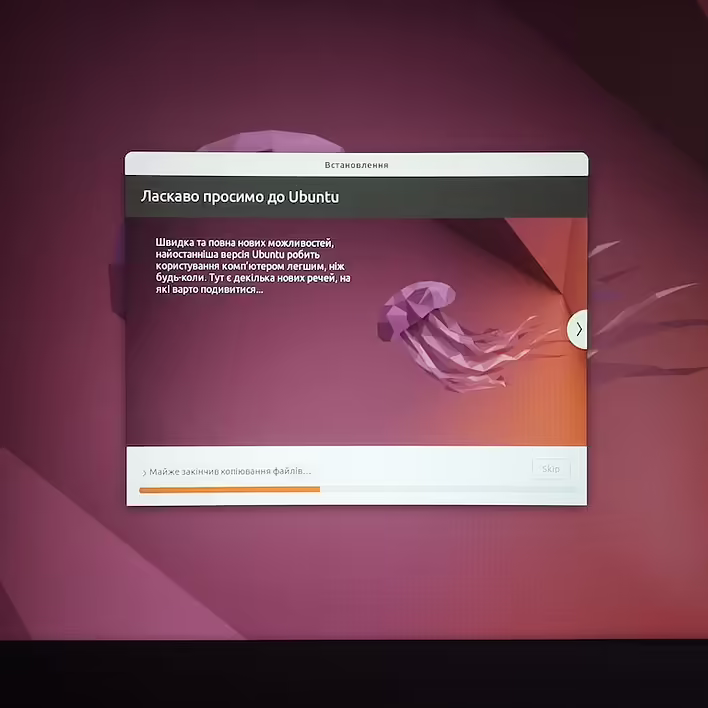
After this, the installation of the Ubuntu operating system on your computer will begin.
Встановлення Ubuntu
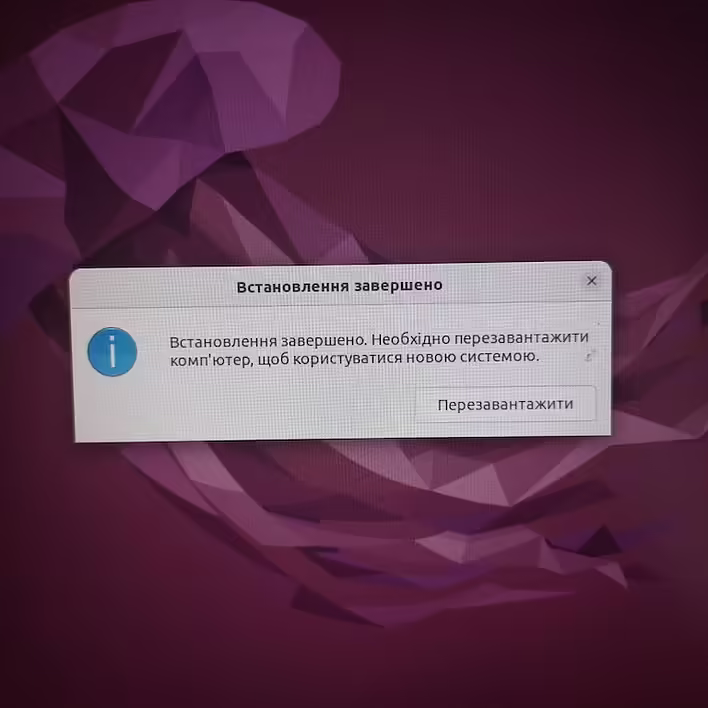
After the installation is complete, we will see the message 'Installation complete'. Click 'Reboot'.
Встановлення Ubuntu Завершено
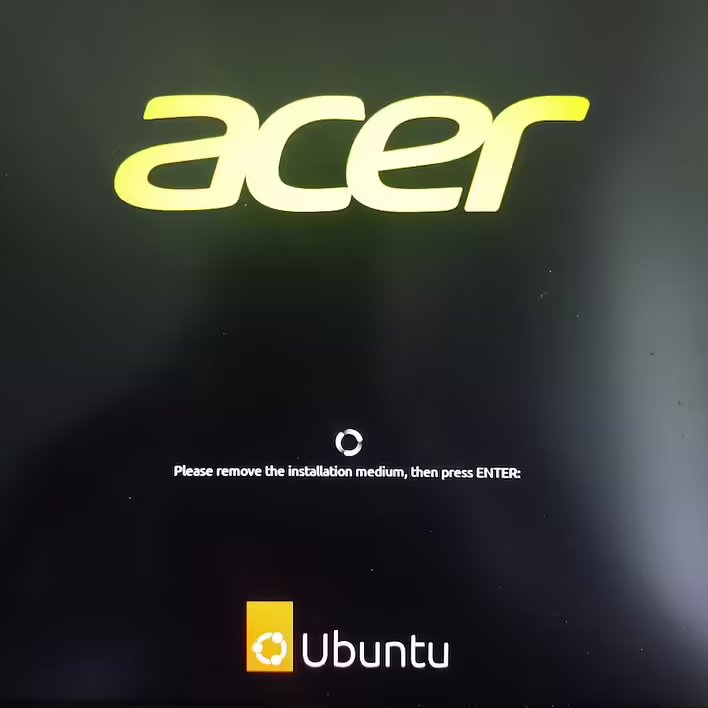
During the boot, we will see the message 'Please remove the installation medium, then press ENTER:'.
So we do just that - remove the USB drive and press ENTER.
Acer Nitro 5 Ubuntu Loader (Відключіть флешку та натисніть ENTER)
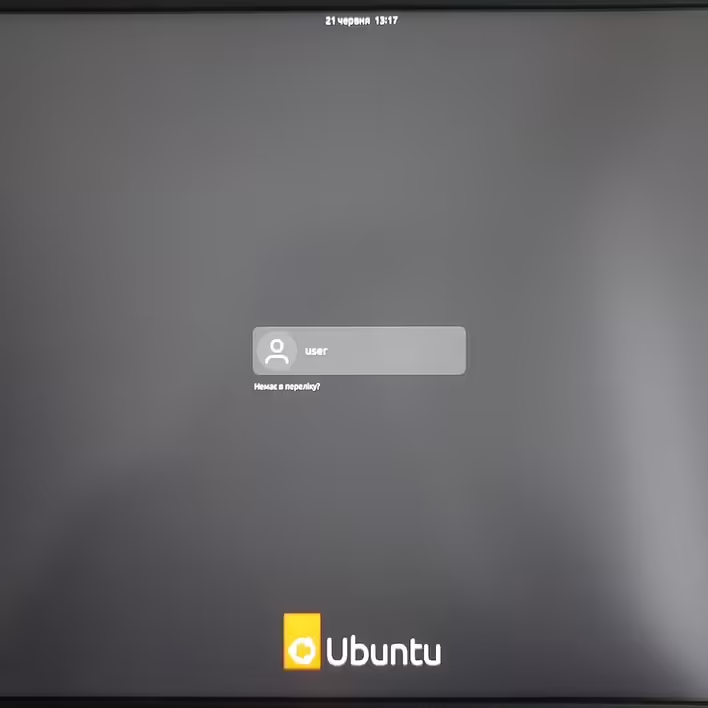
We will be asked for the password to log in, which we entered during the installation process.
Вхід до Ubuntu
Вхід до Ubuntu
After successfully logging in - we can start using Ubuntu!
Успішне встановлення Ubuntu
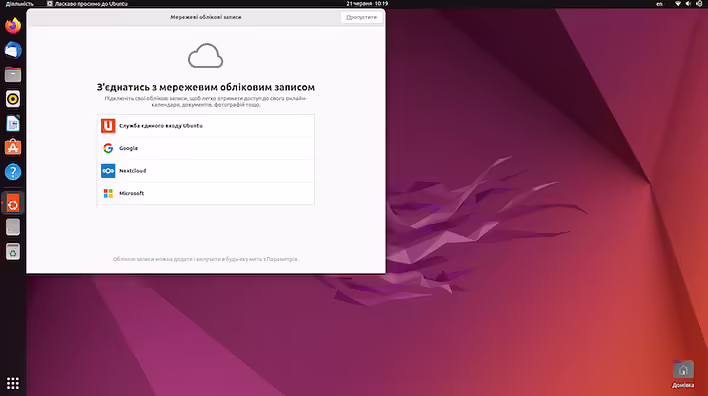
We can see an open window. It will help to make post-installation settings for the Ubuntu operating system.
However, Ubuntu is already ready for use! During the installation process, various issues related to software configuration and nuances of individual components may arise. For example, I could not install Ubuntu on my Acer Nitro 5 due to the enabled RST. To continue installing Ubuntu - it was necessary to disable RST. I intentionally did not describe this case and other obstacles on the way (such as BIOS settings, entering the Boot Manager) to the installation of Ubuntu in this note. Individual problems are unique, so methods for their resolution should be searched separately ("This is the way").