Red borscht is a dish that is probably impossible to make tasteless. There are countless variations of this classic, which is practically "embedded" in our genetic code. Every hostess has her own secrets for its preparation, and in every corner of Ukraine, there are special ingredients: smoked pears, crucians, mushrooms, beet kvass... And also smoked pork ribs. It is these that we used for our borscht. Therefore, we explain and show all the peculiarities of the preparation.
Time spent: up to 2 hours
Difficulty: 2 out of 5
Number of servings: 8
Cost of ingredients: average (the most expensive ingredient – smoked pork ribs)
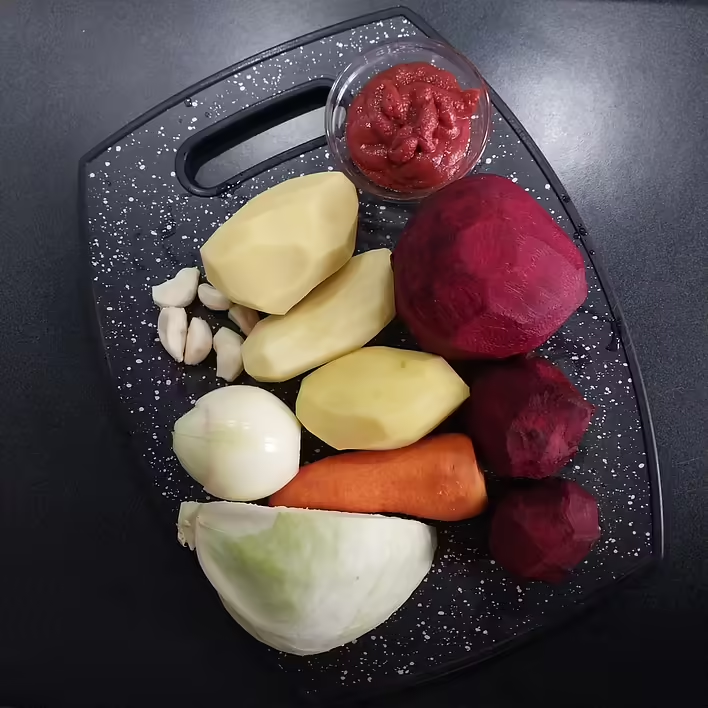
We will need:
beet (3 medium), in our case - 1 large and 2 small
cabbage (half)
potatoes (3 medium)
carrot (1 medium)
onion (1 medium)
garlic (6-7 cloves)
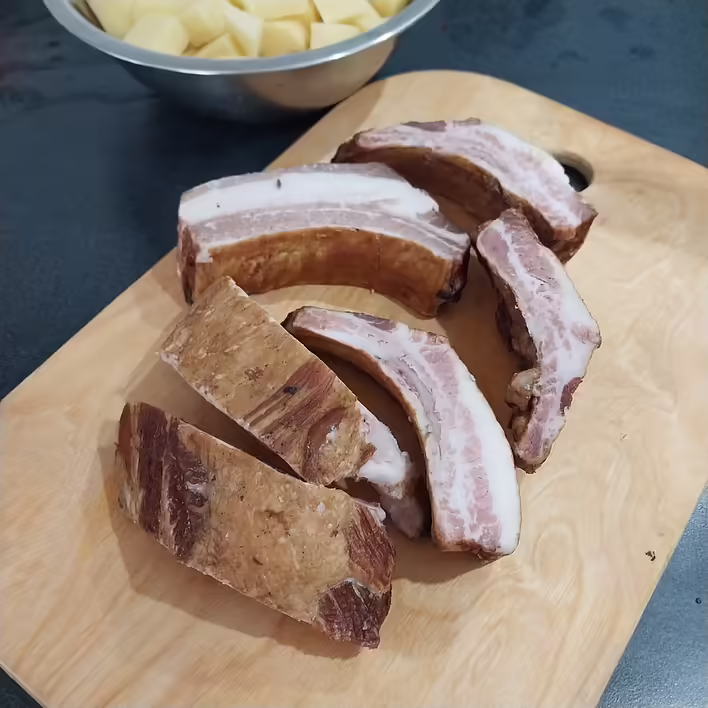
smoked pork ribs (500 g)
tomato paste (60-70 g)
dried dill
salt/pepper
bay leaf
water - 3 liters
набір овочів
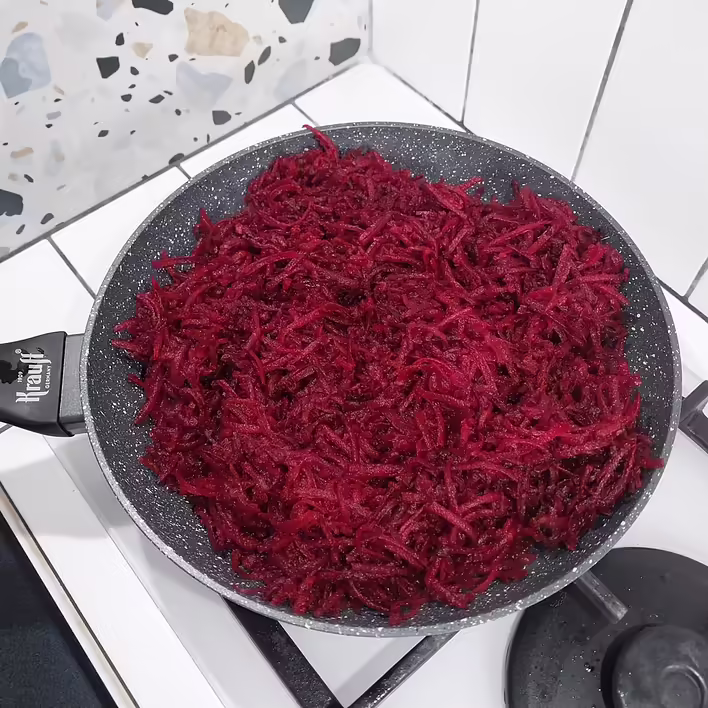
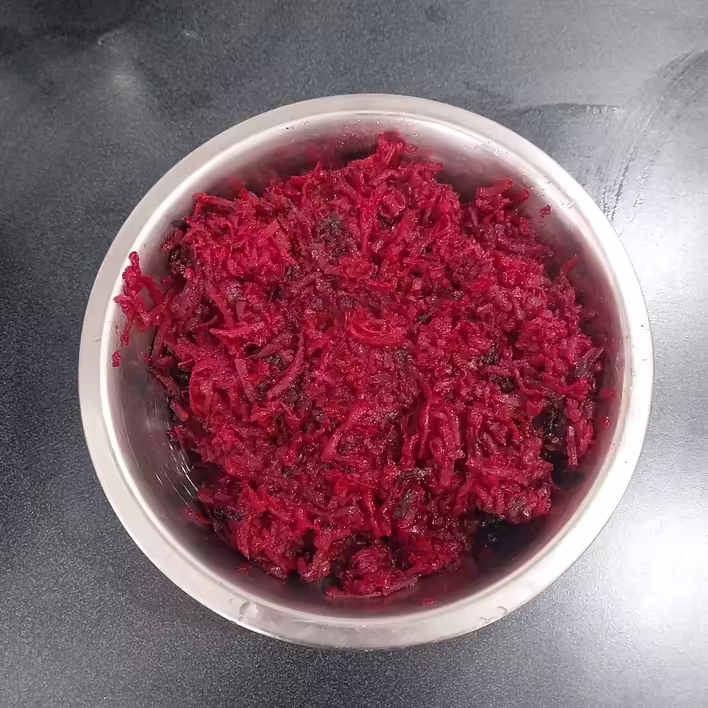
Step 1: sauté the grated beet
Since we only have 2 small burners on our stove, it is impossible to place a six-liter pot and a 26 cm frying pan at the same time. Therefore, based on the specifics of our kitchen, we had to sauté the beet separately beforehand. Although this process can be done in parallel with boiling the ribs and potatoes.
We grate the beet on a medium grater (we used a food processor). Heat the frying pan, add a small amount of oil, and sauté the beet over medium heat, stirring occasionally, for about 15 minutes.
натертий буряк на пательні
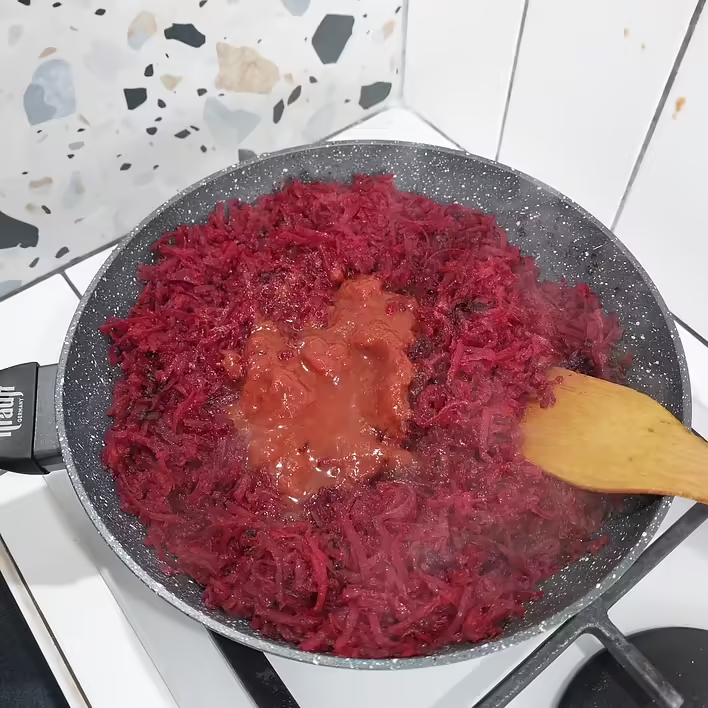
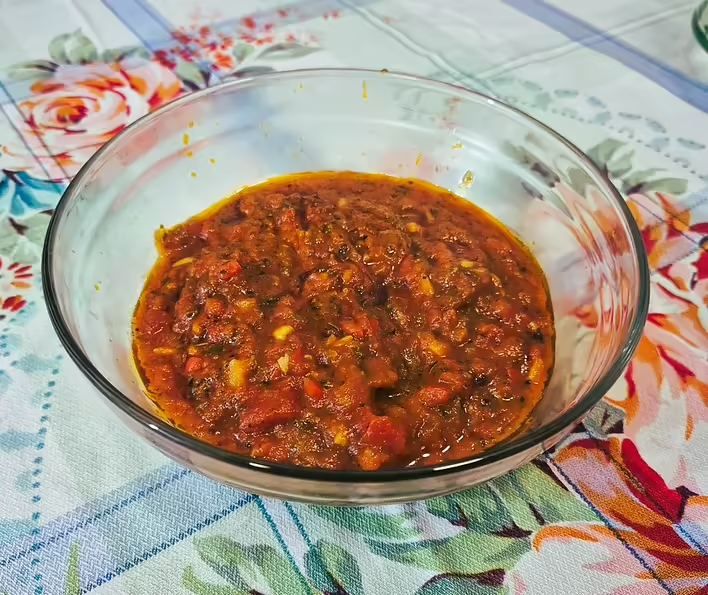
Add the tomato paste, mix thoroughly, and add a small amount of salt and pepper.
додаємо томатну пасту
Reduce the heat, cover with a lid, and sauté for another 5 minutes.
Transfer to a separate container and set aside to wait for its time ;)
готовий підтушений буряк
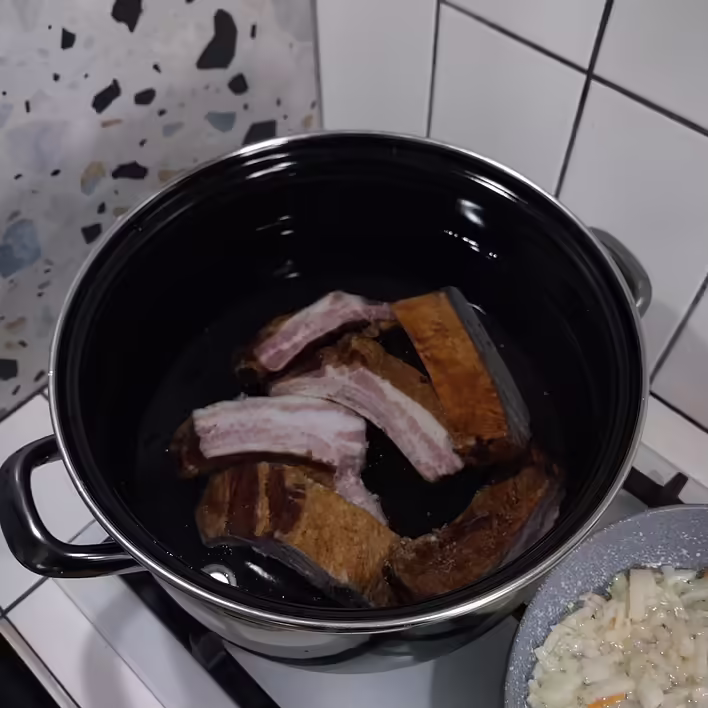
Step 2: boil the ribs
When the burner is free from the frying pan with the beet, we can start boiling the borscht.
ось ці реберця нададуть нашому борщу навар та копчений присмак
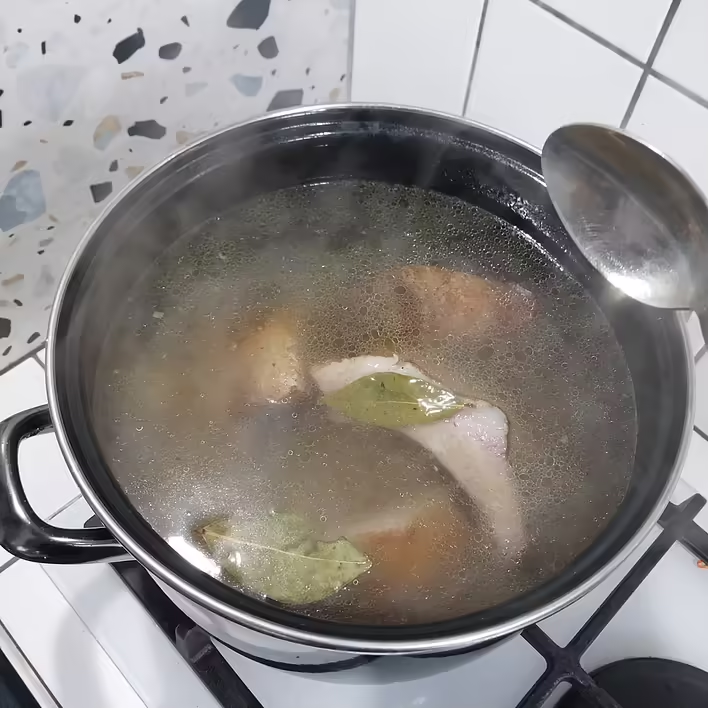
In a 6-liter pot, pour in a little more than half of clean cold drinking water. Add the ribs, 2 bay leaves, half a tablespoon of salt, and bring to a boil over high heat.
ребра в каструлі. Праворуч - готується піджарка з цибулі та моркви
As soon as the water boils, reduce the heat and skim off the excess foam with a spoon. Boil for about 10 minutes (since the ribs are practically ready).
While the ribs are boiling, we will prepare the vegetables. Cut the potatoes into small cubes.
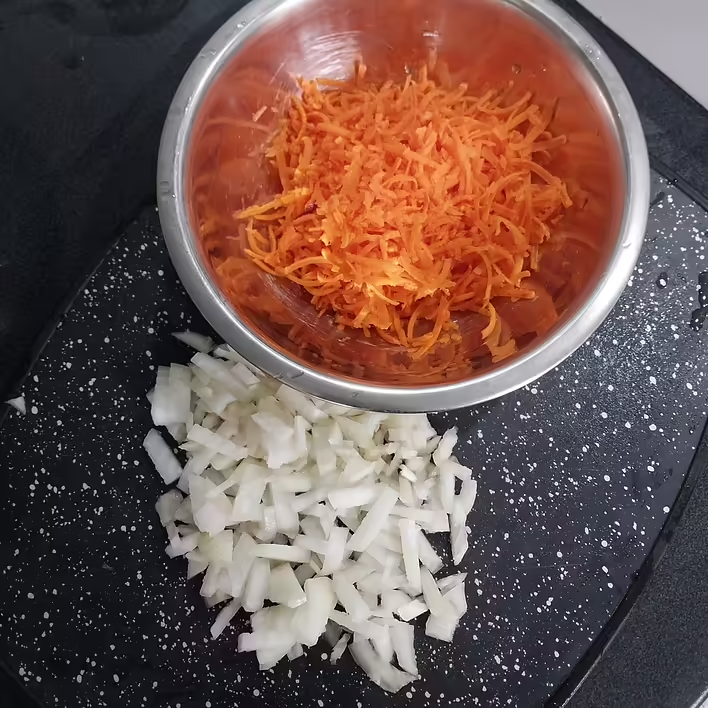
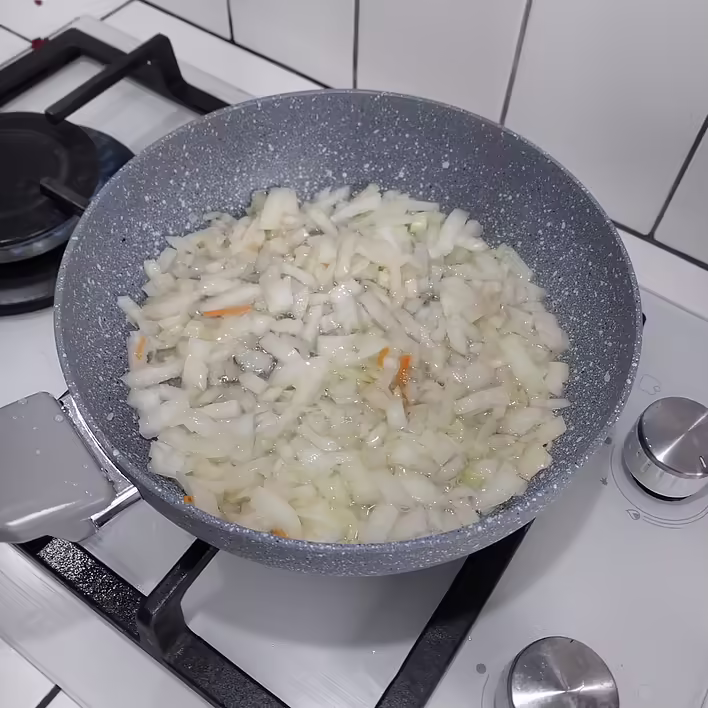
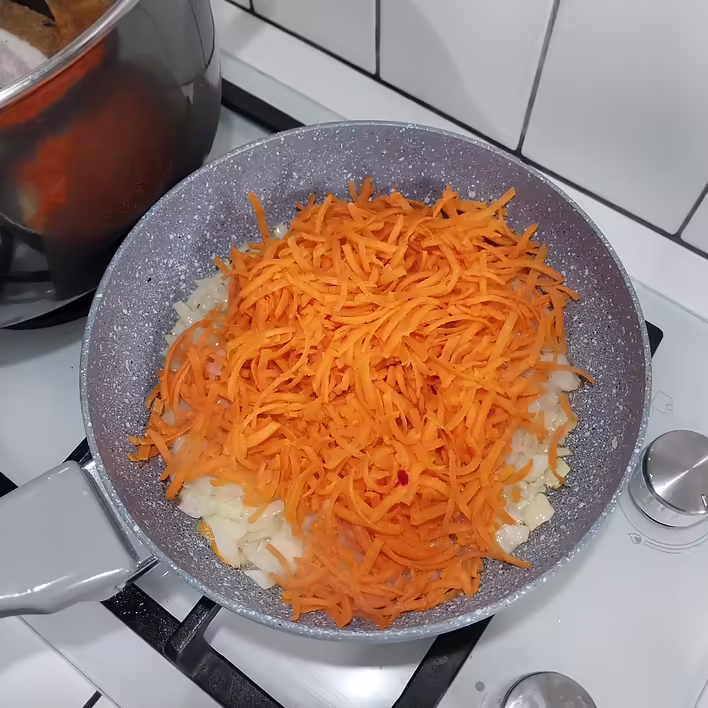
Chop the onion, grate the carrot on the same grater as the beet. Prepare the sauté of onion and carrot: fry the onion until translucent, add the carrot, and cook over low heat for about 10 minutes. Set aside in a separate container, letting the sauté wait for its time as well.
порізані цибуля та морква
підсмажуємо цибулю
додаємо моркву
тушкуємо
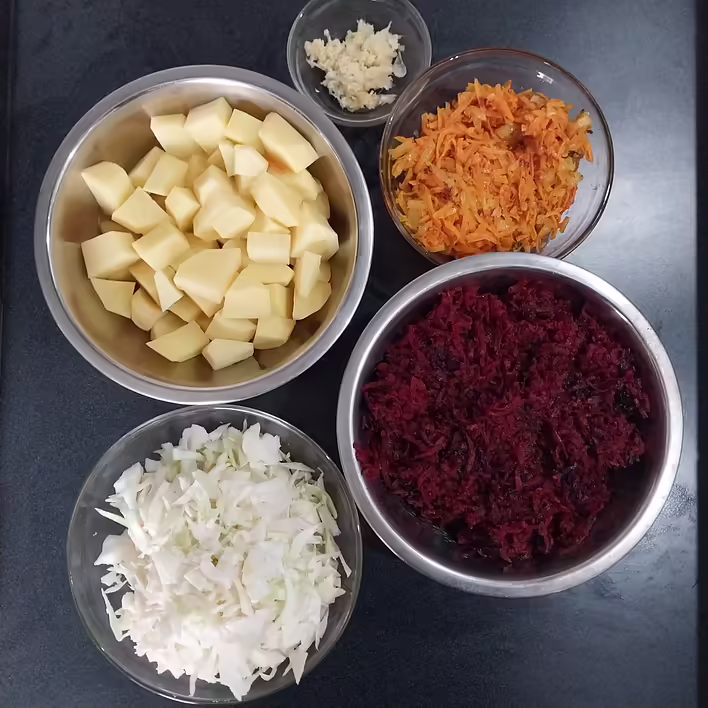
Step 3: add the vegetables
овочеві заготовки для цього етапу
Our timing goes as follows: in 10 minutes, while the ribs are boiling, we managed to make the onion-carrot sauté. Now it’s time to add the potatoes and wait for our broth to boil again.
додали картоплю
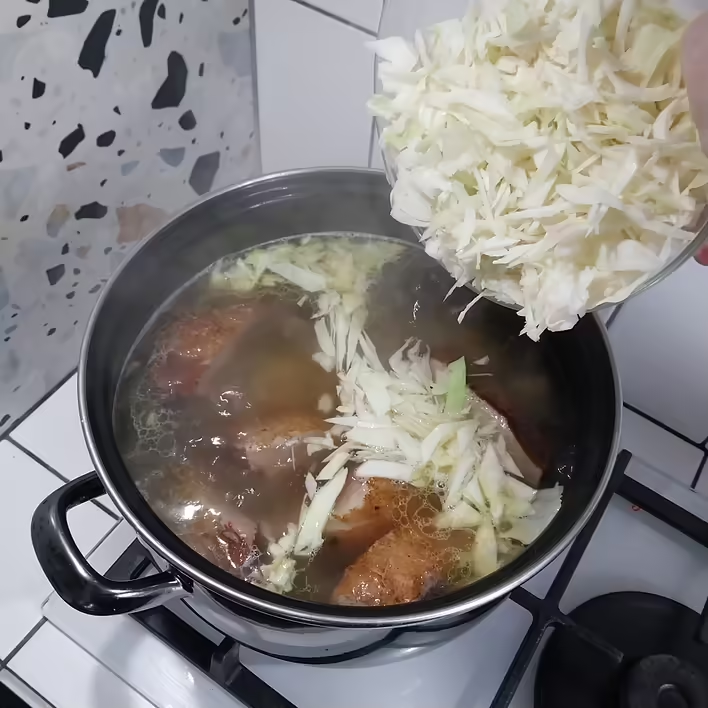
As soon as the potatoes boil, add the chopped cabbage. You can use either a special cabbage shredder or a simple knife. We chose the second option.
додаємо капусту
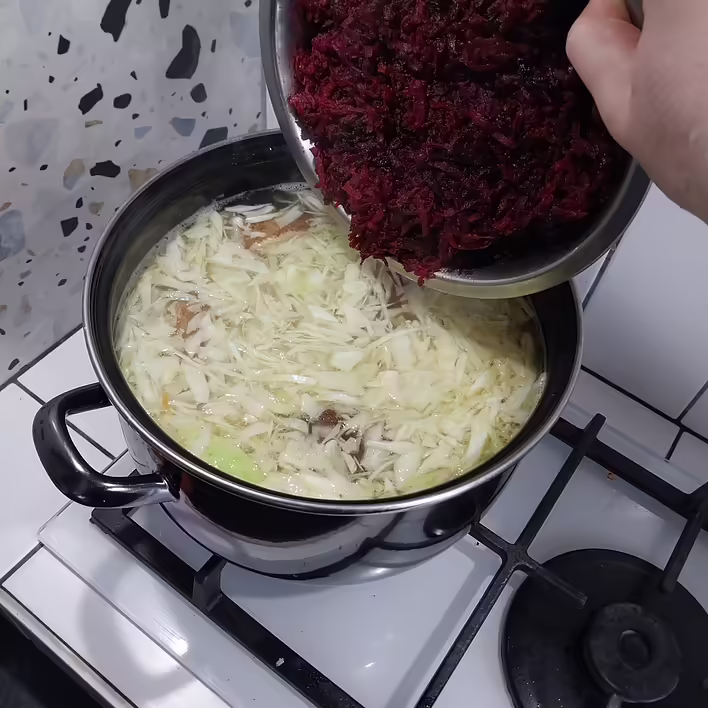
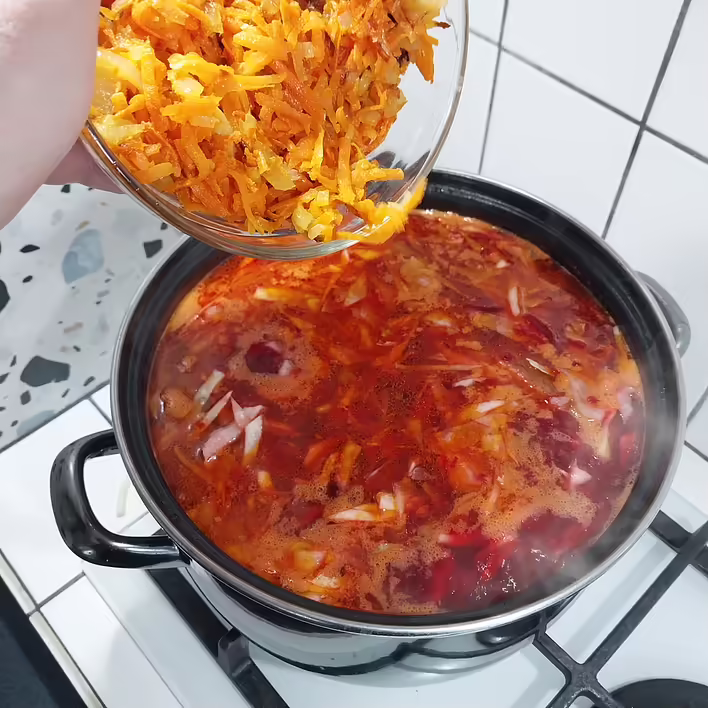
As soon as the cabbage boils, add the sautéed beet. In the same way, add the sauté of onion and carrot.
додаємо буряк
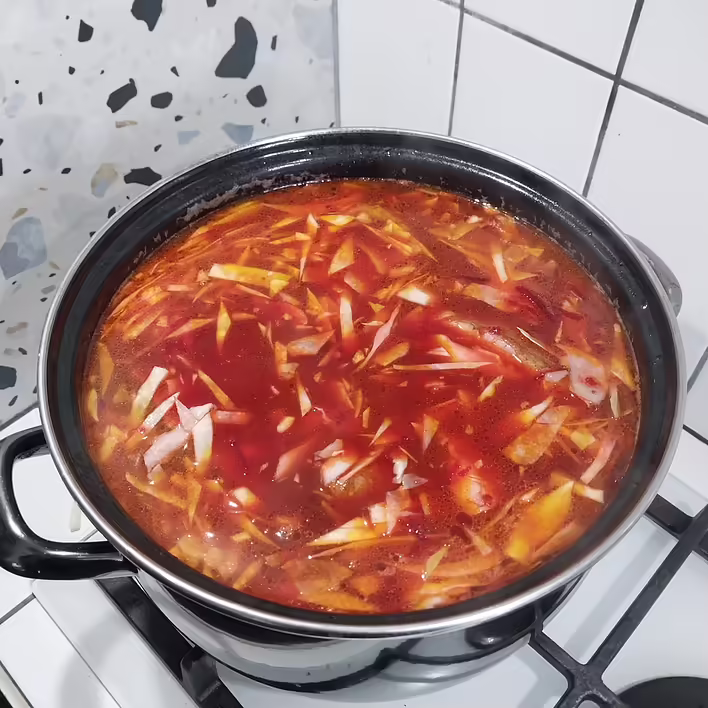
проміжний етап
додаємо цибулево-морквяну засмажку
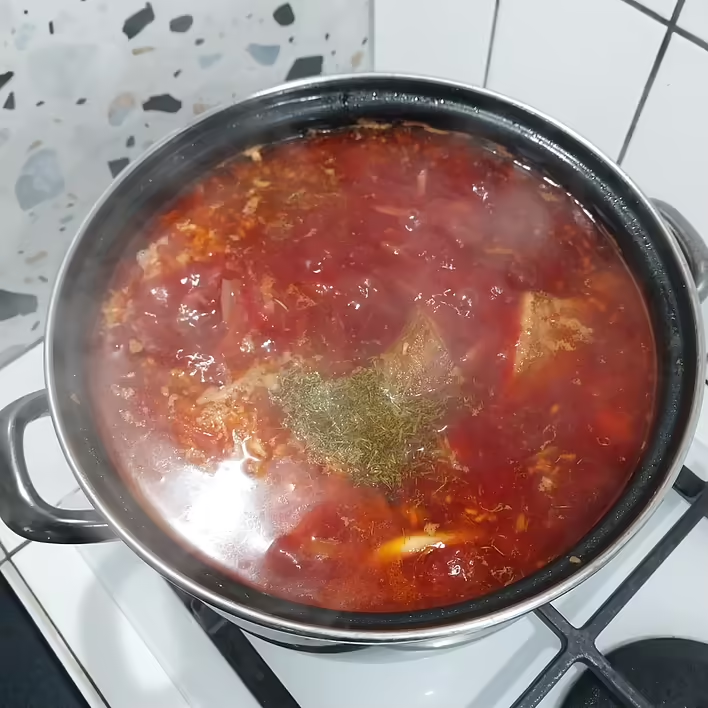
Now it’s time to reduce the heat to the minimum, cover the pot with a lid, and let the flavors mix and complement each other. At this stage, we will let it cook for about half an hour to forty minutes.
Now we can lift the lid and taste for seasoning. However, as our practice shows, there is usually no need to add more salt to the borscht, as the ribs have given their saltiness, and there is enough of what we added at the very beginning of the preparation.
Add the grated garlic, dried dill. Fresh dill can only be added if you will consume this amount of borscht within a day or two; otherwise, adding fresh dill may cause the borscht to sour after 2 days of storage. Keep on low heat under the lid for about five more minutes.
відкриваємо кришку, додаємо часник та кріп
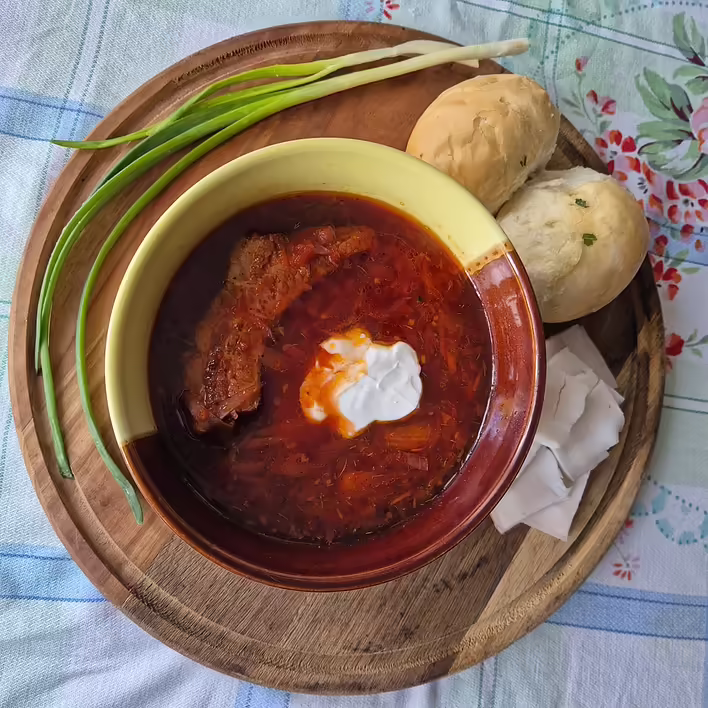
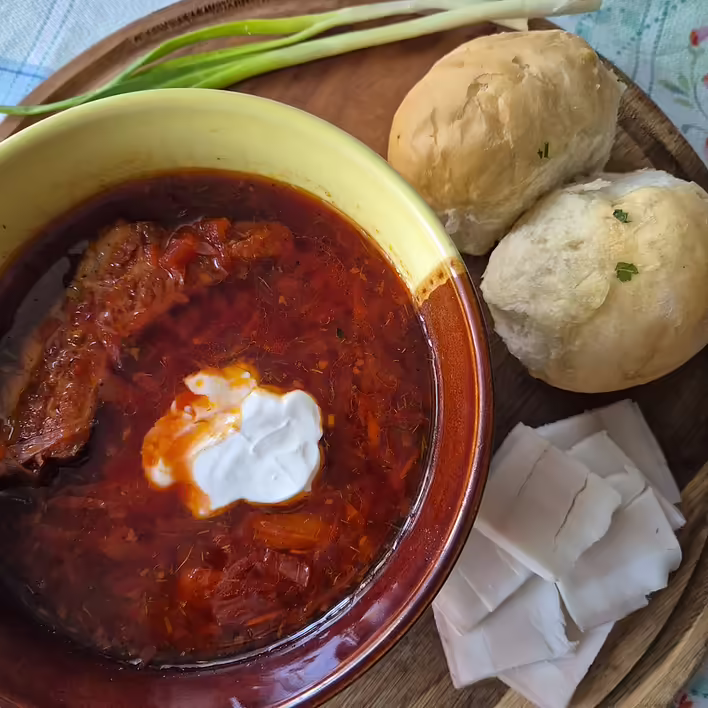
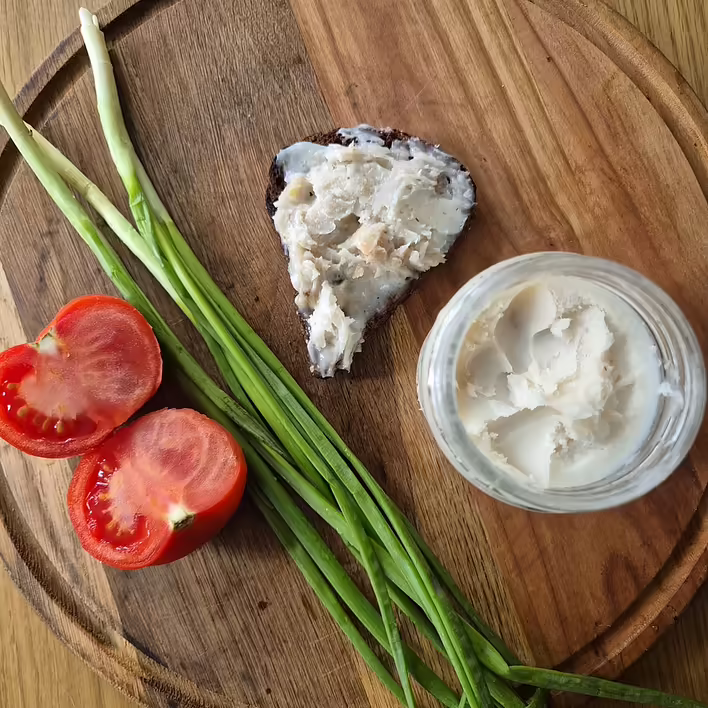
Turn off the gas, wait for it to cool a bit. During this time, we cut the lard, take garlic pampushky, green onion tops, and drool from the fantastic smells that fill the kitchen ;)Pour the borscht into a deep plate, add sour cream, and enjoy!
смачного!
If you enjoy our posts and recipes – you can always support our blog on the Buy Me a Coffee service. Your donations will inspire us to create new and useful Ukrainian-language content. We will be able to buy new ingredients, devices, and interesting cookbooks. This will allow us to regularly adapt recipes for easy and understandable preparation at home. Or you can simply share this post on social networks, which will also help the Tseivo platform grow ;)