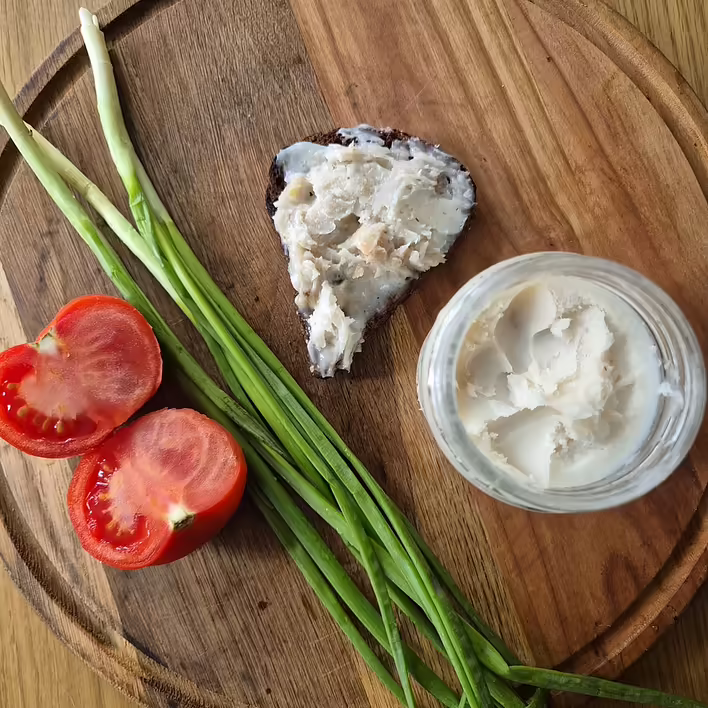
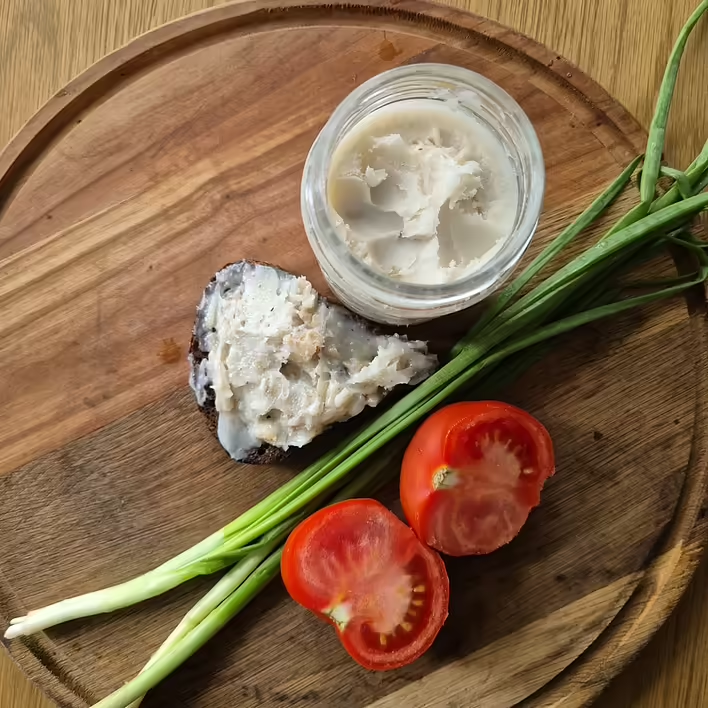
We have already prepared an appetizer with garlic and paprika from lard. But with half of the lard we bought for it, we decided to make cracklings, that is, to render finely chopped lard and then pour the fat into a jar for solidification and storage. So, it can be said that during the cooking process, the lard transitions from a solid state to a liquid and back ;)
Cracklings can be used as a spread on bread. It also goes wonderfully with dumplings, mashed potatoes, and stewed cabbage. You can fry eggs in it, etc.
Although cracklings contain vitamins (B4, E, D), unsaturated fatty acids, arachidonic acid, and beneficial cholesterol that positively affect the body, there is still some "bad" cholesterol and saturated fatty acids that are not entirely beneficial for the body. Also, it should not be forgotten that this is fat, and it has, to put it mildly, quite a high calorie content. Therefore, we recommend not to overindulge in cracklings and to consume them in moderation ;)
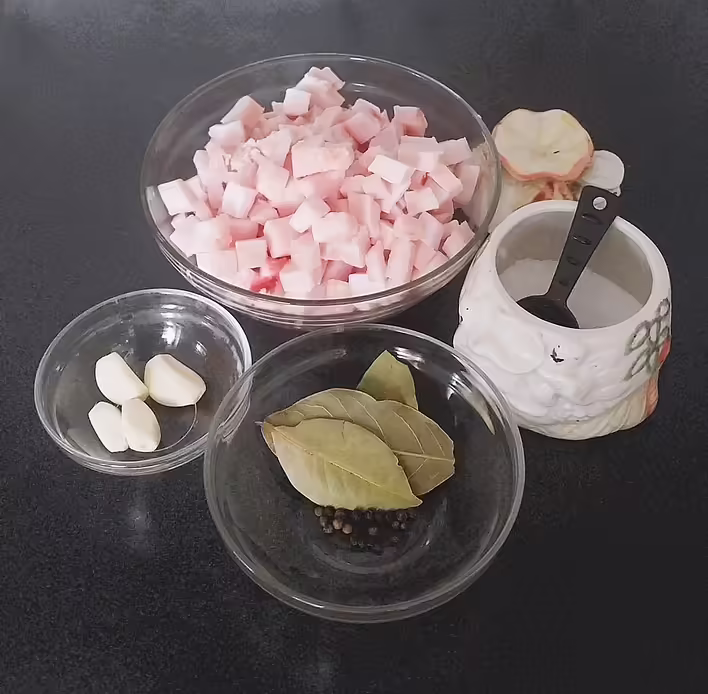
List of Ingredients
To prepare cracklings, we will need:
500 g of lard
bay leaf
clove
black peppercorns
3 cloves of garlic
продуктовий набір
Preparation
Since the preparation of cracklings is quite a simple process, we will not divide it into stages as we do in our other posts.
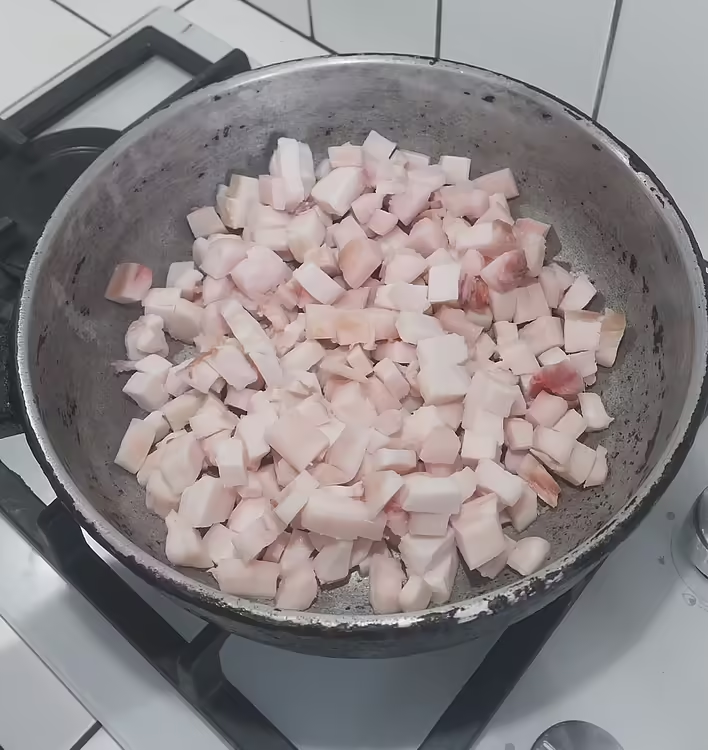
Probably, the two main rules to follow are to use a pan (or pot) with a thick bottom and to render the lard over low heat.
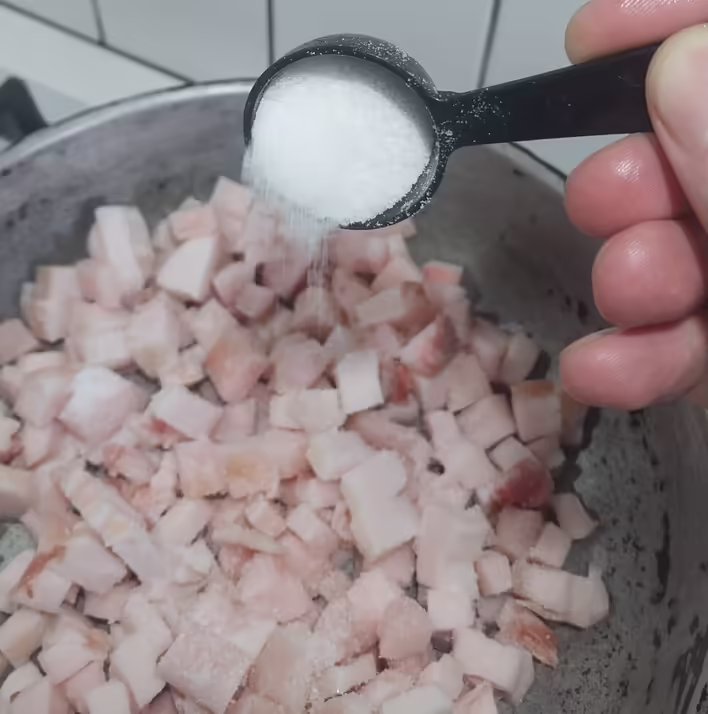
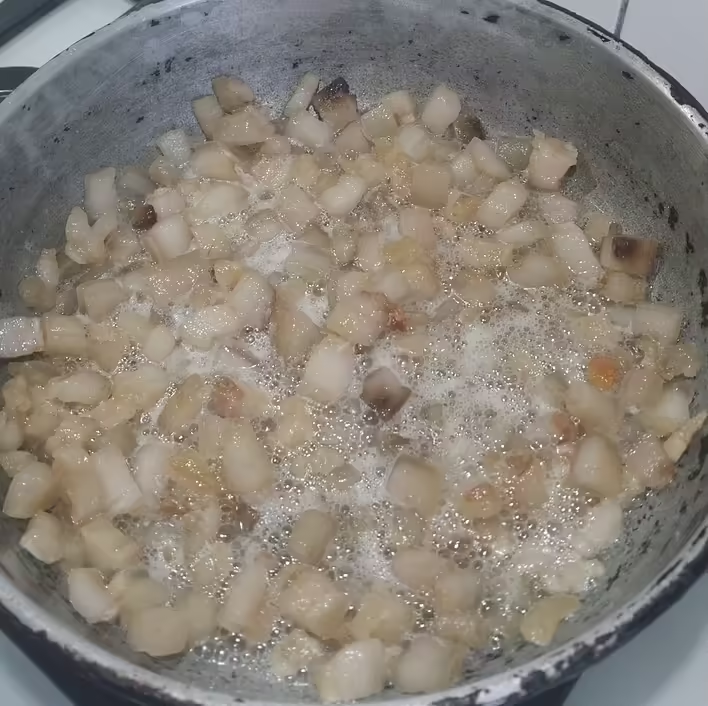
We cut the lard into small cubes, about 0.5 cm in size. We place the pan on the heat, heat it to working temperature, and add the lard. You can salt it right away.
викладаємо сало на пательню
та присолюємо
We start rendering the cracklings, stirring the lard occasionally.
в процесі витоплювання
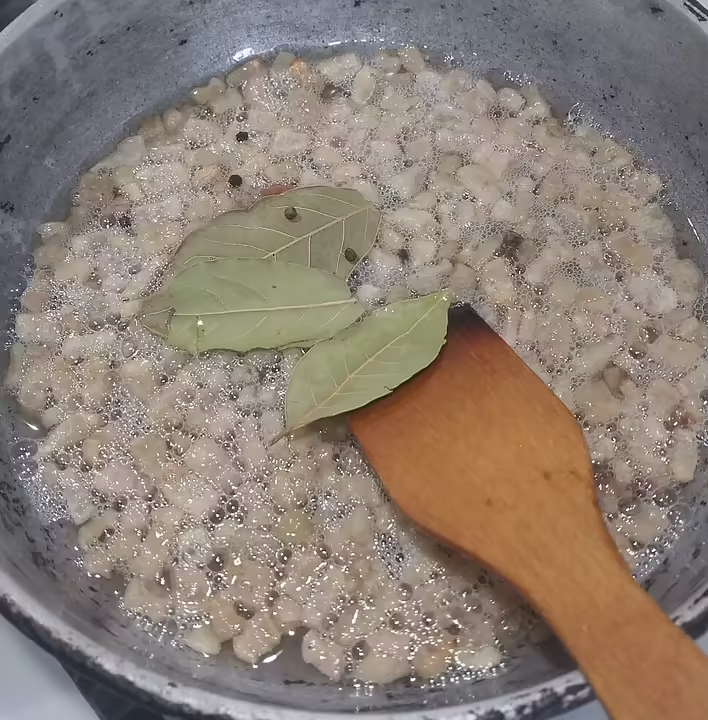
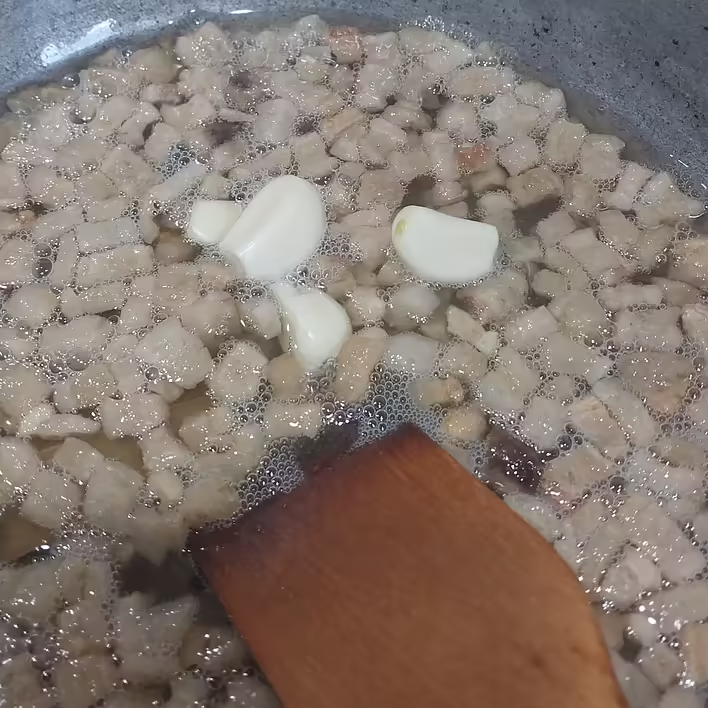
When enough fat has rendered, you can add seasonings: bay leaf, pepper, garlic, and fry for another 3-5 minutes so that the cracklings are enriched with the aromas and flavors of the additions.
починаємо додавати спеції
і туди ж часник
Although we used garlic, you can safely add a whole onion (peeled beforehand) as a seasoning. It will also add aroma to the cracklings. After frying, remove the spices from the pan and do not use them again.
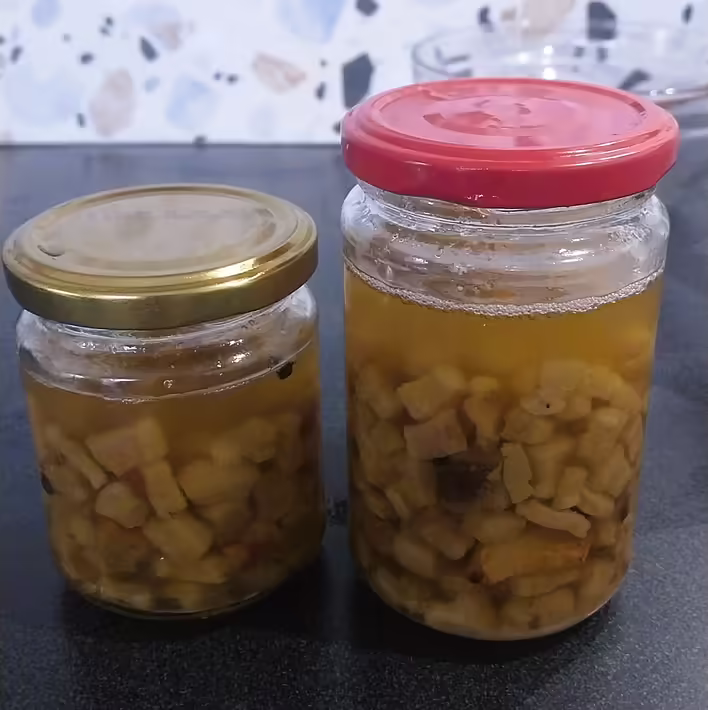
For storing the cracklings, we used glass jars with screw caps. We sterilized them in the microwave beforehand. For this, you need to pour clean drinking water into them (to a level of 2-3 centimeters) and then turn on the microwave for 5 minutes at maximum power. The water in the jars will start to boil and sterilize them. Meanwhile, we boil the lids in hot water.
We take the jars out of the microwave (be sure to use oven mitts to avoid burning your hands!), drain the water from them, and place them upside down on a clean towel or paper napkin to let the excess moisture drip off.
простерилізовані банки
For the sterilization of the jars, allocate about 10 minutes. This time is enough for our cracklings to cool down, and when pouring into the jars, they do not crack from the sudden temperature change.
готовий не застигнувший смалець
We close with a lid and wait for the cracklings to fully solidify.
Voilà, and our cracklings are ready! ;)
смачного! ;)
If you enjoy our posts and recipes – you can always support our blog on the Buy Me a Coffee service. Your donations will inspire us to create new and useful Ukrainian-language content. We will be able to buy new ingredients, devices, and interesting cookbooks. This will allow us to regularly adapt recipes for simple and understandable cooking at home. Or you can simply share this post on social media, which will also help the Tseivo platform to grow ;)